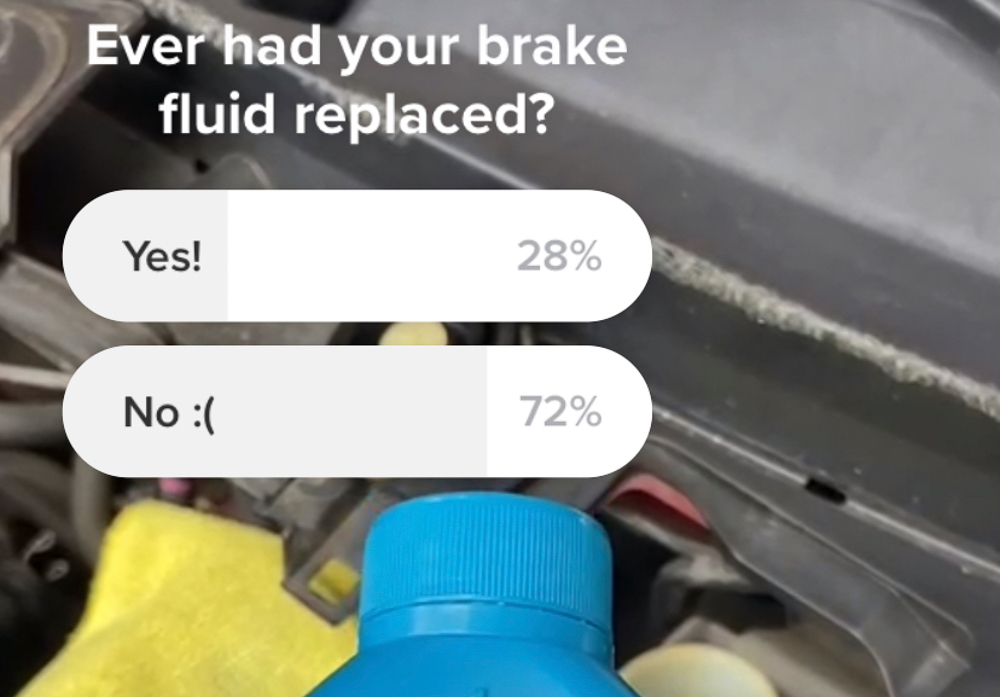
When was the last time you had your brake system flushed with new fluid?
Chances are, never—at least according to three-fourths of respondents we got on an impromptu survey we conducted on the motorists of TikTok. That’s bad, for a number of reasons.
Brakes are arguably the most important part of our vehicles, be it on two wheels, four or more. In performance driving, having good brakes means you can brake later and keep your average speed up. For the rest of us using our vehicles for trips, having brakes that work effectively is essential to averting loss of life and limb.
Brake fluid is typically rated to temperatures in excess of 200°C, in contrast to water’s 100°C boiling point. So, you may find it weird that brake fluid is actually designed to absorb and hold onto water despite such hygroscopic property actually lowering its boiling point. This is intentional, as it prevents unseen corrosion in your braking system by holding onto the water instead. Over time, the brake fluid’s boiling point starts to lower as it absorbs far more water, and additives such as corrosion inhibitors start to degrade and no longer protect the system. This is why it’s important to flush your brake fluid every couple of years, especially in a humid climate like ours.
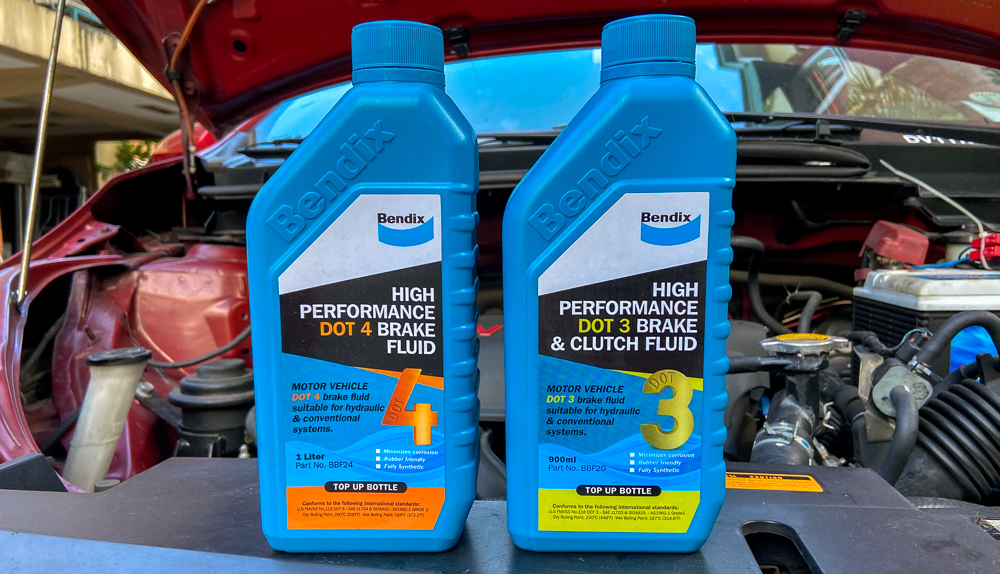
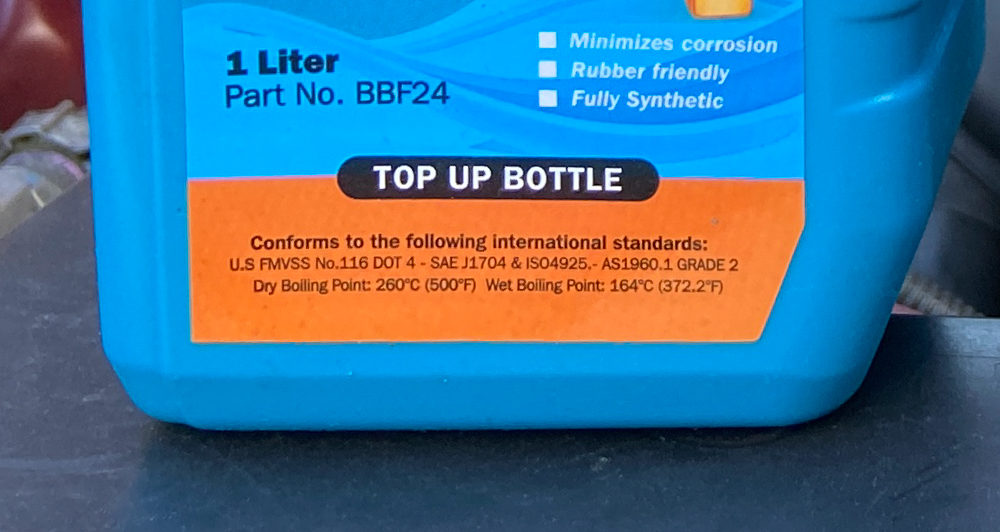
It is a little bit more involved than simply replacing the fluid in your master cylinder, as we have to flush the lines of old brake fluid, too. In my case, I will also be upgrading from a DOT3 to a DOT4 fluid to further bump up the boiling point. Most cars that use DOT3 should be able to use DOT4 as they are virtually interchangeable, but if you want to be sure, you can just stick to the original specification for your vehicle.
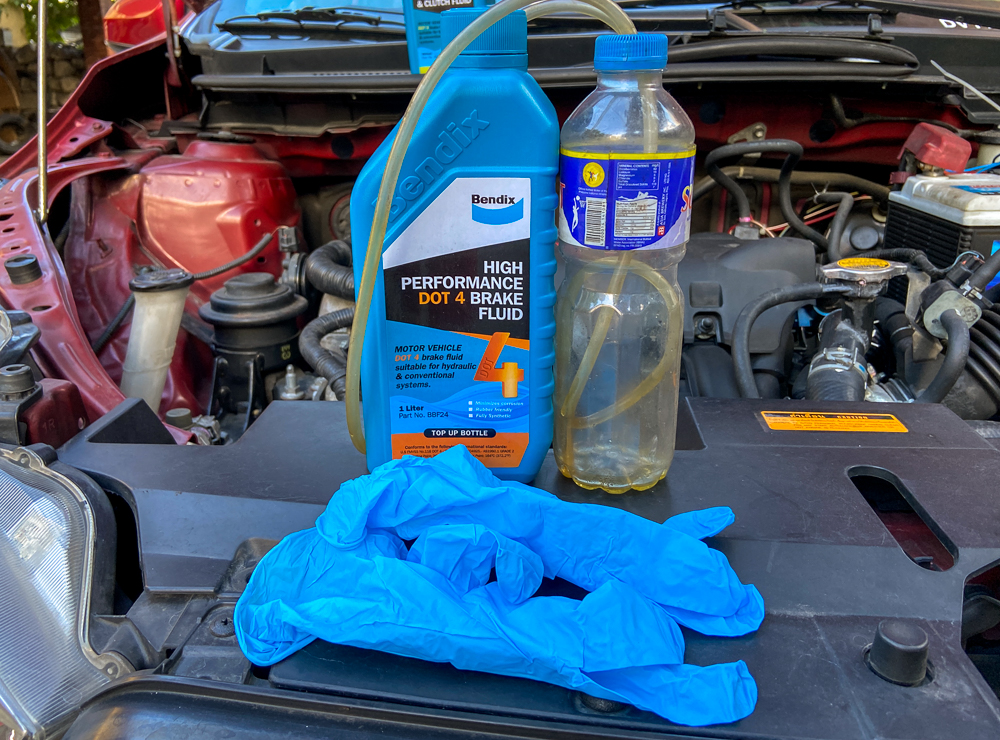
You’ll first want to gather your supplies. Have more than enough brake fluid for your car, so you don’t have to worry about running out mid-job. You’ll need a box wrench for your bleeder valve (typically 8mm, but check your vehicle’s specs to be sure), a syringe, several rags, and a bleeder bottle composed of silicone tubing pushed through a water bottle cap. You’ll also want to wear gloves as the undercarriage of our vehicles will soil your hands, and brake fluid may induce contact dermatitis.

Find your brake fluid reservoir, and make sure that you clean the area surrounding it before doing anything else. You do not want any dust nor debris falling in and potentially ruining your master cylinder. Keep your reservoir covered with a cap or a rag throughout the flushing process, only removing it when checking your fluid level and topping off with more fluid.
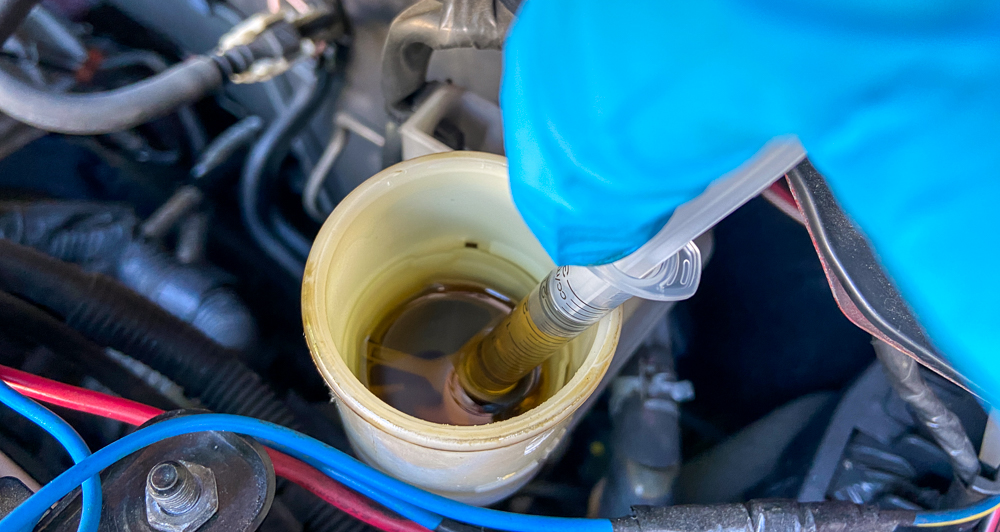
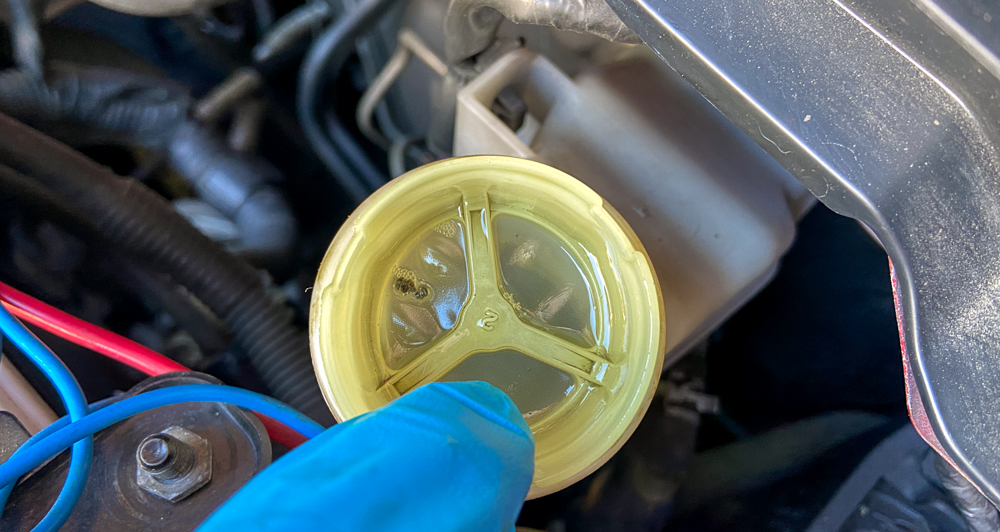
Lay some rags down, pop open the cap, and start removing as much brake fluid as you can. If there is a filter inside, you can remove it temporarily to help pull out more fluid. Put the waste fluid in the bleeder bottle for later use and for safekeeping. Brake fluid can be corrosive, and you do not want it to touch your paint at all.
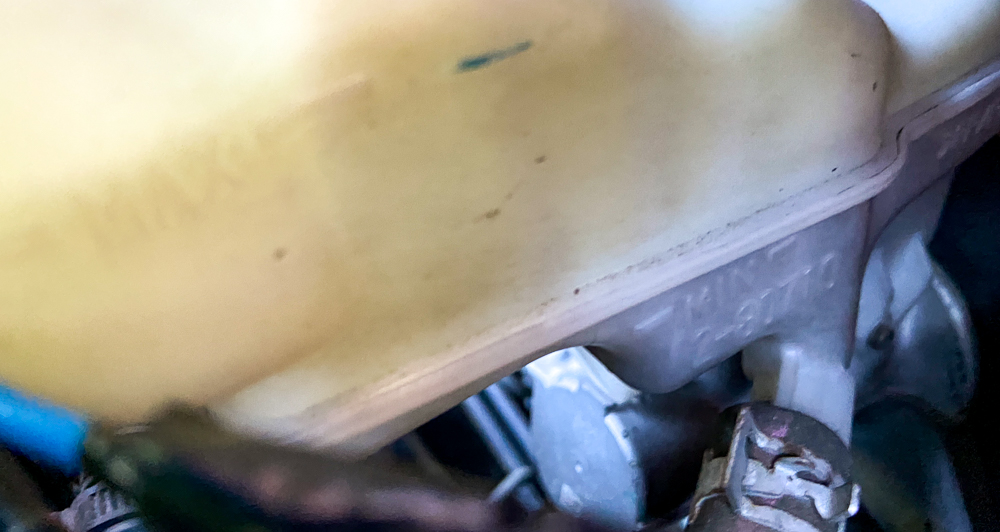
Pay attention to the lower limit of your brake fluid’s reservoir, and never dip below this. If you run your master cylinder dry, you’ll have an amazing time trying to bleed the air out of your entire brake system. If you have ABS, you’ll probably end up needing to have your car towed to the dealer as you need their proprietary software to engage the ABS motor to flush it of air.
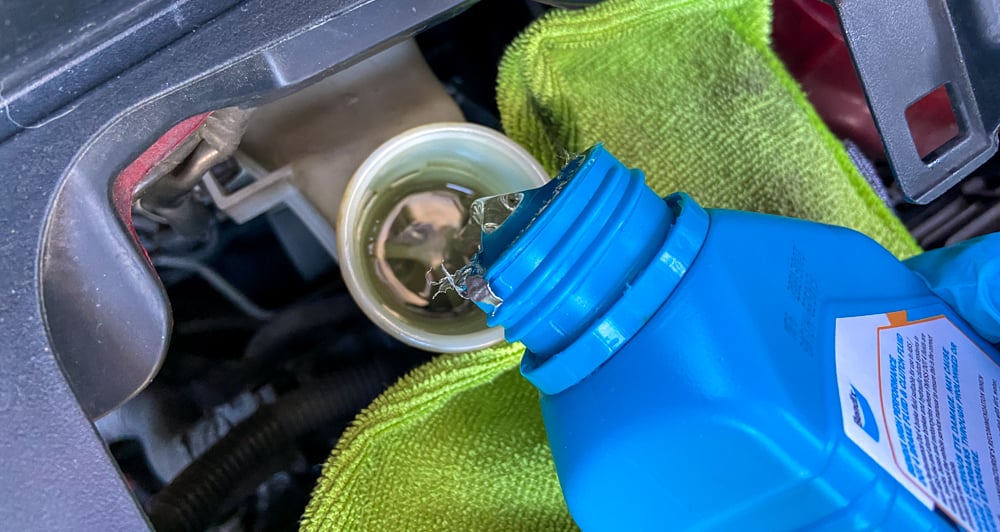
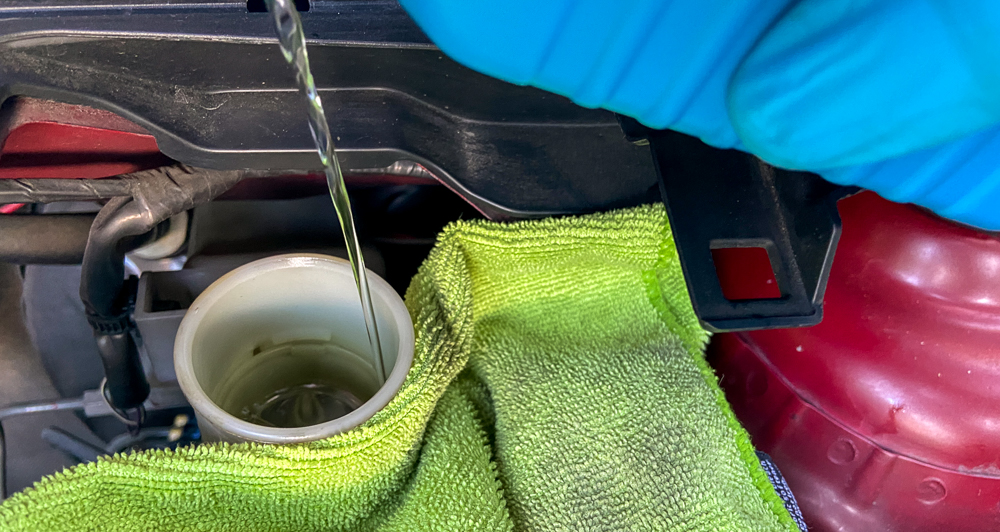
Once you’ve removed as much old fluid from the reservoir as you can, top it off with fresh fluid. This removal and addition minimizes the amount of fluid we have to push through our brake system before we can see fresh fluid come out the other side.

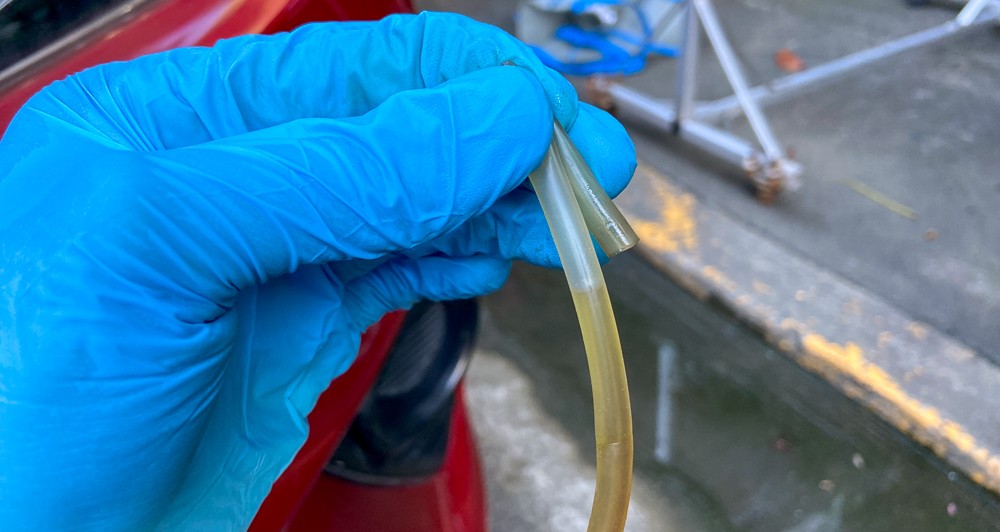
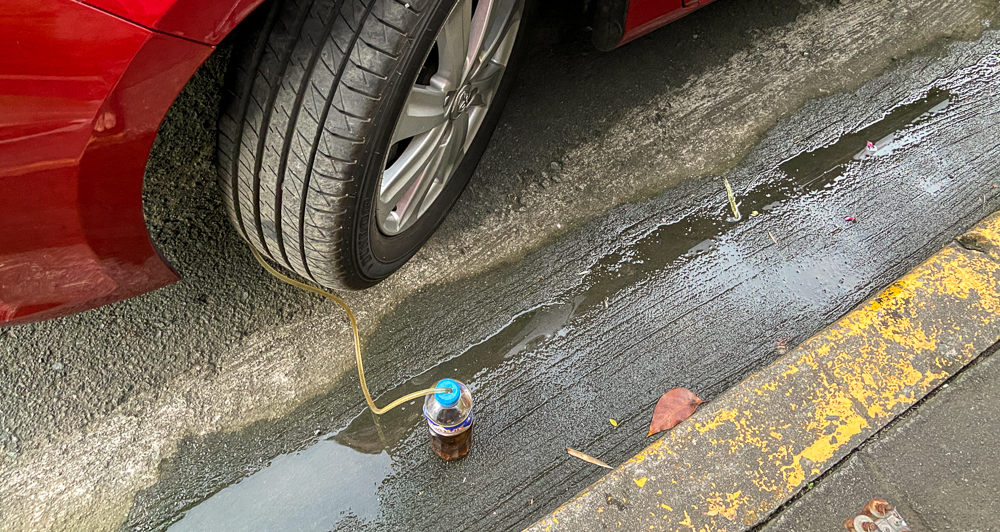
Remember the bottle with a hose stuck through it? This is the key to bleeding our brakes alone. You’ll want the hose in the bottle to be reaching the bottom so it can only draw in fluid. Suck up fluid using the syringe until it reaches the other end of the hose, and pinch it closed. Note how black the old fluid has become, in comparison to the crystal-clear fluid we just poured into the reservoir.
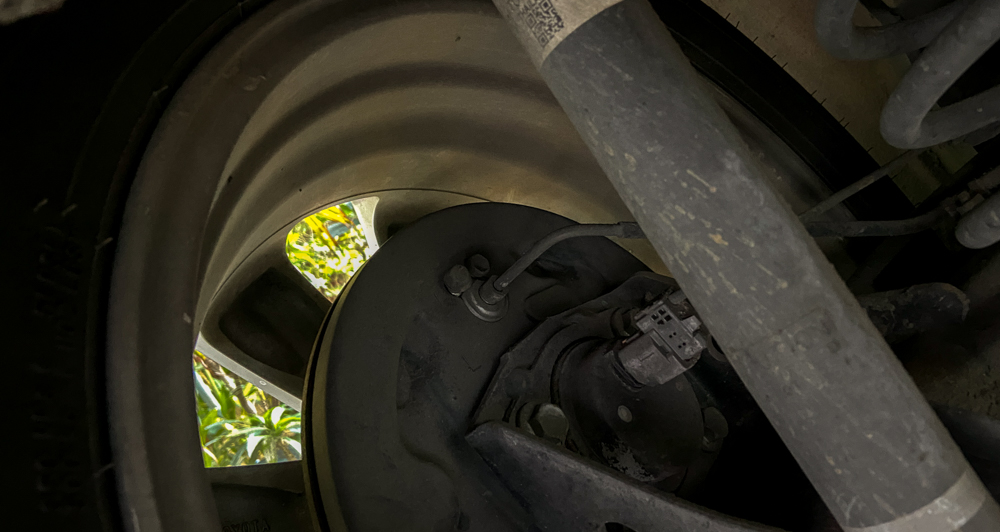
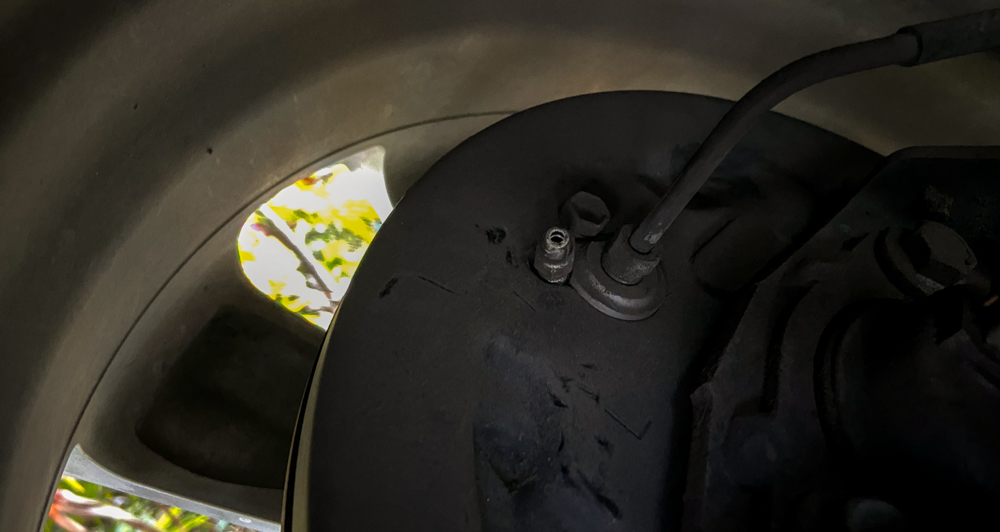
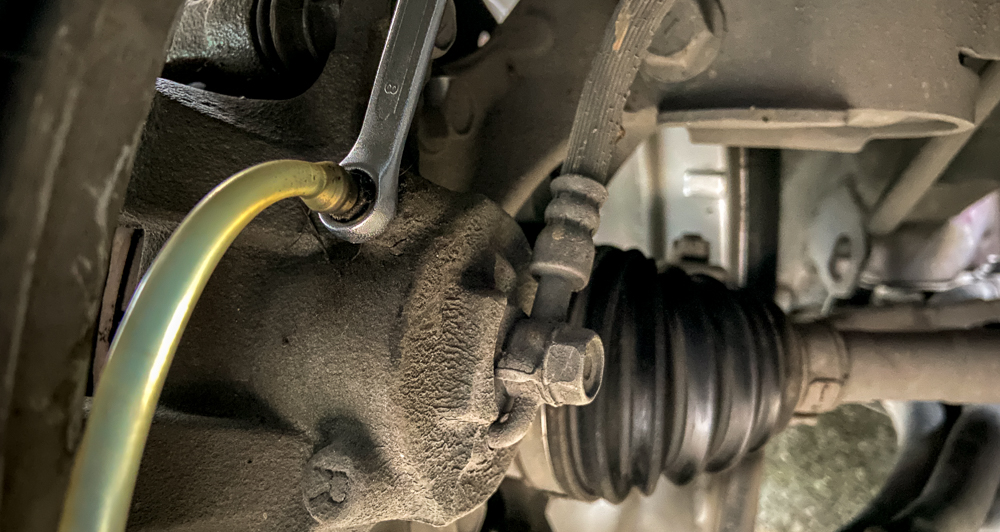
Find your brake’s bleeder screw and take off the dust cap. You’ll want to put on your box wrench and crack it loose and retighten. Place the hose over the barb, trying not to let too much air reenter the connection.
If you have someone helping you, ask him to climb in the car and follow your instructions on when to depress and release the pedal. Tell him to depress the pedal, and crack open the bleeder until fluid rushes out into the hose. Close the bleeder screw before asking him to release the pedal. Repeat this several times.
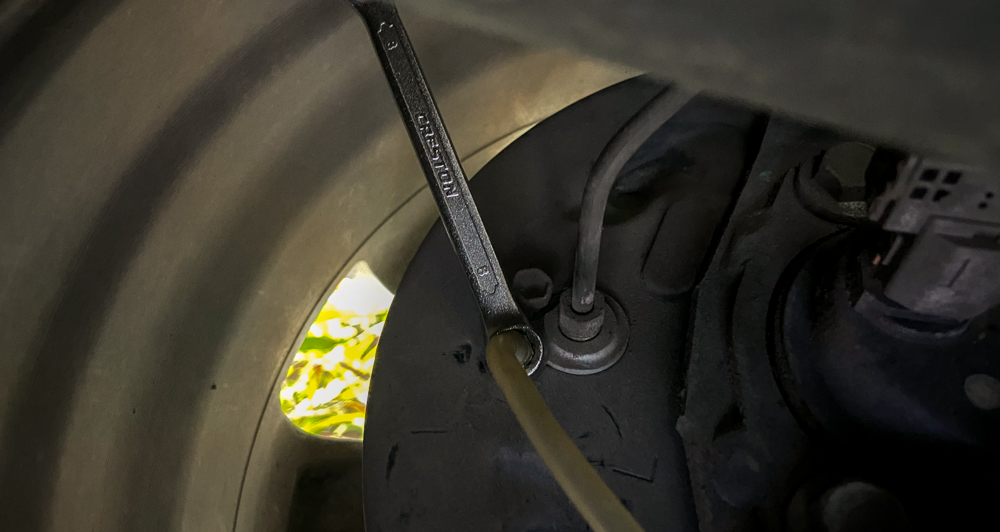
If you’re bleeding your brakes alone, this is where the one-man-bleeder shines best. Taking extra care to leave as little air in the line as possible, crack open the bleeder screw. Get in the car and depress the brake pedal a few times slowly, letting the pedal sink to the floor as fluid gets pushed back. Go back and double-check that you are not introducing air into the system.
Check your reservoir after a set number of pumps, and top off fluid as necessary. Remember to cover the reservoir whenever possible to keep dust out, and put rags down to mitigate spills.

You’ll know when you’re done with one corner once the fluid starts coming through clear. The first corner may take longer than the others as you’re pushing more fluid from the reservoir first, and the front brakes will take less time as their brake lines are shorter.
When finished, snug up the bleeder screw, clamp the bleeder hose, and remove it from the hose barb. You can then remove your box wrench, replace the dust cap, and move on to the next corner. Simply rinse and repeat the same steps for all four corners.
Some prefer to flush the rear brakes first prior to the front brakes, as those tend to have longer lines. In actuality, you can pick whichever corner to start on as it doesn’t really affect much. If you want to be extra sure, you can always do another round.
After bleeding your brakes, note the fluid level on your reservoir (or simply fill it up to the max line). Start your engine to get vacuum assist going, and give the brake pedal a few firm presses. Check the brake fluid reservoir again to make sure you’re not experiencing any leaks. Periodically check your brake fluid level for the next few days to ensure you’re not getting any leaks.
Gather your used brake fluid back into the original bottle your brake fluid came in. Once opened, brake fluid goes bad very quickly so never plan to store open bottles. Take the used brake fluid to a recycler or a local gasoline station with a shop attached for proper disposal.
Working on your brake systems can be quite daunting, especially to newcomers to the DIY scene. If you are uncomfortable with working on your own brakes, don’t hesitate to leave it up to the professionals to do a safe job on them. If, however, you’re willing to take the leap, doing a brake flush gives you both a step-up in challenging your skill set and making sure your brakes will work when you need them the most.


Comments