Our car’s air-conditioning system does more than just cool the air to make our country’s sweltering summers much more bearable. It also helps with keeping the cabin dry to avoid mold and fogging, and helps ventilate the cabin with fresh outside air (or hazy diesel fumes, if you’ve got the recirculation turned off while driving behind a bus).
Before the air gets blasted into the passenger cabin, it needs to be filtered so you don’t inhale dust and debris. Most cars have a provision for a cabin air filter, but some don’t have one installed. A cabin filter is far cheaper than a full system cleaning, and it is definitely worth checking it every once in a while. Derelict or missing filters can even cause the evaporator coils to get gummed up, causing a loss in cooling efficiency and a foot-like smell in the cabin.
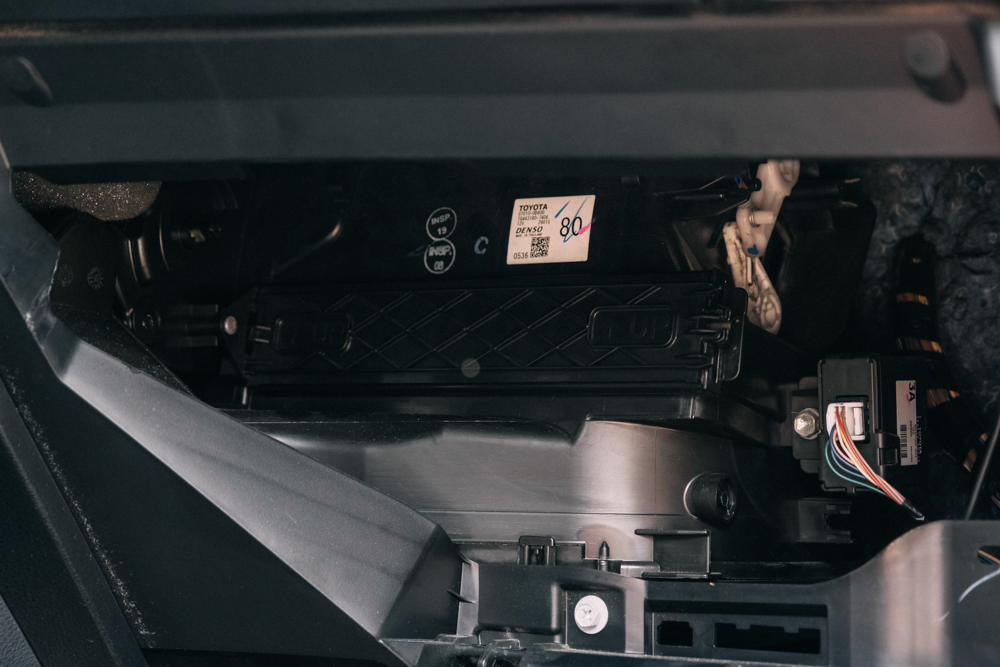
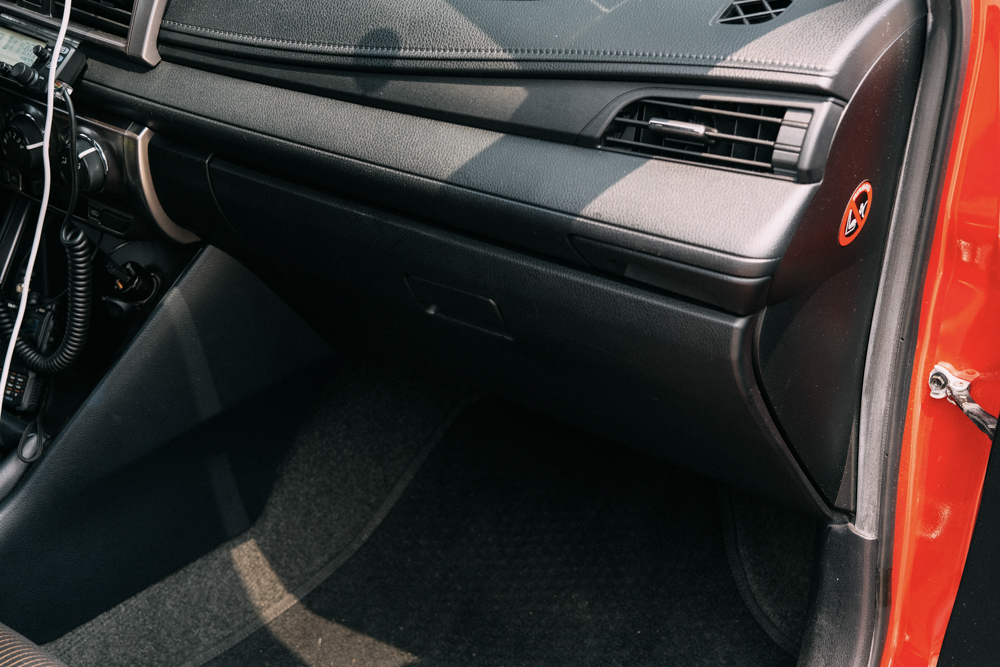
Most cabin filters live behind the glove box, but your car may be different so it’s best to double check where it is located. We’ll be showing the replacement process on my trusty 2015 Toyota Yaris.
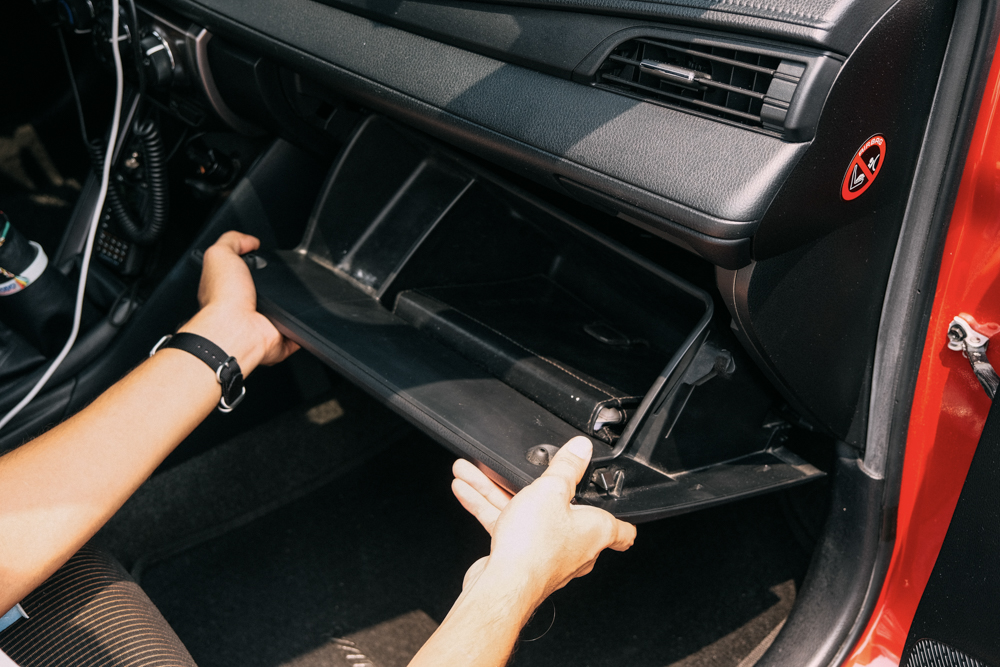
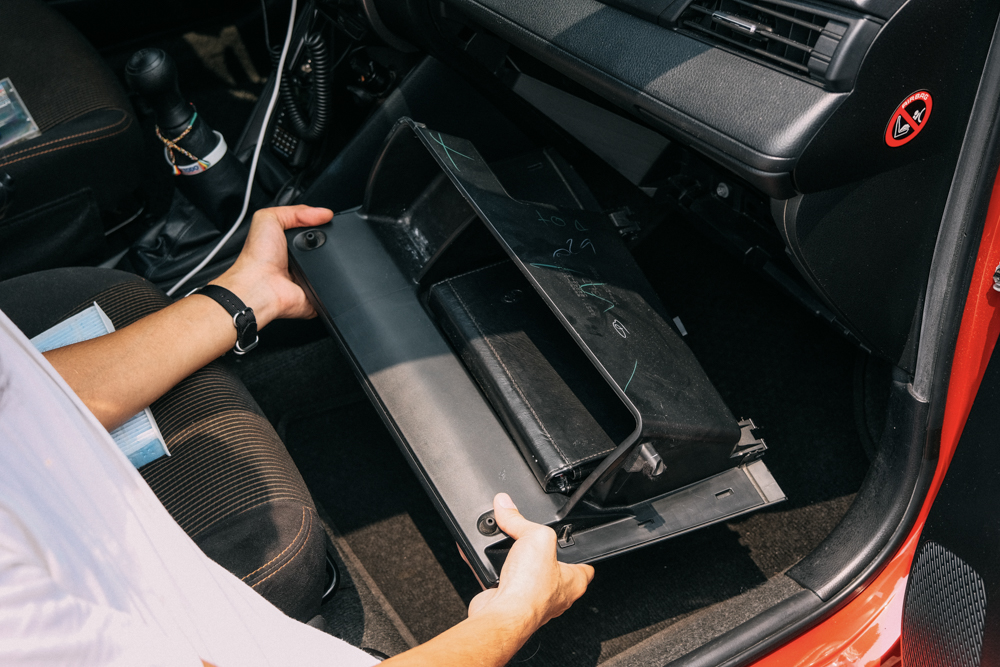
Start with removing the glove box. Make sure you disconnect any dampers attached before squeezing the sides of the glove box lid to pull it out.
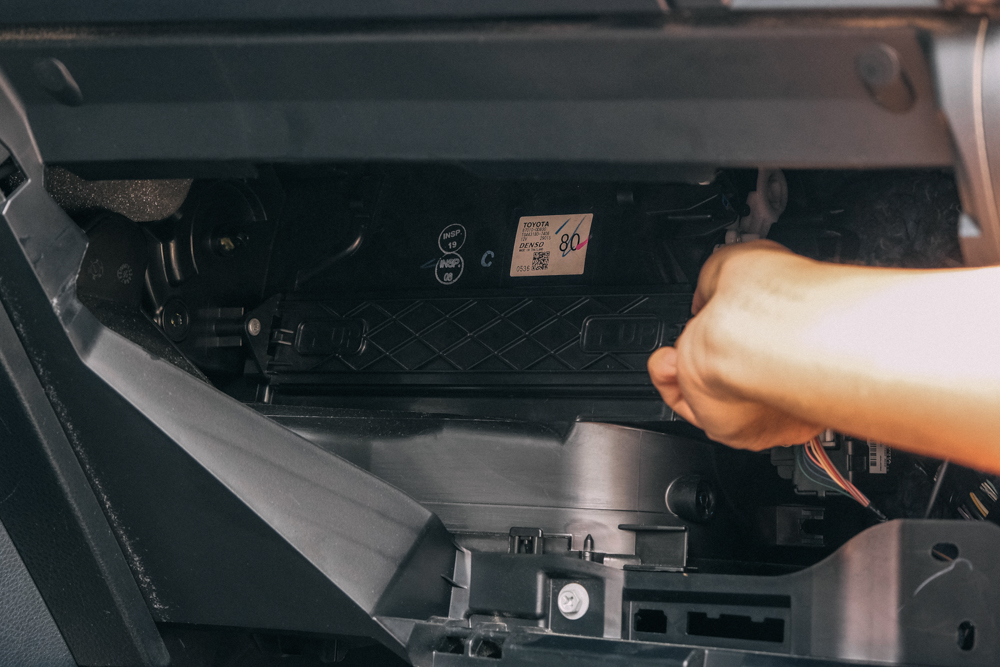
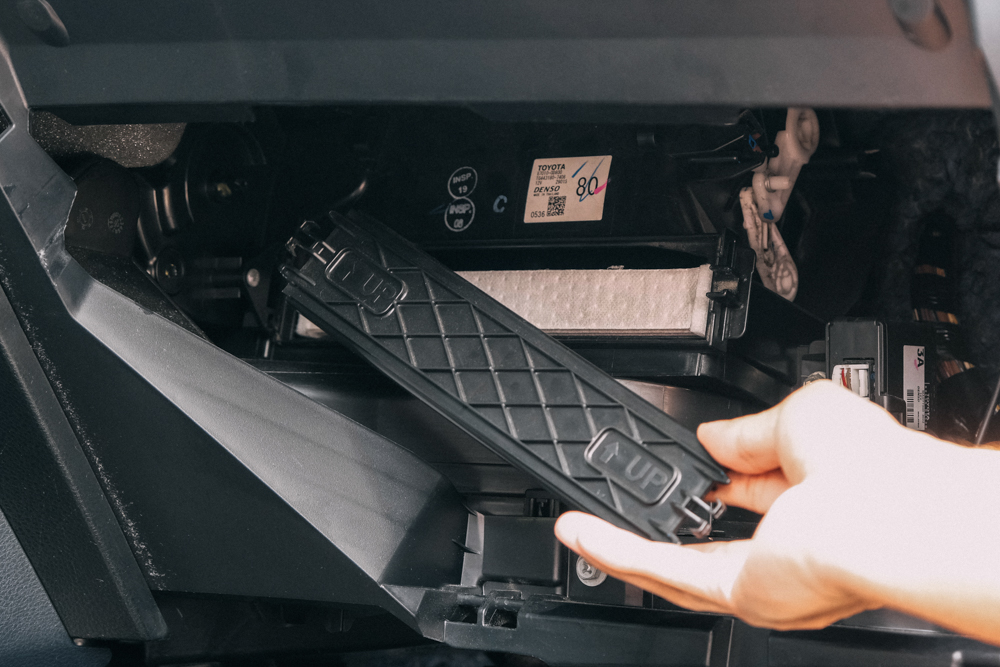
Remove the panel covering the slot for your cabin air filter by pinching one side and pulling it out.
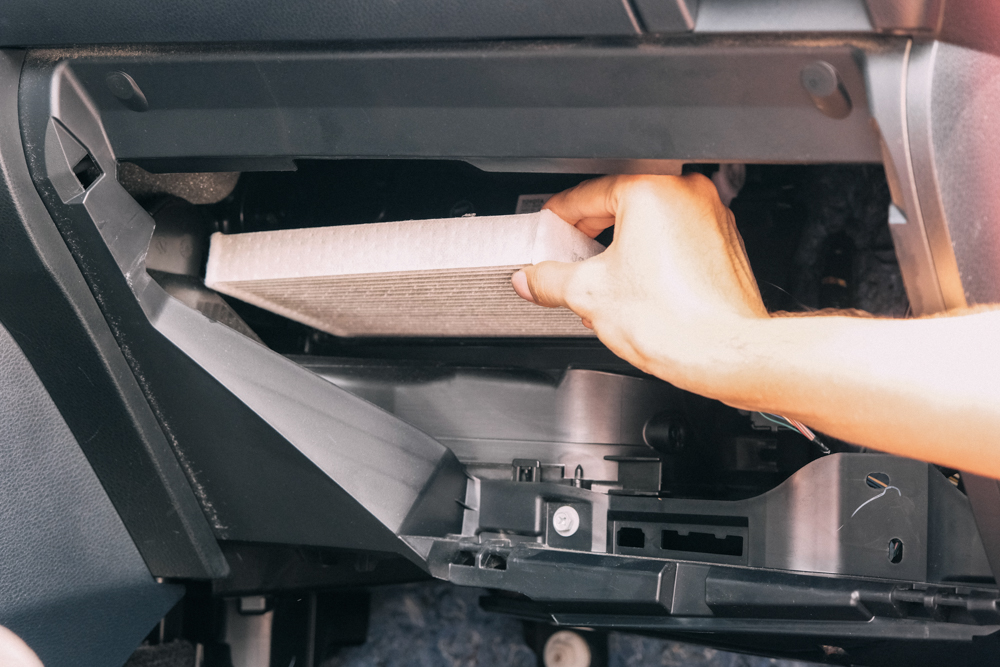
You can then remove the cabin air filter. Take note which is the dirty side as this is where the unfiltered air is coming from.
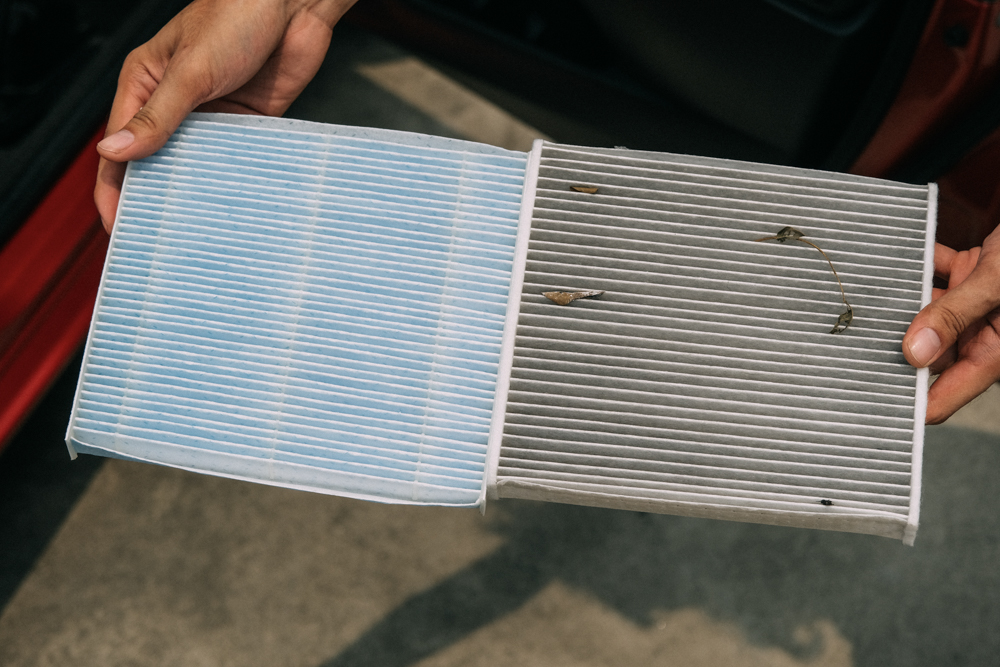
The one on the right is mine after a few months of rather limited use due to the pandemic. It used to be pure white.
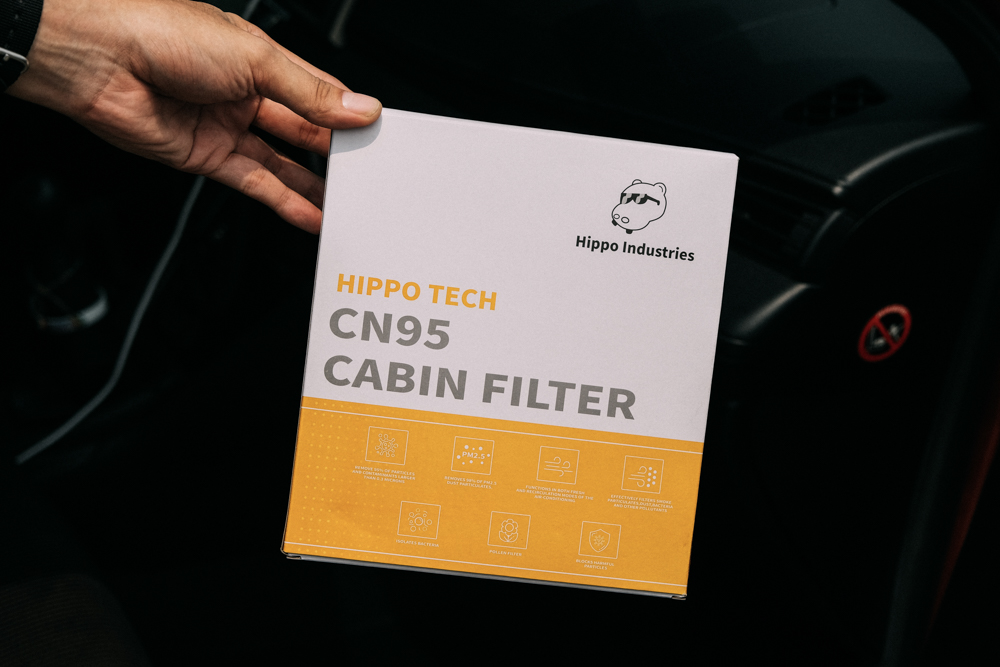
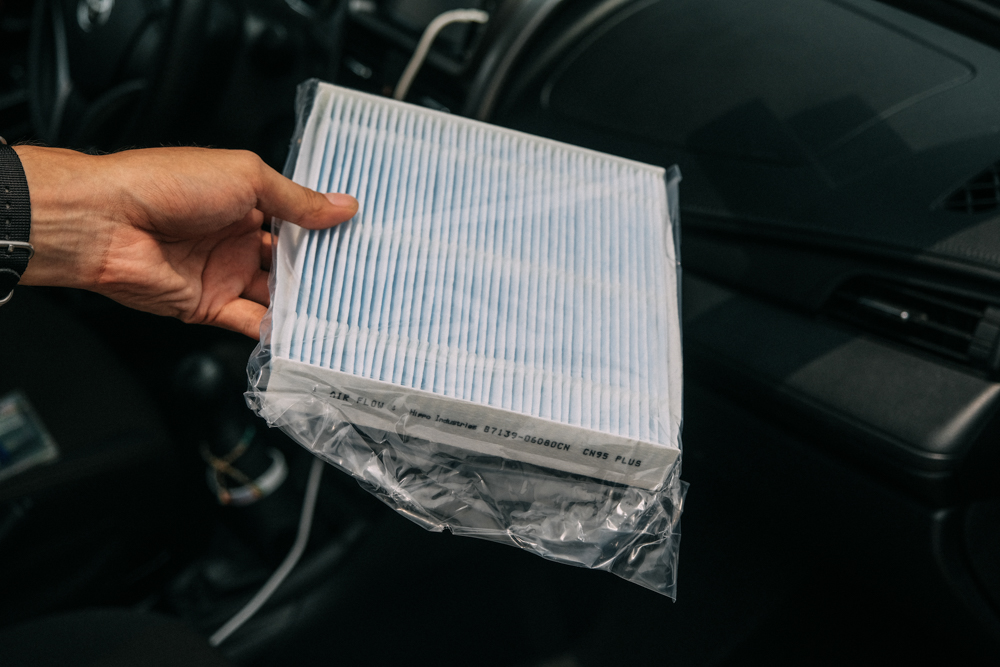
You can go OEM with your filter, but many aftermarket solutions exist for popular makes and models. Some are washable, some are carbon-impregnated, and some (like the one we’re installing today) are HEPA filters that can filter out even the tiniest particulates out of the air. Just make sure the filter fits your particular vehicle. If you’ll reuse your existing filter, you can shake off the dirt and give it a few blasts of compressed air to help clean it a little.
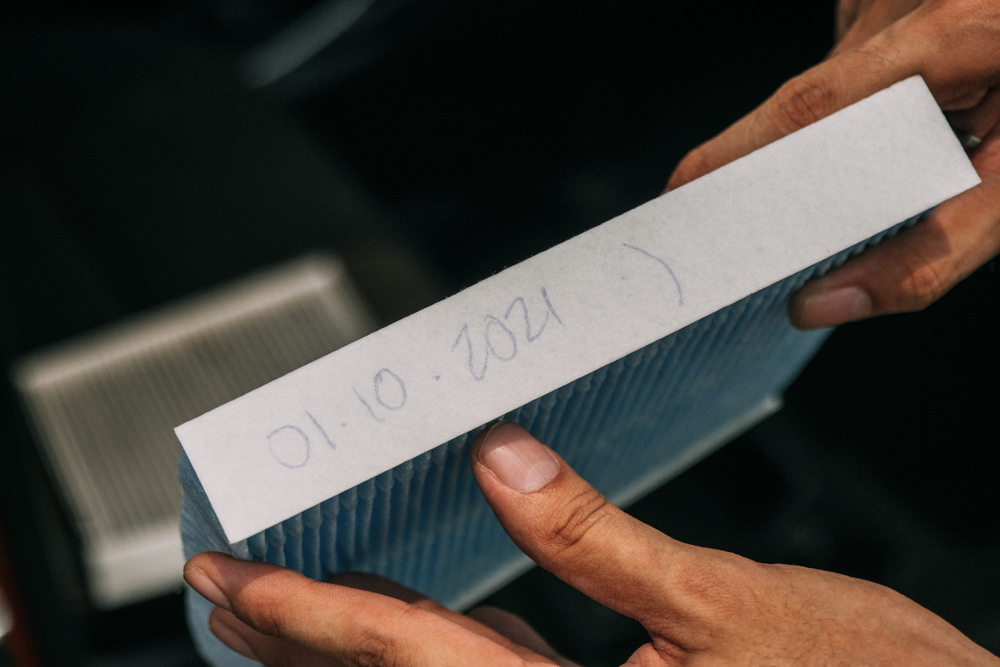
Take the time to mark today’s date on the filter. This makes it easier to figure out how old the filter is and if it’s due for replacement.
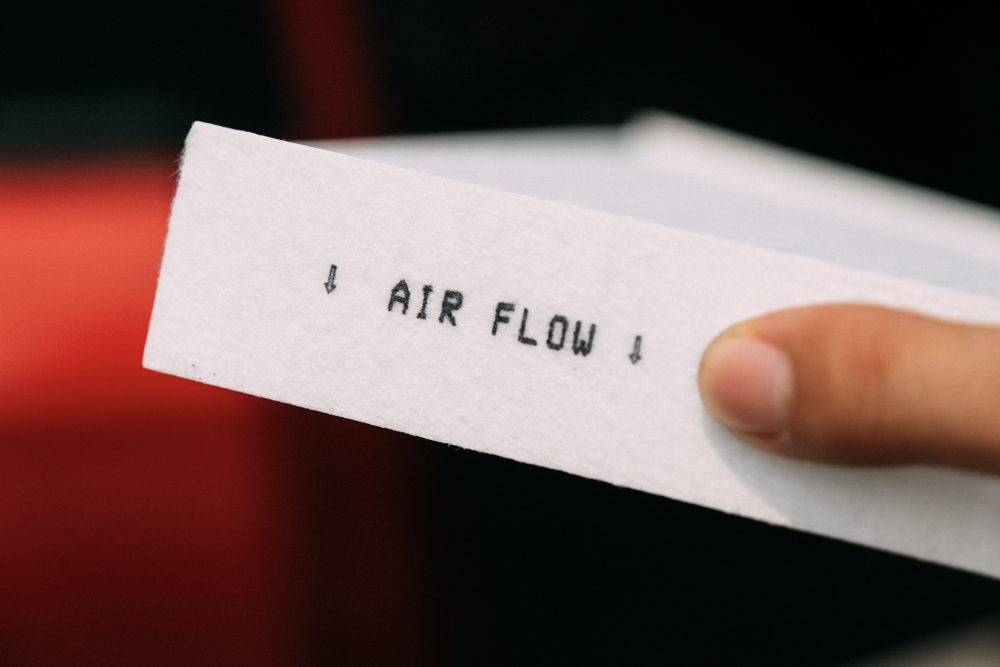
Prior to installing the filter, make sure you match the airflow direction marked on the filter media with the airflow through the airbox. This is especially important with placing back used filters, as you do not want months’ worth of accumulated dust to be blasted back into your face.

Insert the filter and replace the cover.
Reattach the glove box lid.
Checking and replacing your cabin air filter is one of the easier maintenance items that you can do at home. For the air quality we have, we recommend changing the filter twice a year. It pays to do this job regularly to keep your cabin air nice and clean.


Comments