One of the many joys of motoring is being able to tangibly examine and experience the mechanical intricacies of our vehicles, be it a project car or a daily driver.
However, many of us are a little afraid to tinker with our cars for fear that we might do something wrong and render them inoperable. So, we’re hoping to shed some light on minor DIY projects that you might consider doing to your ride.

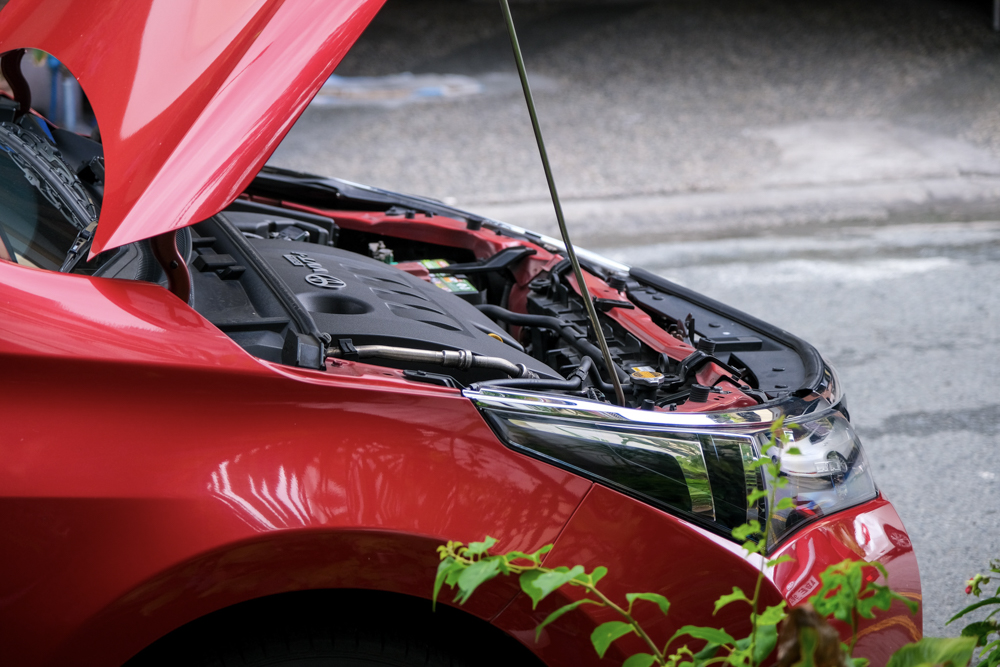
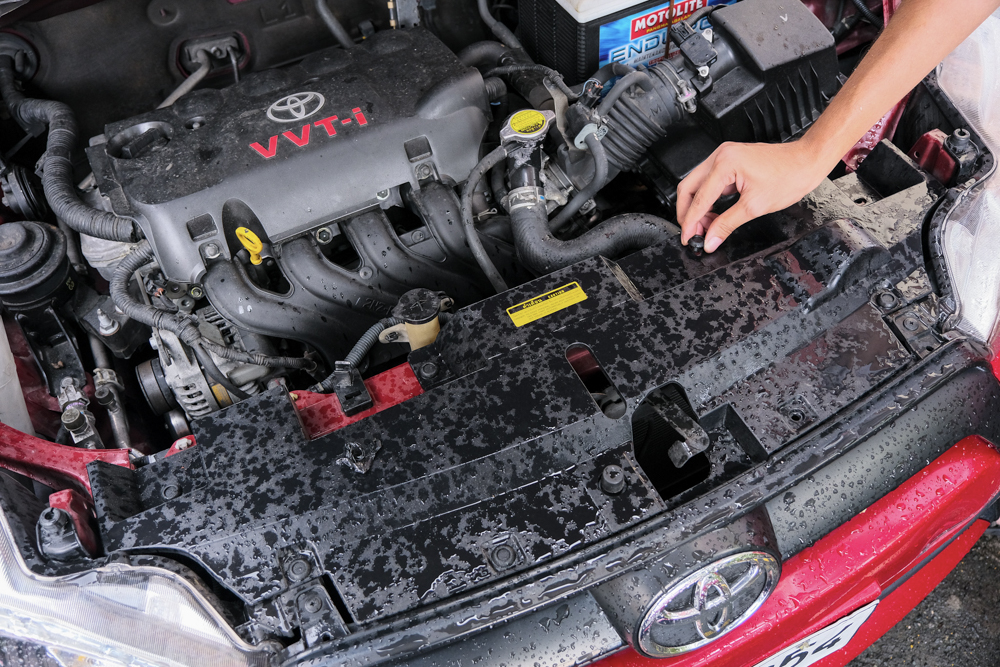
We’ll be installing PIAA’s Oto Style horn on two vehicles: a 2014 Toyota Corolla Altis, and a 2015 Toyota Yaris. We won’t go too deep into the process of installing the horns as we do not want to rehash information readily available either on YouTube or from the manufacturer itself. Instead, we’ll be focusing on how realistic it is to do a professional-looking installation despite it being a DIY job so you can gauge how difficult it may be for you.
First, let’s install the horns on the Altis. The stock horns are two-tone, with each horn getting its own wire. While the stock connector actually features a spade bit inside, we will assume that these are actually proprietary connectors so we can show you the process.
PIAA’s installation manual allows for these horns to be installed directly as they do not exceed the current draw for the circuit. We will show a second installation later on should your parts require more power.
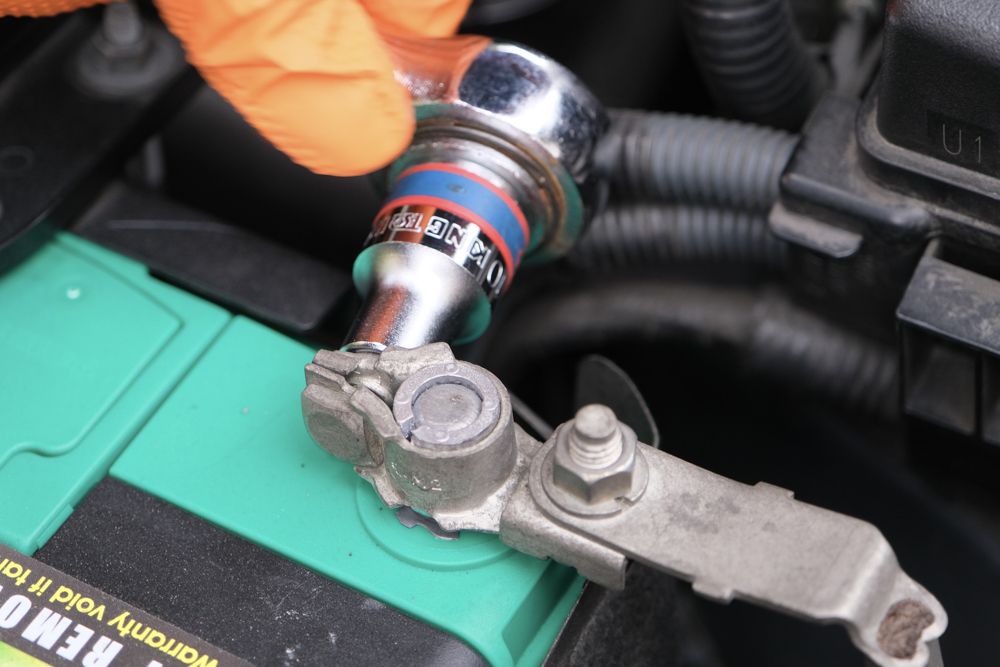
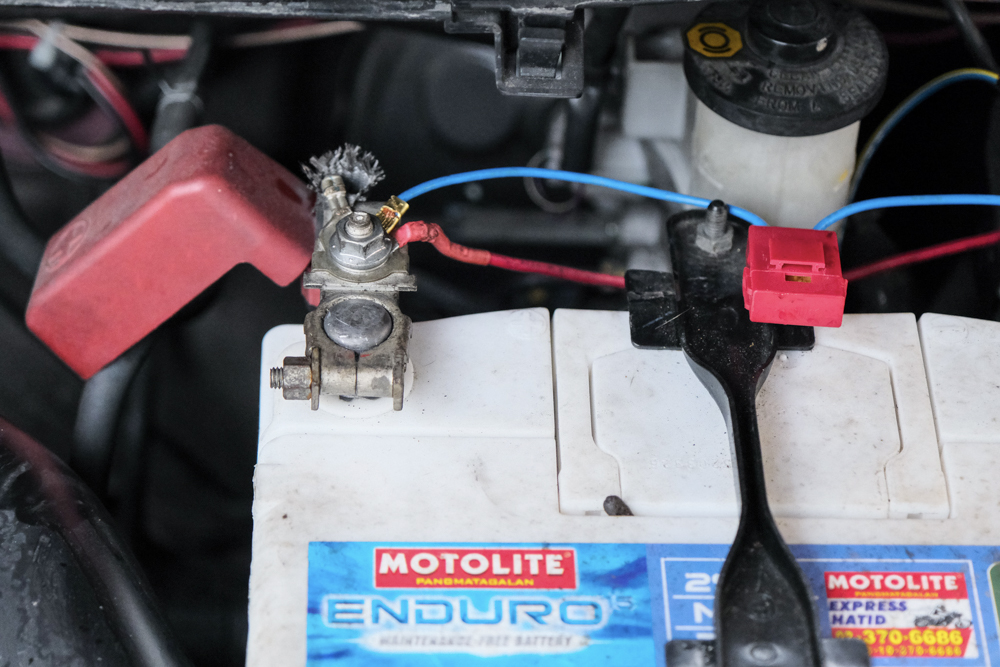
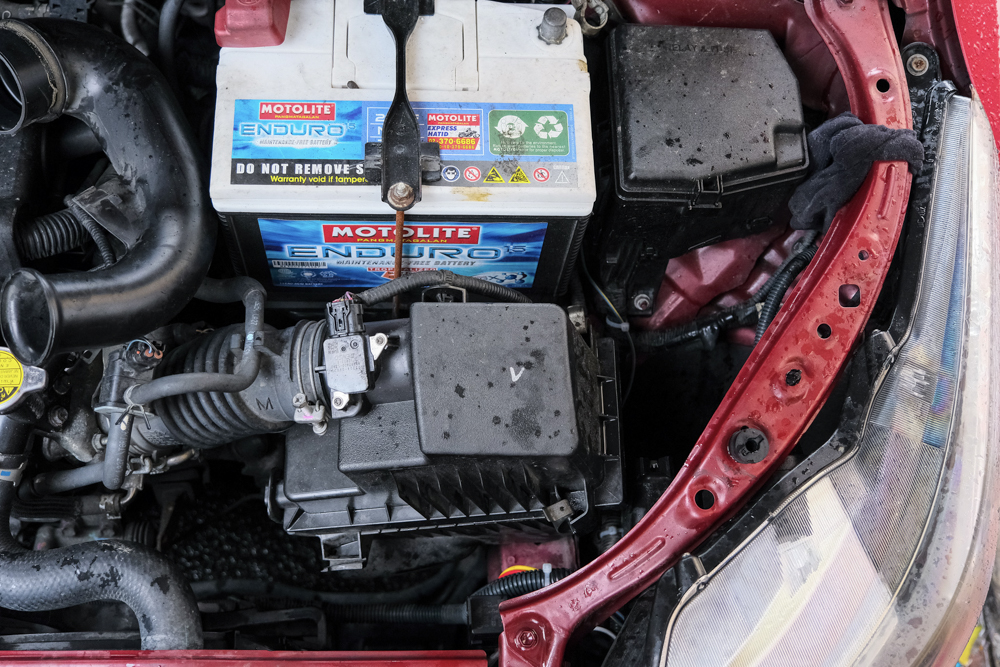
When working on electrical components, always disconnect the negative lead of the battery and tuck it away so it won’t accidentally spring back to touch the terminal. This reduces the risk of causing a short should your wire or tool inadvertently tap the chassis of the car (which is grounded).
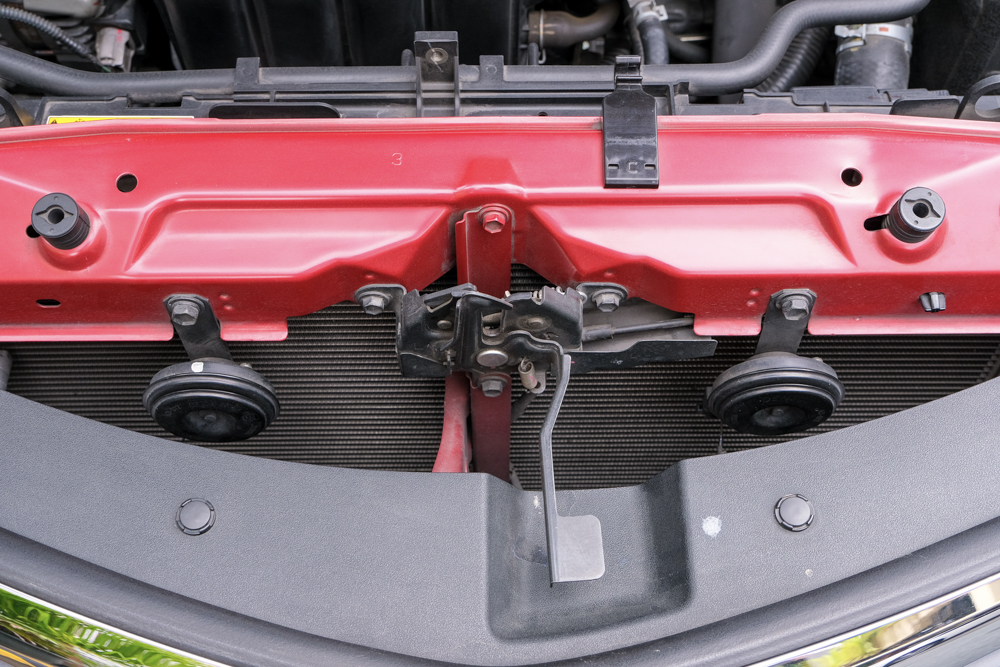
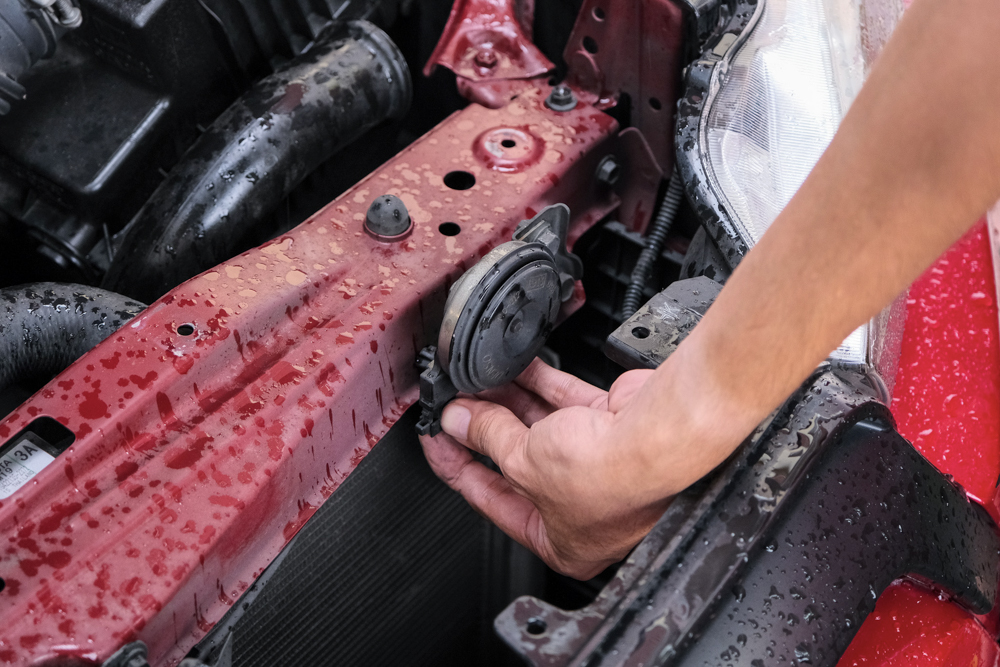
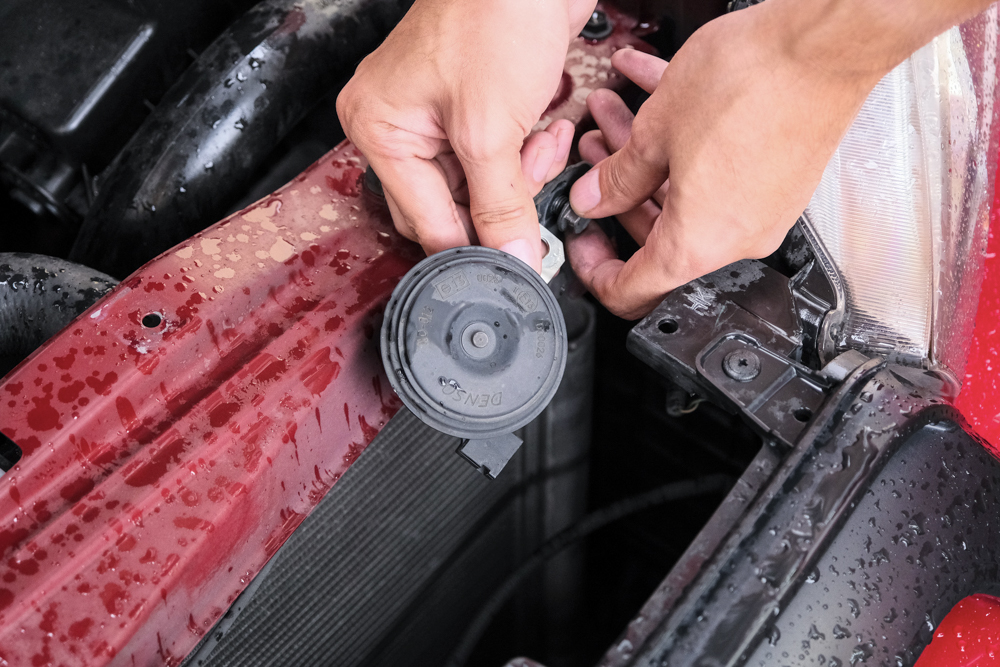
Remove the 12mm bolt holding the stock horn onto the car and disconnect the plug from the harness.

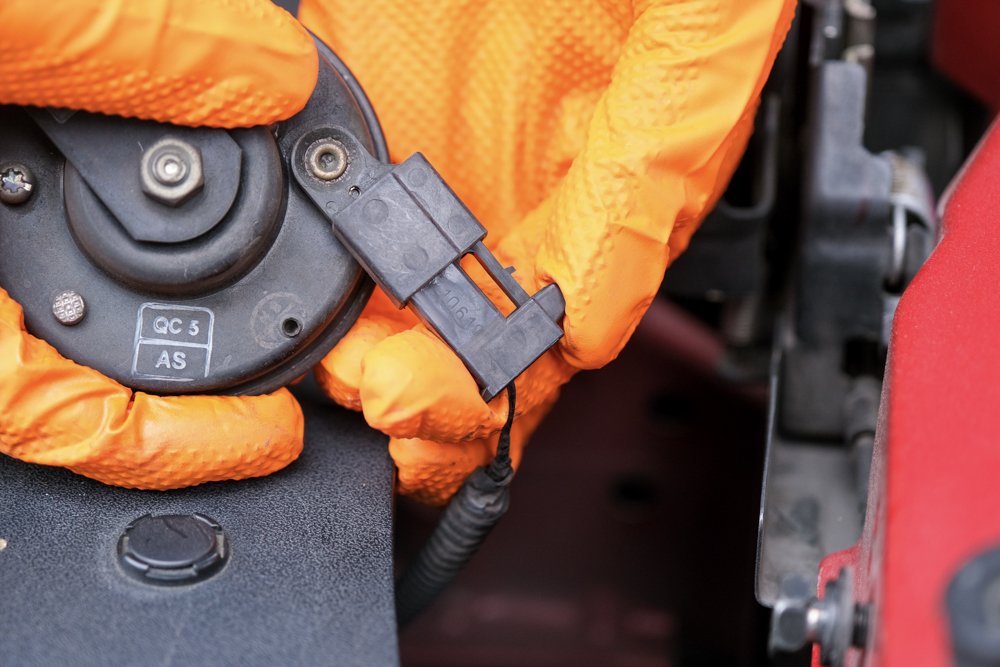
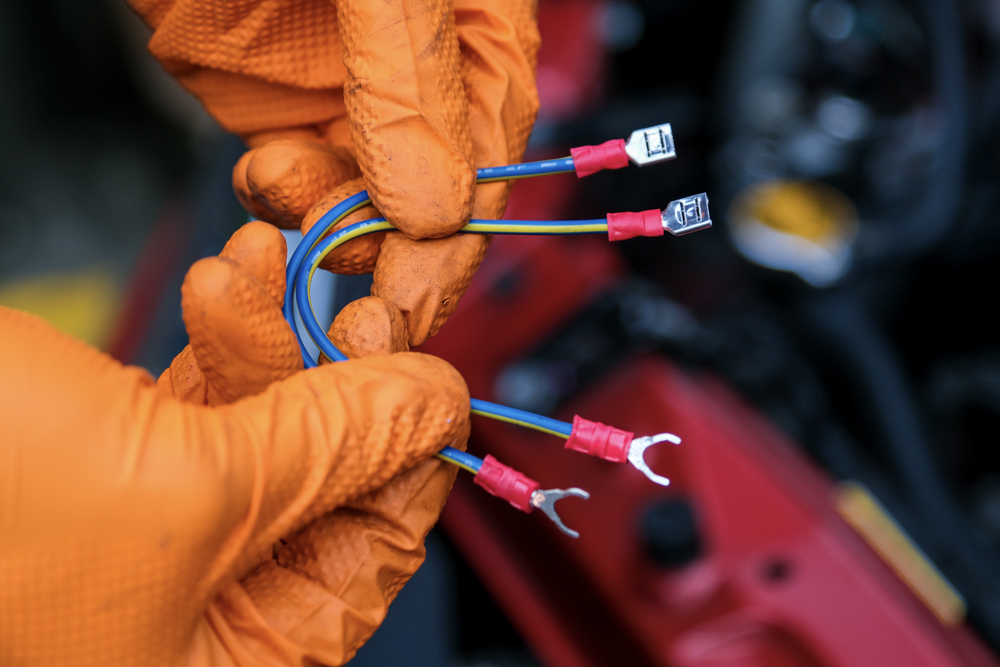
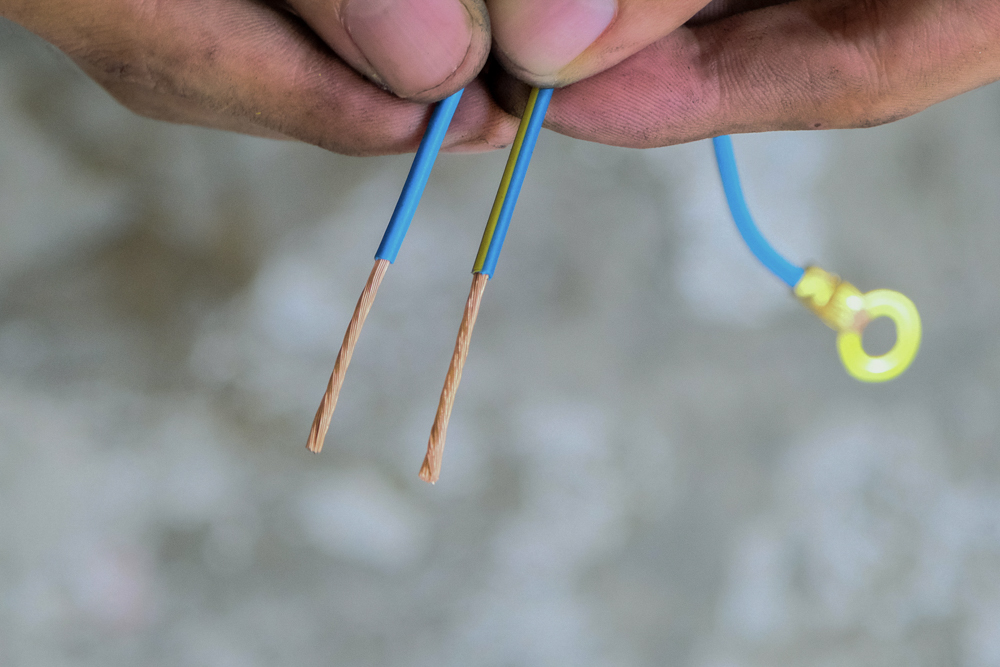
The stock horns have a single terminal, while the new horns use two terminals. This is because the stock ones use the casing as ground, which is then attached to the chassis by a bolt. Simply make a small jumper using 14 AWG wire with a fork terminal on one end and a spade terminal on the other so that you can attach one terminal of the new horn to ground.
We will be using crimp connections for the bulk of this installation. Proper crimp connections create a cold weld between the copper of the wire and the terminal itself, providing a solid mechanical and electrical connection. Some people opt to solder the termination after the fact, but we opted against it to retain the flexibility of the wire and prevent it from snapping off due to metal fatigue from vibrations.
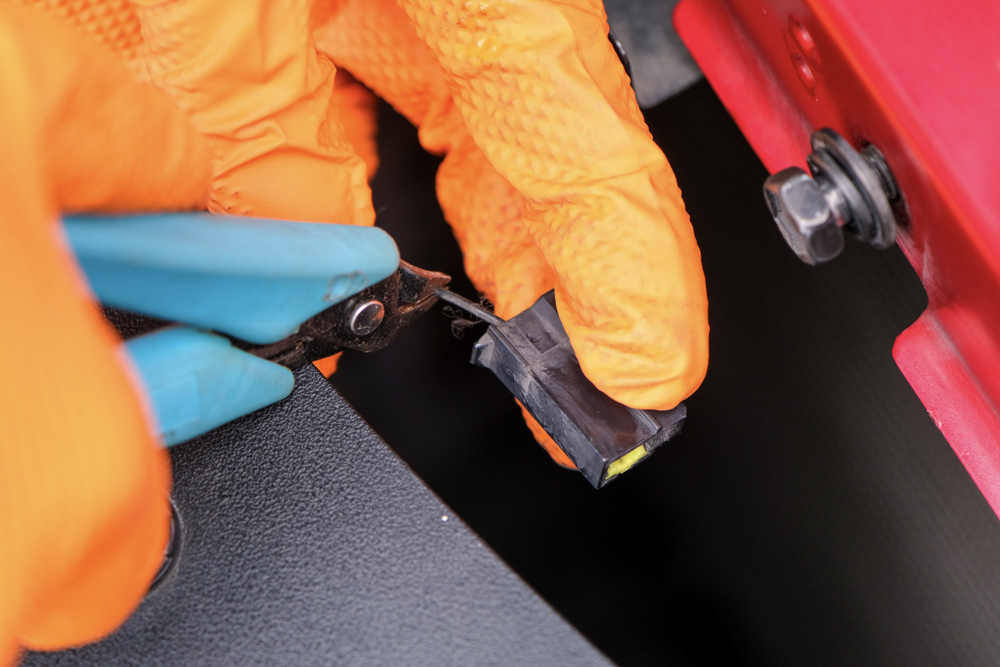

Cut the stock connector, pull back the excess loom, and attach a spade terminal.
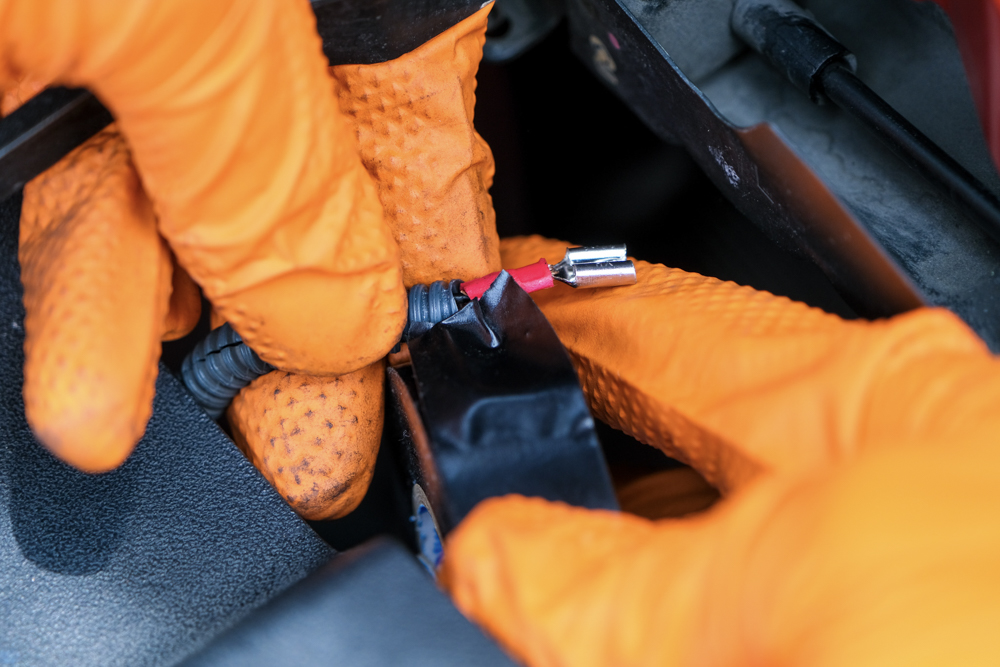
Wrap the harness in electrical tape to waterproof the connection.
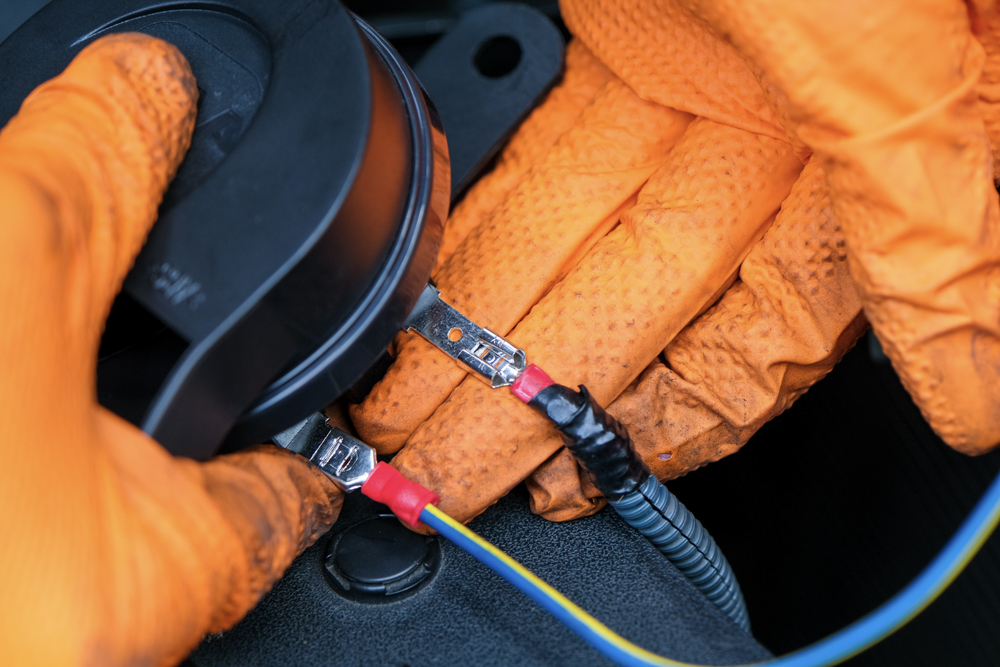
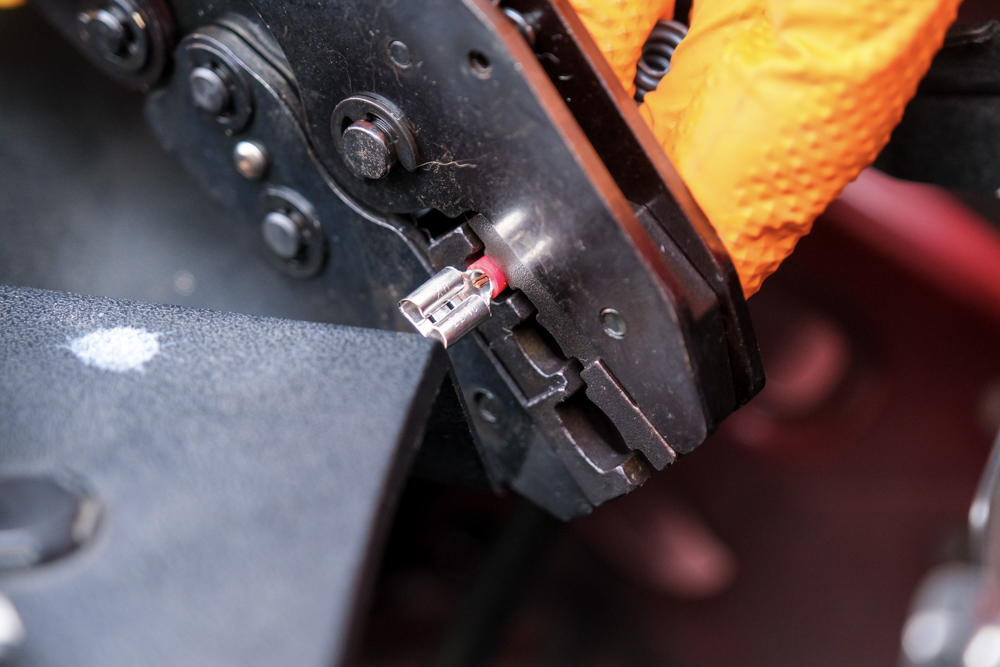
Connect the horns to the ground wire and harness, and bolt them down making sure the fork terminal makes good contact.
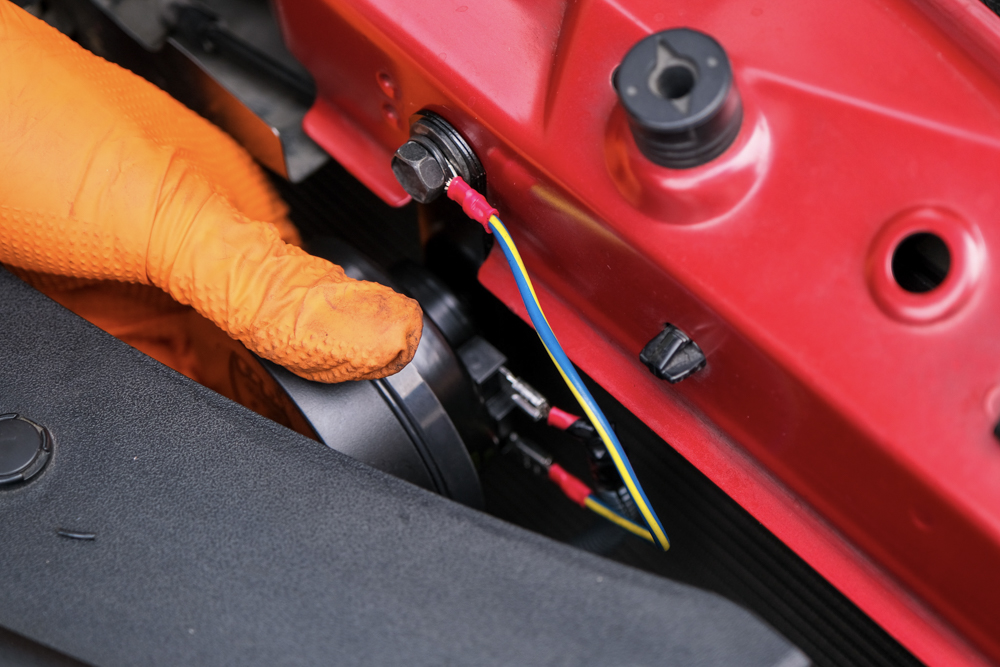
Finally, connect the negative terminal of the battery, and give the horns a test.
Easy!
Now, what if your horns need more power than what your stock wiring can provide? How can you even determine that?
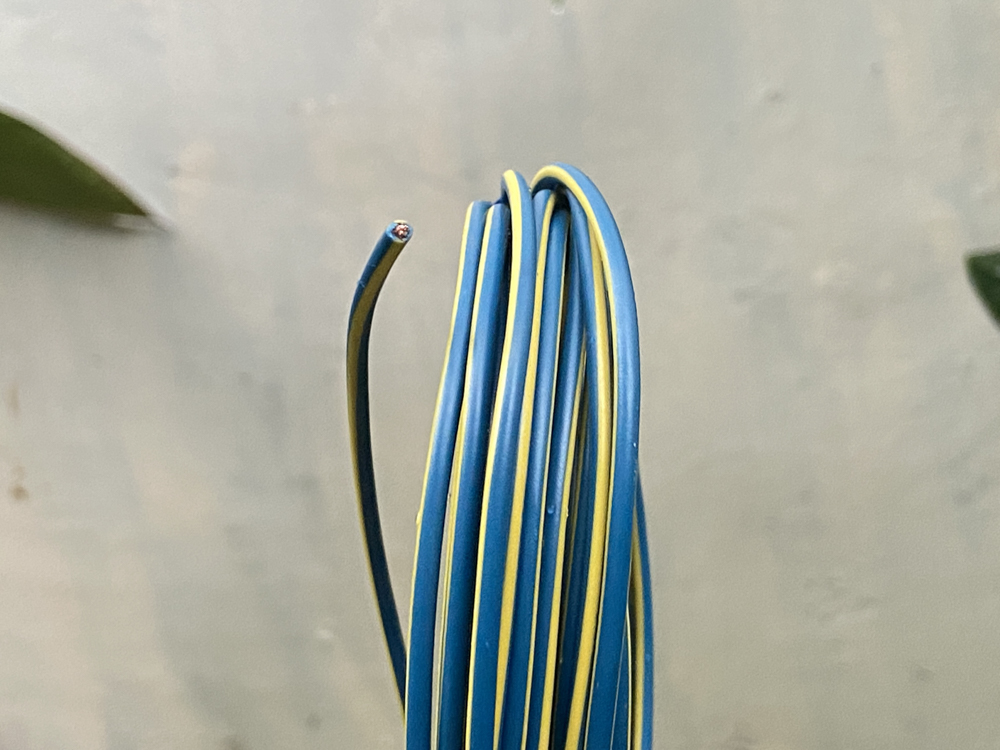
When picking out wires, they all have an American Wire Gauge size marked on them. This is a standard of measurement for the diameter of wire, with smaller AWG numbers referring to thicker wire that can handle more current.
If your stock wiring is too thin, trying to draw too much current through them can cause a fire. This is why sizing your wire and components correctly is essential for a clean and, more importantly, safe job.
If you need to trigger a large load from a small circuit, use a relay.
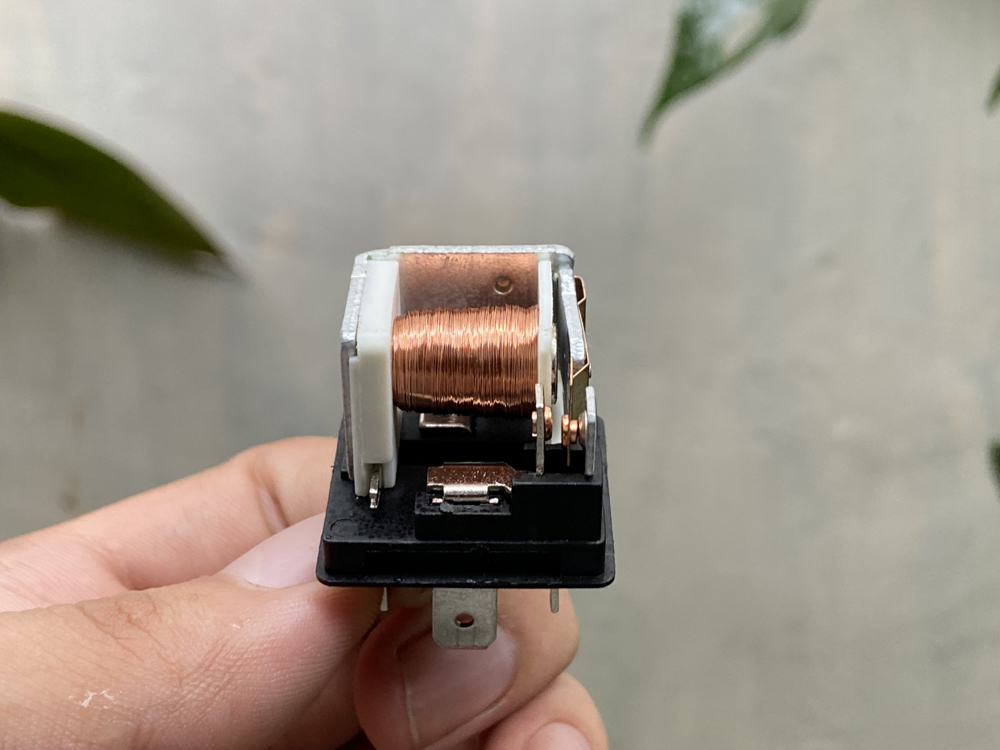
You can think of a relay as an electronically operated switch. Instead of your horn button providing 12V to your horns, it will instead energize an electromagnet inside a relay that closes a switch. This switch—often rated for high currents—can then be used to send battery power directly to your device (the horns in this case).
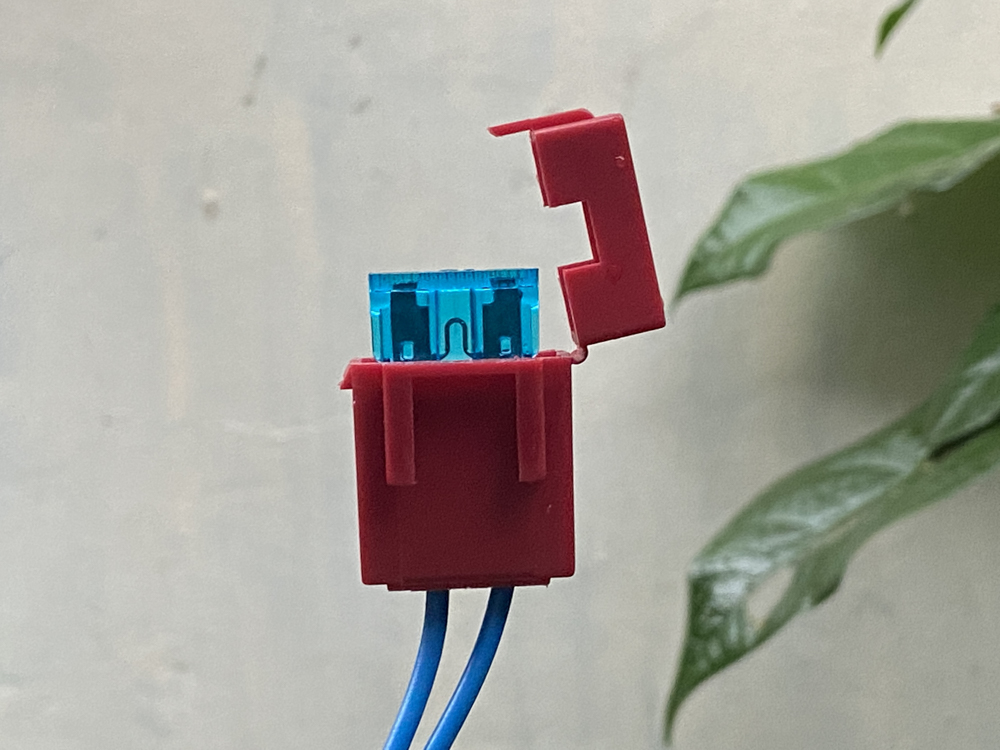
Every circuit in your car uses a fuse, and that includes new circuits that you must add. This is nonnegotiable. Car batteries can supply hundreds of amps instantaneously, easily turning wires red-hot and causing fires. In this case, we are using a 20A fuse—higher than the load being powered but much lower than what the wire is capable of delivering. If the circuit starts to draw just beyond 20A, the fuse should trip while our wiring and relay run below their limits and stay cool.
You can check how much power your stock circuit can deliver by checking the ampacity of the wire size and the fuse rating. Pick whichever value is smaller, and that’s your current limit. Another thing to keep in mind is that longer lengths of thinner wire may cause a voltage drop on the other end due to the resistance of the wire. For the Yaris, the stock horn circuit can handle the additional current, but the voltage drop at the horn itself is less than ideal. Hence, we must install a new circuit that’s relay-switched.
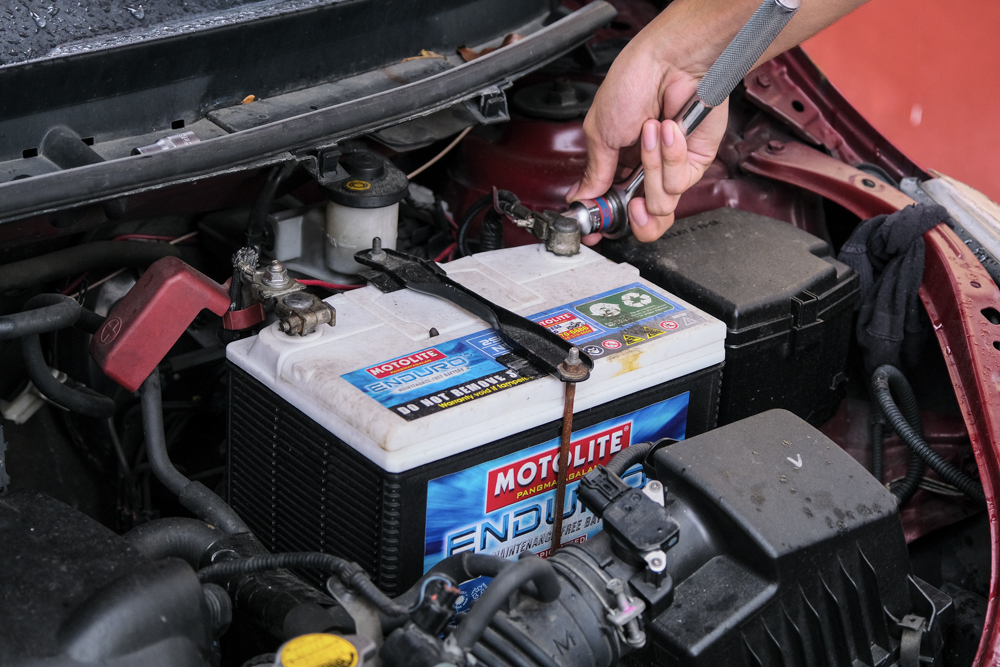
As with the earlier install, start by disconnecting the negative terminal of the battery.
Notice how I’m not wearing gloves in this install (sorry). Gloves are a great way to protect your hands from dirt and the chemicals that may exist in your engine bay. Forgetting to wear them is a sure way to end up with soiled hands afterward.
Detach any pieces of trim that conceal the horn so you can remove it from the vehicle.
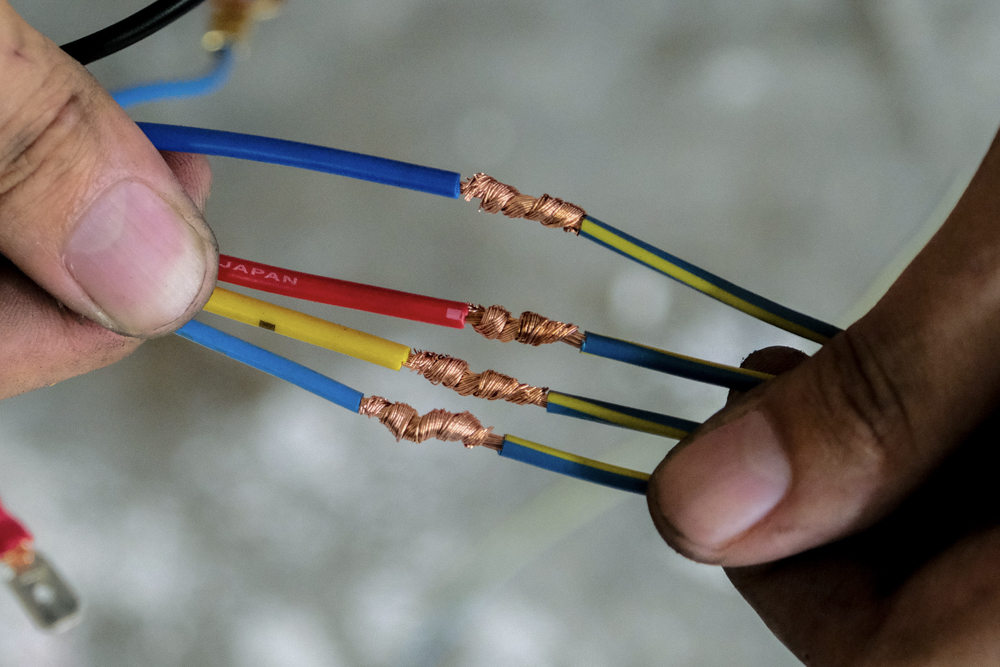
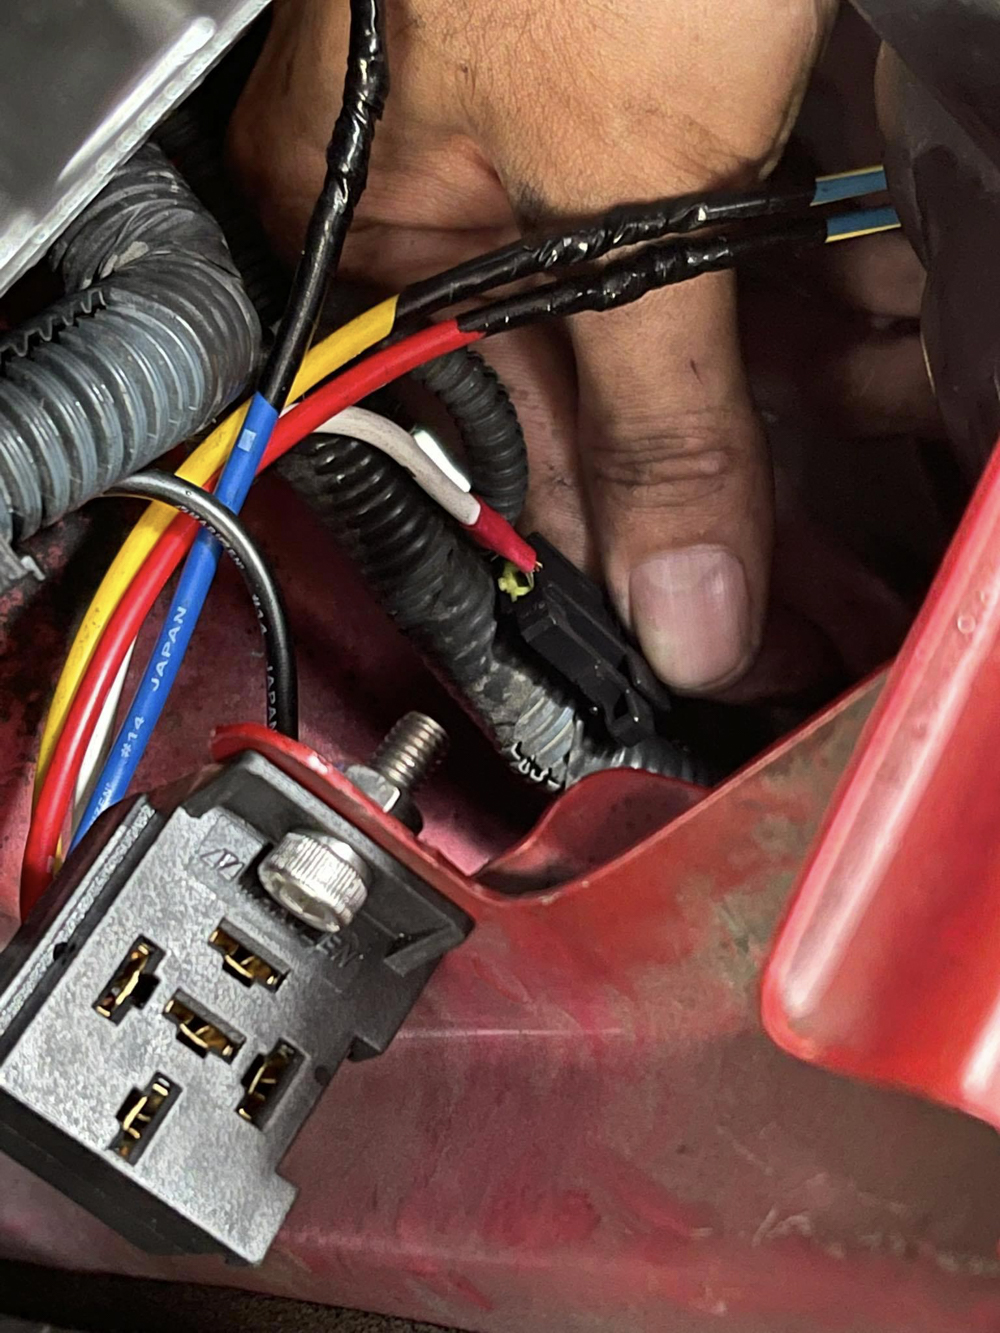
While crimped terminals are used for connections, a Western Union splice is utilized for joining wires.
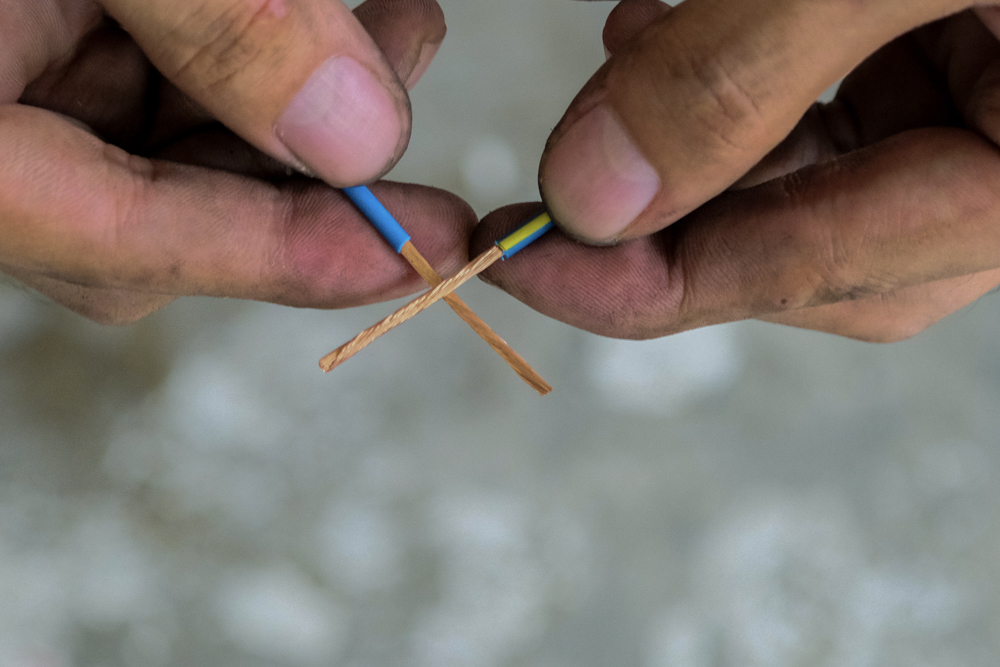
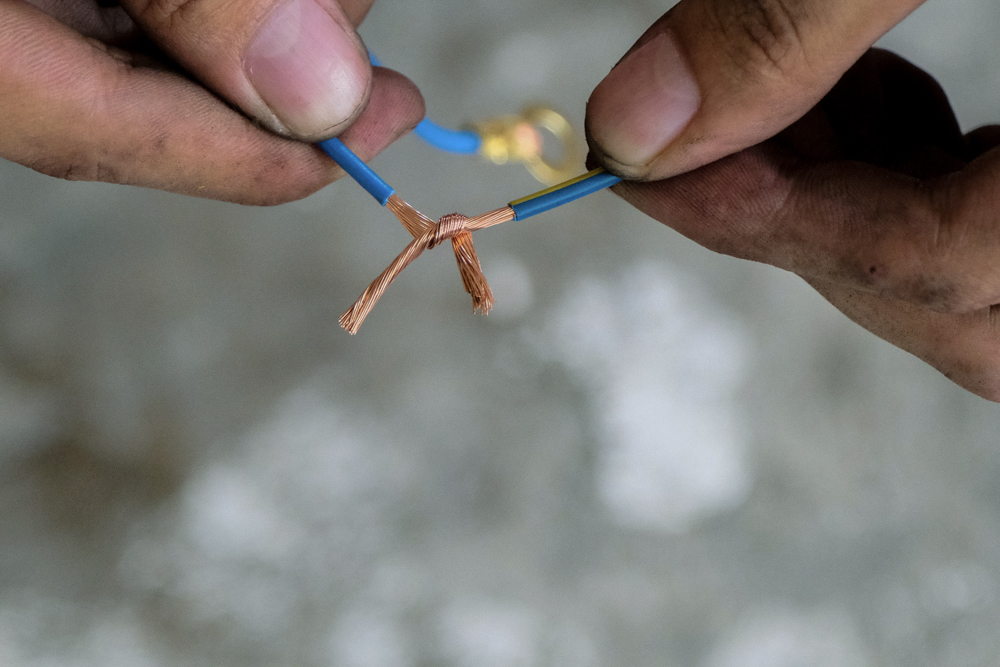
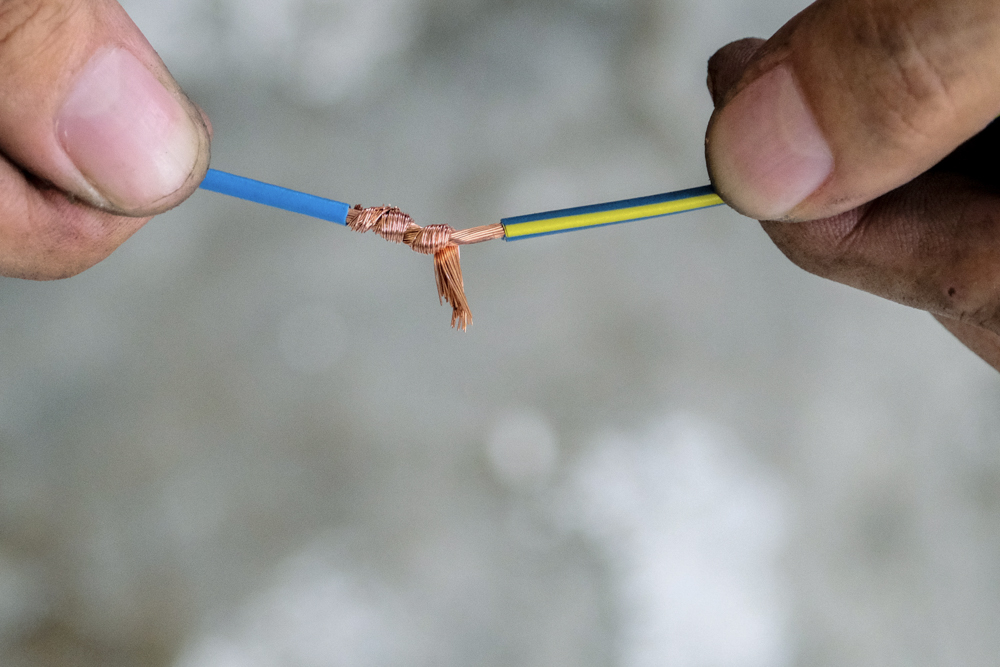
When done properly, the splice should be stronger than the wire itself.
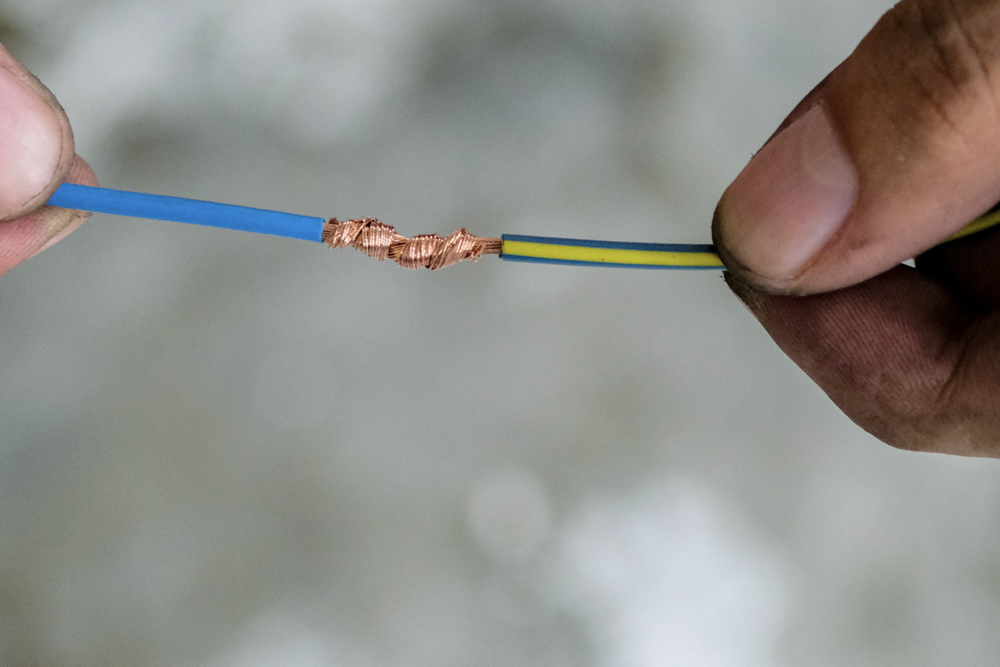
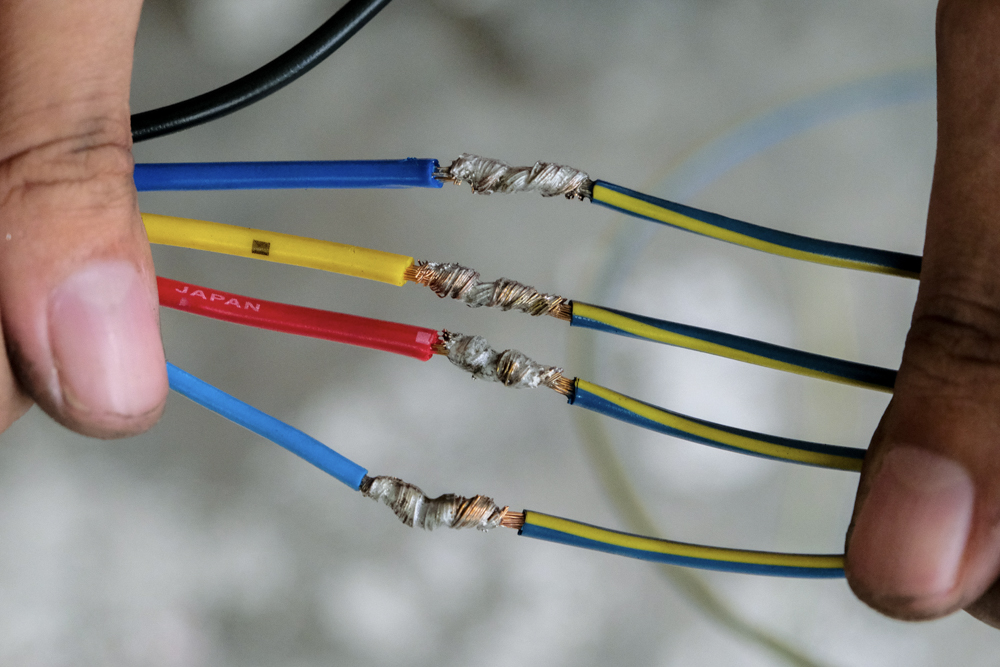
Since the wires themselves should have minimal flex when anchored properly, some solder can be added to make sure the connection stays corrosion-free.
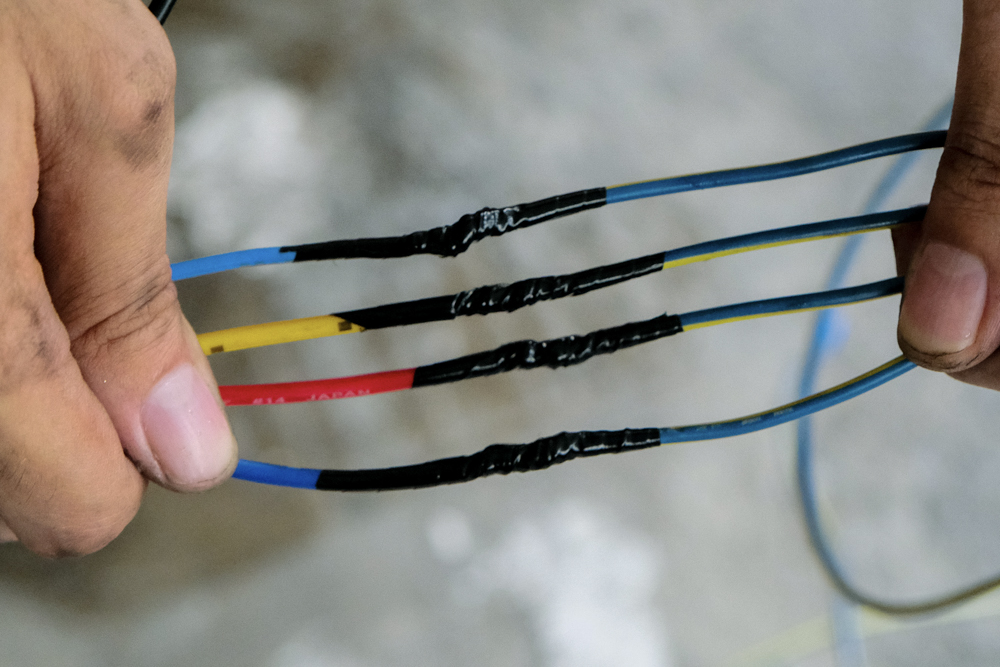
Wrap the splice in electrical tape for extra protection and insulation.
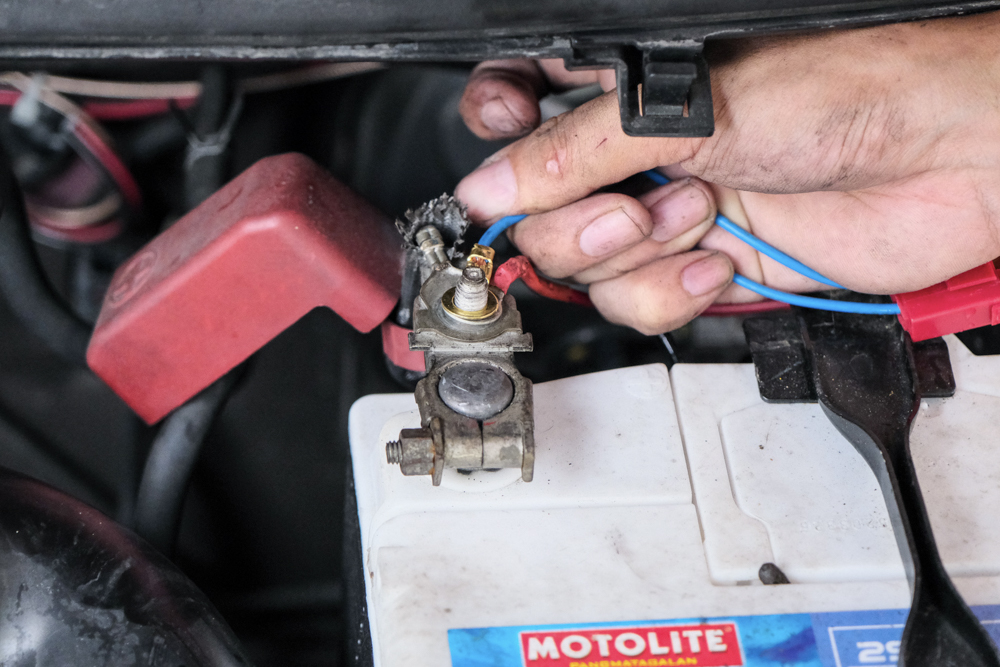
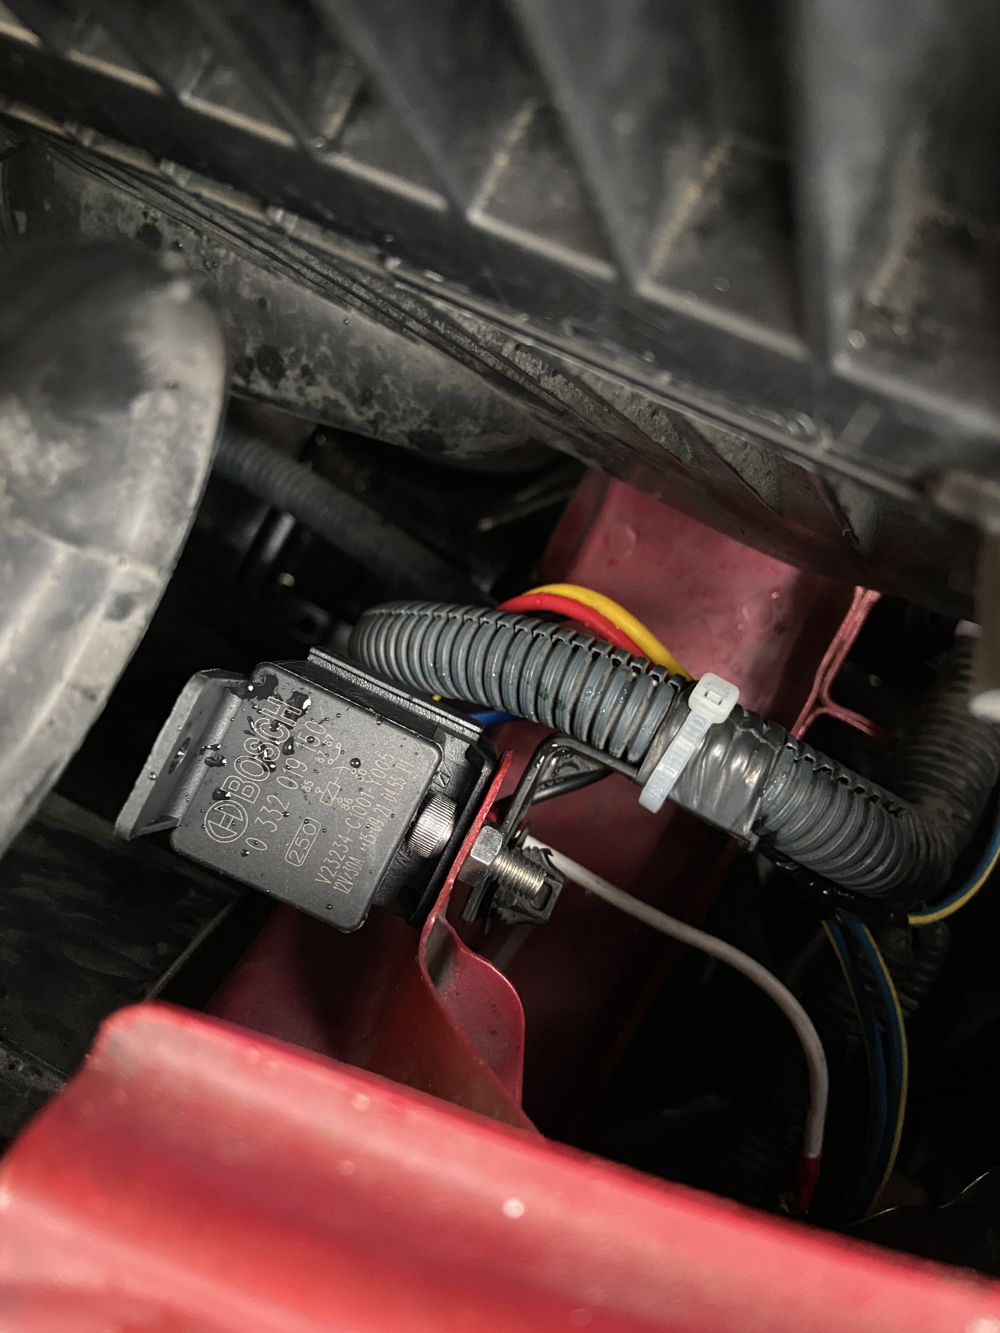
Install the fuse in series with the new circuit, and put it as close to the battery as possible.
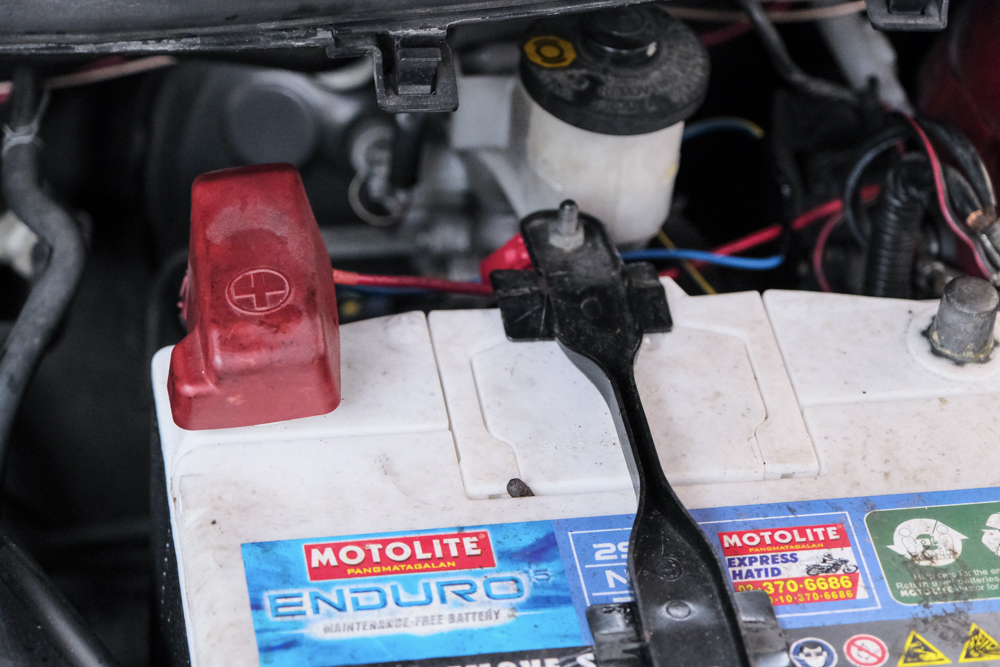
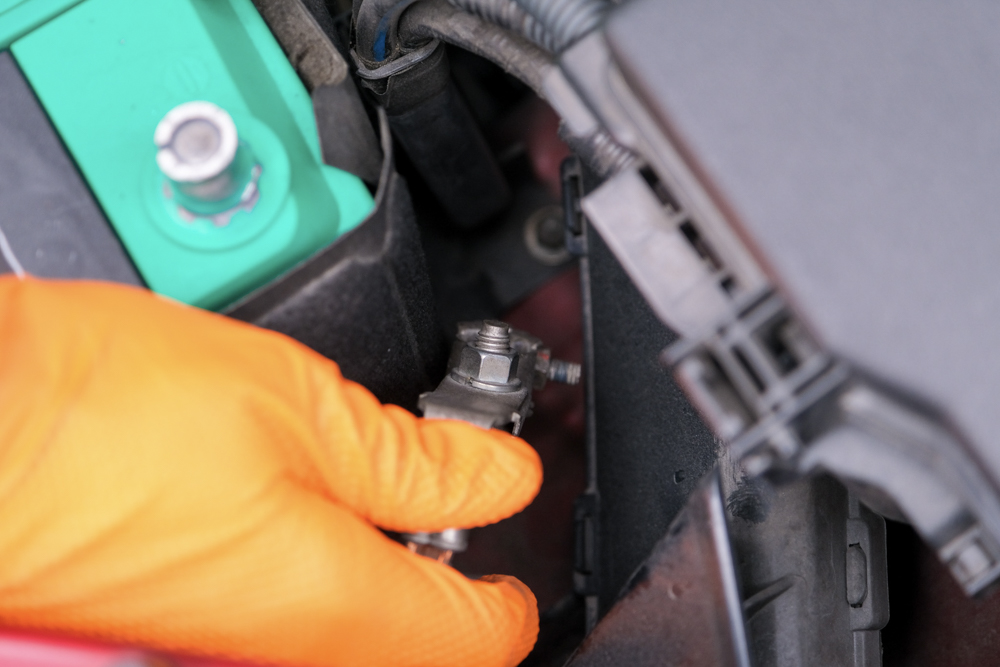
Don’t forget to put back the positive terminal cover. It’s very easy to short it to ground given that every single exposed metal around it is a ground.
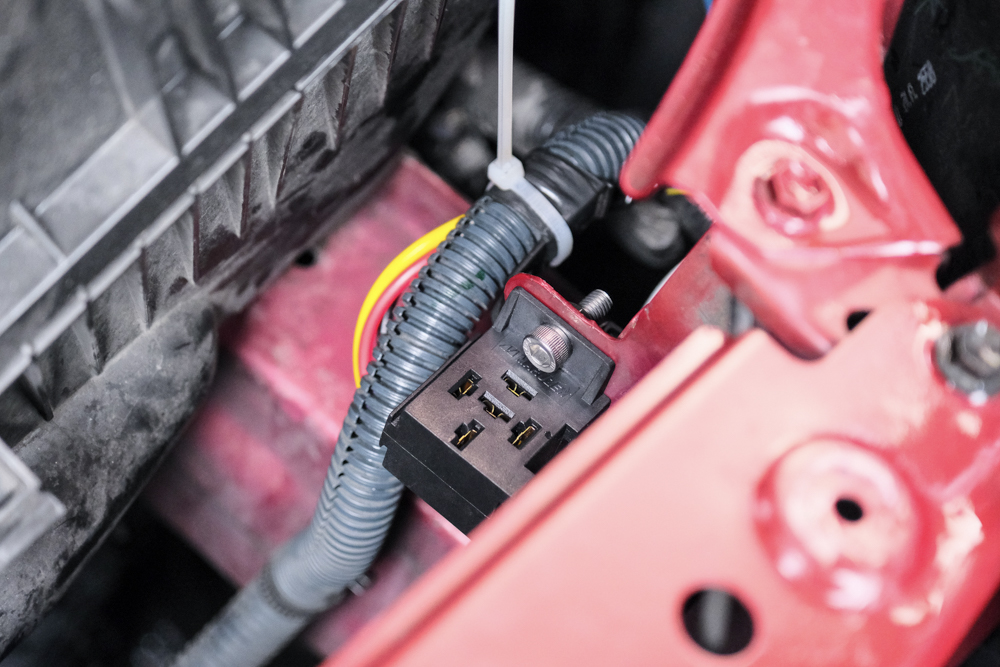
Next, install the relay. While you can use a bunch of spade connectors to hook up to the relay, a dedicated relay holder is cheap and ensures a clean connection. Mount it somewhere relatively dry and not too exposed to the heat of the engine.
Tap onto the existing horn connector using a male spade connector, and wire this to the relay’s electromagnet. Attach the other end of the electromagnet to ground using a fork connector to complete the circuit. Hitting the horn button energizes the relay and delivers battery power to your horns to make them work.
Properly tuck the wires using zip ties to minimize flex and reduce the likelihood of metal fatigue occurring due to vibrations. Make sure you cut the zip ties flush as anyone else working on your vehicle may injure himself with the sharp protrusions.
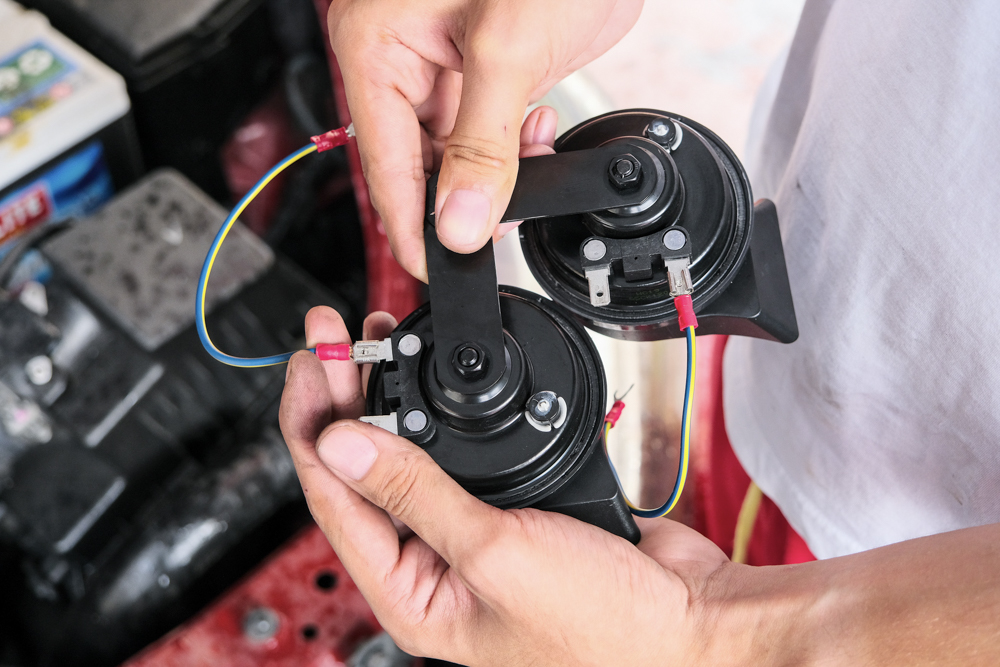
Just like with the Altis install, connect the second horn terminals to ground using a spade-to-fork wire.
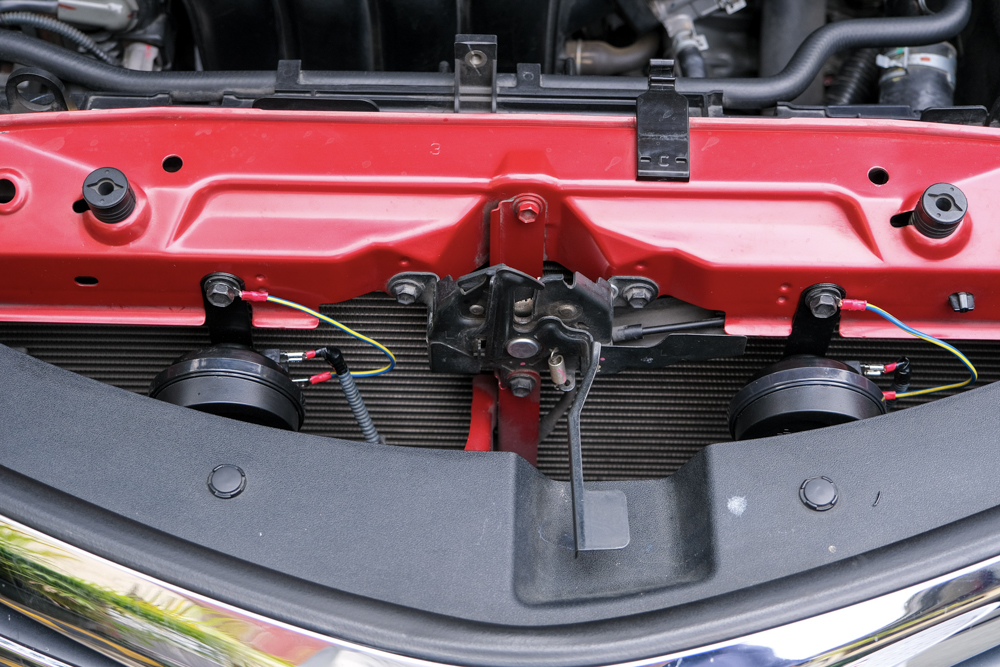
Give your handiwork a top-to-bottom inspection to make sure that your wiring is correct and that your connections or circuit elements are not rubbing or touching anything sharp or hot—or unsecured in a manner that would cause them to move excessively.
Once done, reattach the negative pole of your battery. Your horn is now installed.
It’s relatively easy to replace a simple device like a horn or install a new circuit, but it takes a certain amount of attention to detail to ensure that you install it correctly and in a manner that guarantees the reliability and the safety of your vehicle and its occupants. Being a responsible owner means being meticulous and adopting best practices instead of doing a bara-bara job just to get it over with. One of the benefits of doing things yourself is that you can be sure of the quality of work that goes into the task at hand, but it also means you have to step up and do that quality work yourself.
It’s fun to tinker with your vehicle. But as with many things in motoring, it’s best to set your ego by the door and be realistic with what you can and cannot do. However, if you think you’re up for the challenge, being able to make something and being proud of it is something very rewarding. The satisfaction of a job well done is something that not a lot of experiences can match or surpass.


Comments