Even before the invention of social media, various online platforms have been rife with viral dashcam videos both locally and abroad. From quirky road incidents to the downright dangerous and life-threatening, these ubiquitous cameras have been integral to recording these moments, and you might want to have them too because, you know, just in case.
Our visual editor Sam Surla has finally bit the bullet and purchased a dashcam for the Mazda CX-8 he recently acquired, so we can show you how an install usually goes. Other cars are built differently so the installation steps on your vehicle might vary, but the general process should more or less go similarly.
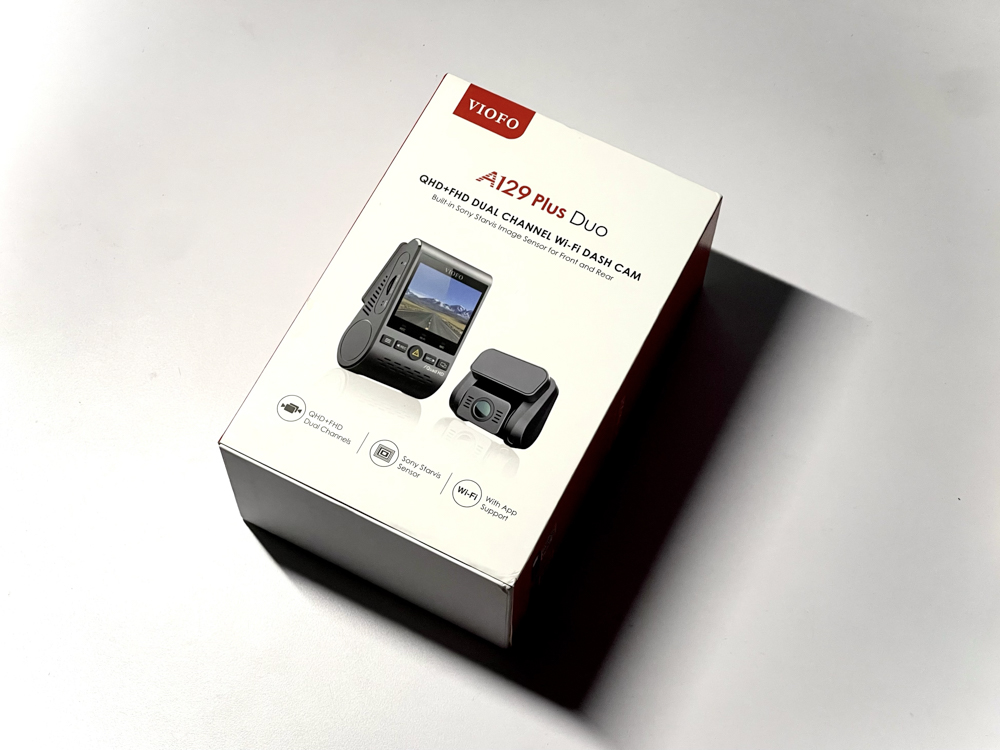
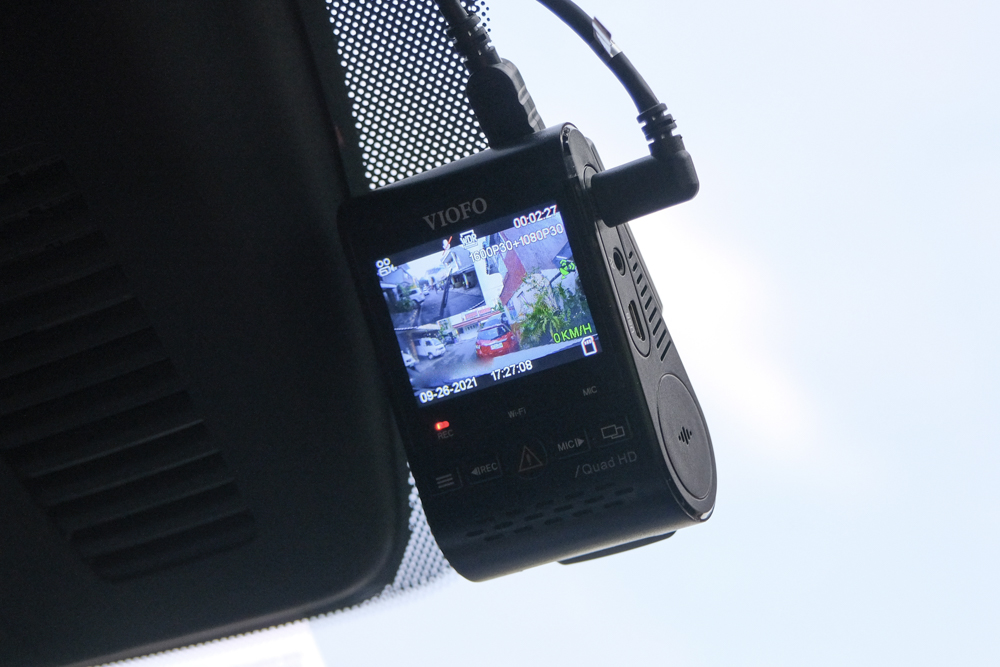
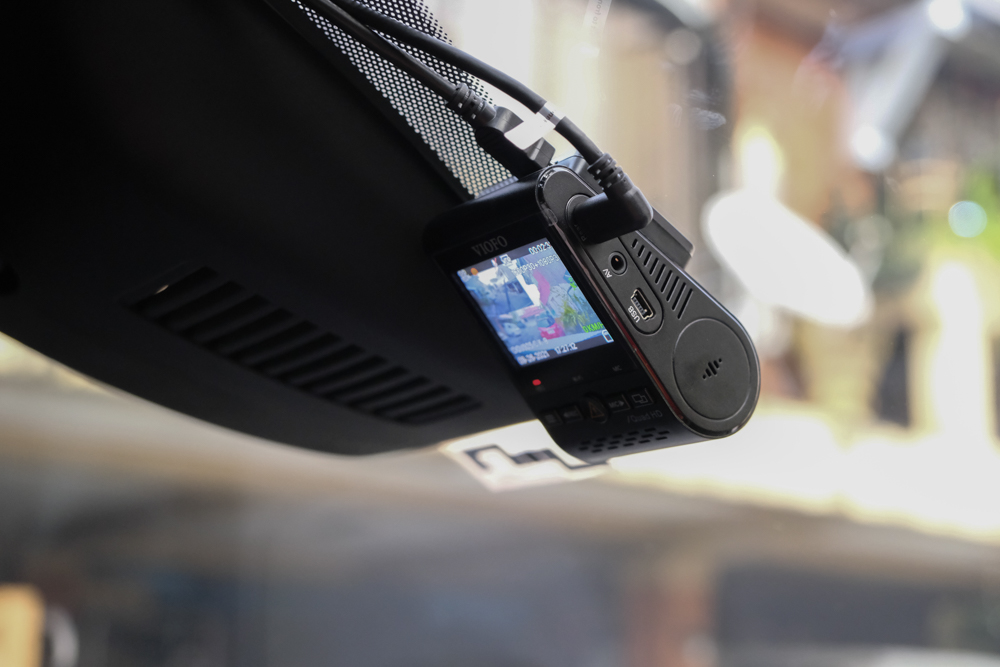
We’ll be installing this Viofo A129 along with its included rear camera so we can cover the sheer talent of our metro’s drivers from both the front and the rear of the vehicle. The market has been flooded with different dashcams with varying form factors, features, image quality, and price ranges, so you can find one that best fits your needs. We originally planned to power the dashcam via a fuse tap but decided against it so as not to void the warranty of the vehicle. We will be powering the whole setup using a spare accessory port instead with the included USB adapter.
The difficulty of the install varies with the car, any additional features you want to add, and how clean of a job you want to make. On something like my 2015 Toyota Yaris where I only have a front-facing dashcam, I simply tucked the power cable along the headliner, ran it down the A-pillar, and passed it behind the glove box before exiting near the accessory power socket.
On Sam’s CX-8, however, we have to run the rear camera’s cable alongside the dashcam’s power cable, all while making sure we do not interfere with the airbag system. Most importantly, we want this install to look as clean as possible.
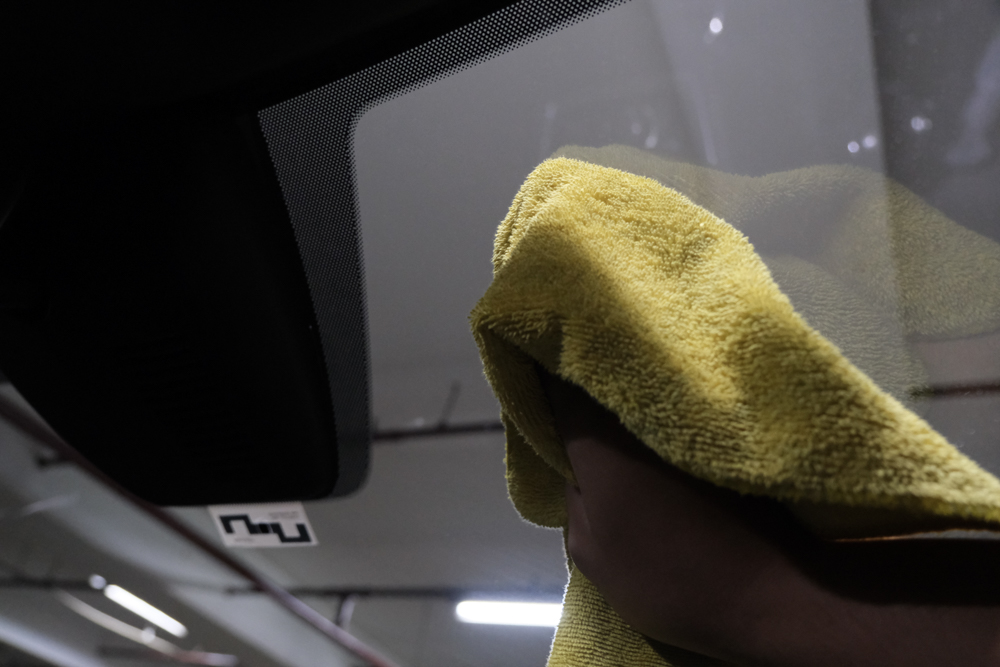
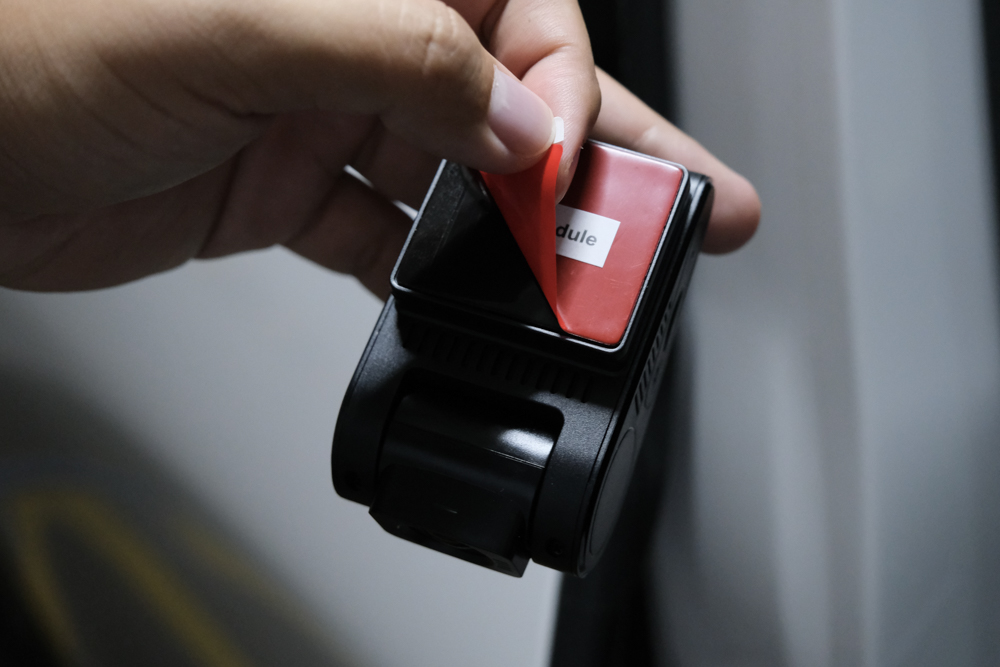
Once we’ve decided on a spot on the windshield that’s easy to access, has a good view of the road, and is not distracting to the driver, we clean the glass with alcohol. Then, we peel open the adhesive and stick the camera on.
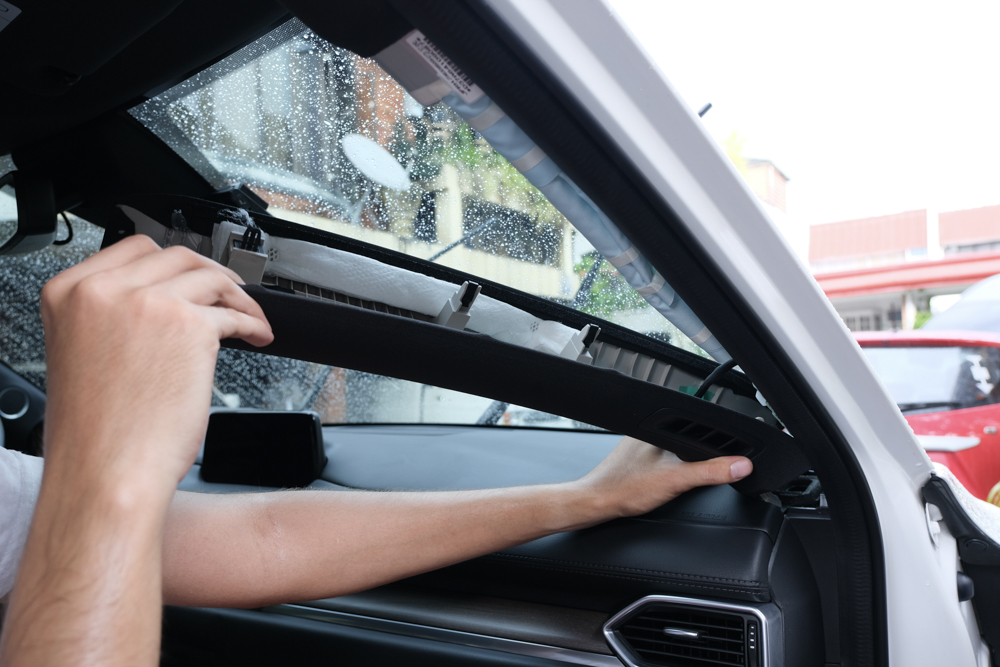
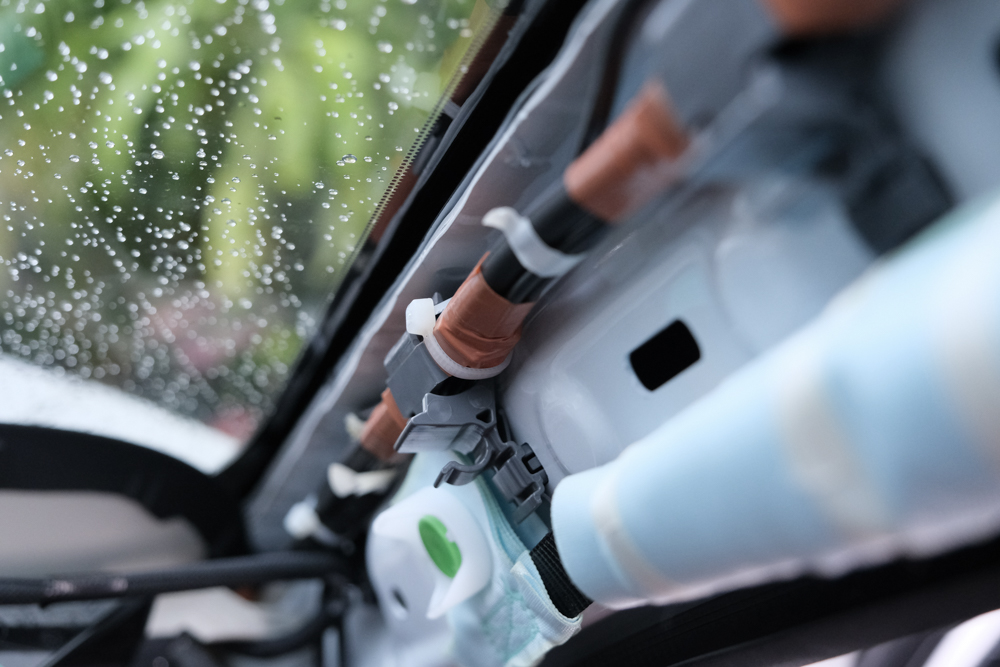
To run the cables, we first remove the A-pillar trim by yanking it on one side to disengage the body clips, unhooking a tether, then pulling it the rest of the way.
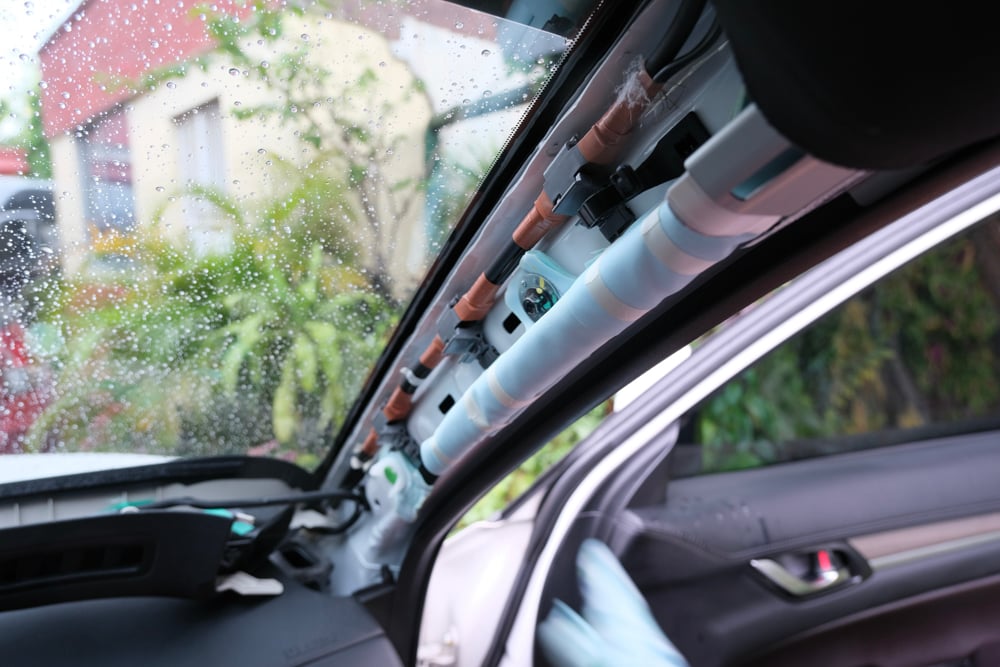
This exposes an airbag. Take great care not to puncture or shock it and its explosive charge, and make sure nothing interferes with the path of airbag deployment. Airbags must be treated with respect given their explosive nature.
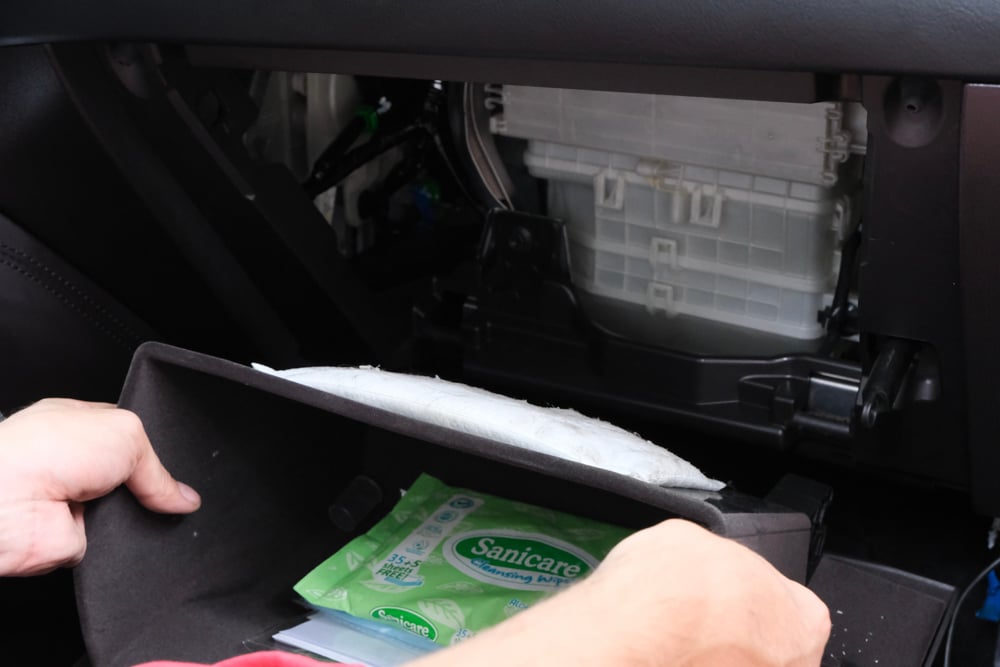
We also removed the glove box by disconnecting the damper and squeezing the rear until it unclips from the dash.
Do some research online to see how people installed their cameras and other similar accessories. If you can’t find any material specific to your vehicle’s make and model (like we did), then check other models produced by your car’s manufacturer. Often, they’re constructed similarly enough to gain insight, but do proceed with caution to not damage anything inadvertently.
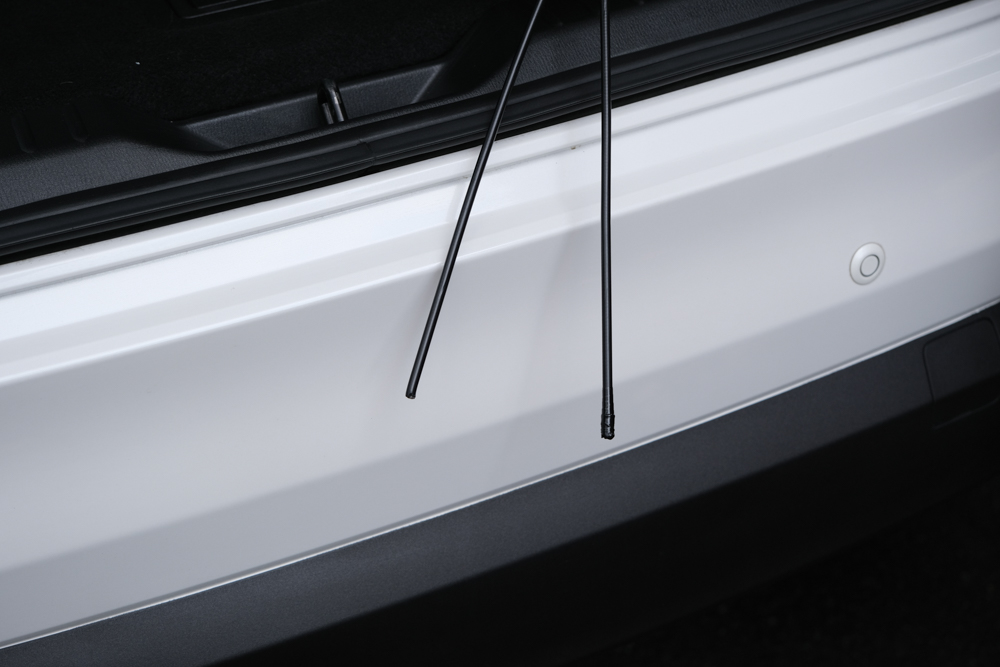
We used an old bicycle brake-cable housing with the end taped as a homemade fish tape. It’s much easier to poke this through tight spaces.
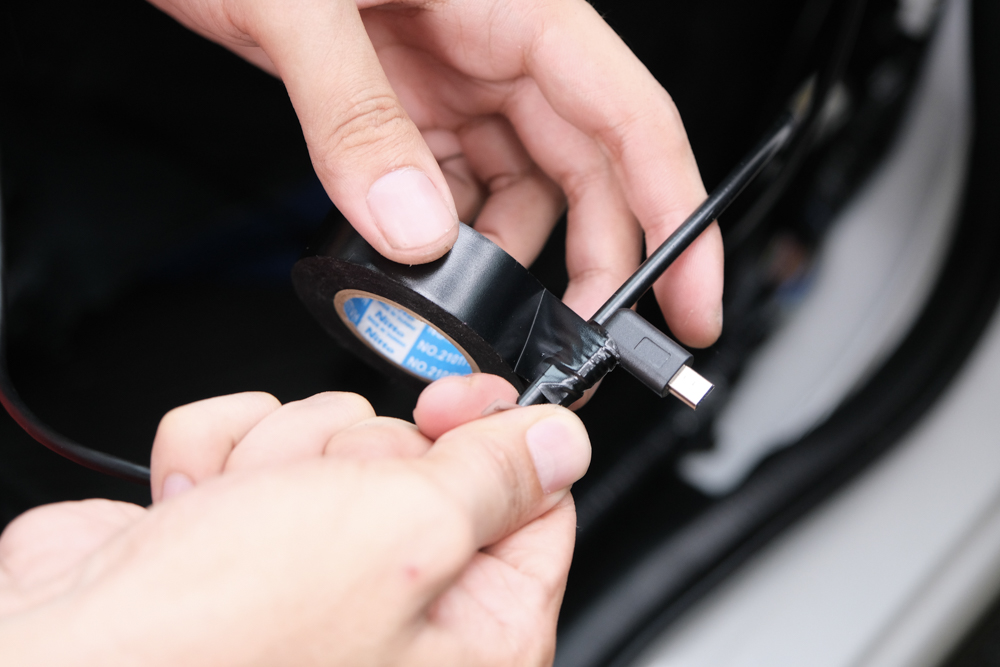
Tape the cable on one end then pull it through.
We do this twice to run the power cable and the camera cable to the rear dashcam.
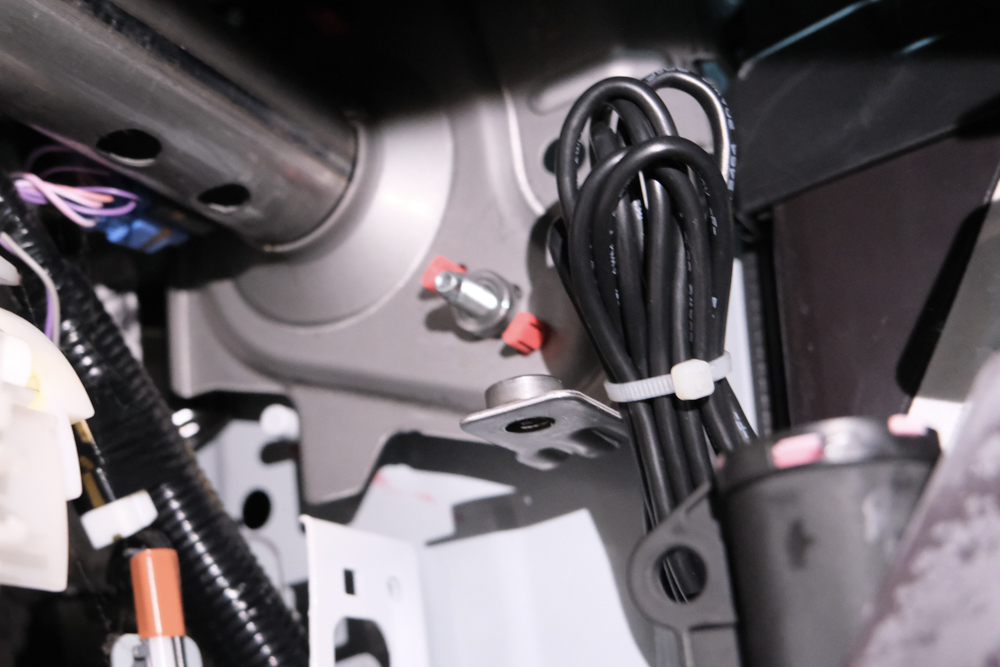
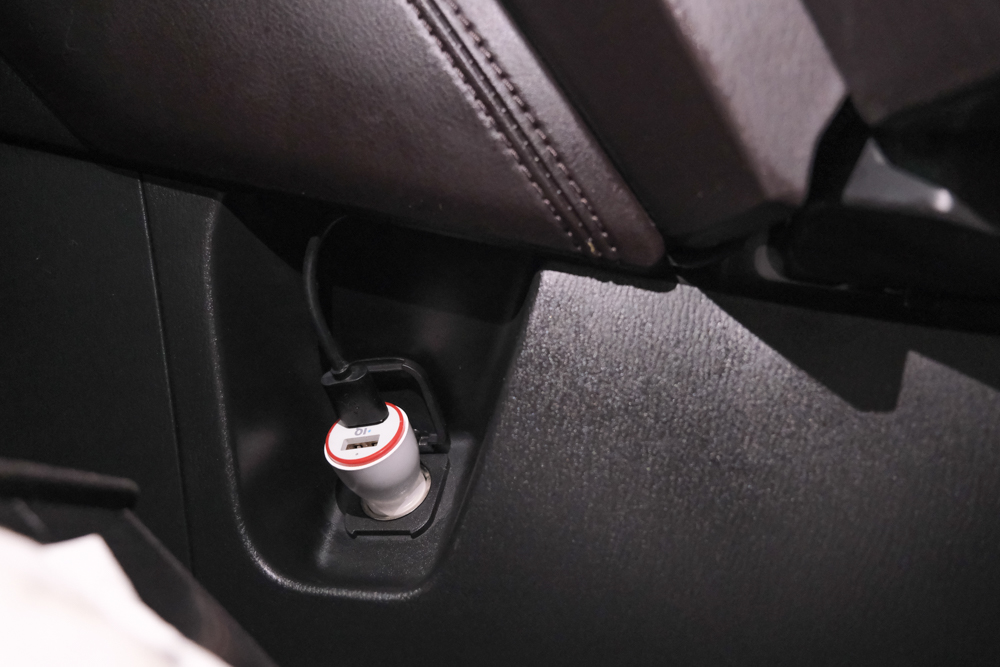
Excess power cable is zip-tied against a solid point behind the dashboard and is routed toward the passenger-side accessory port with the requisite USB adapter.
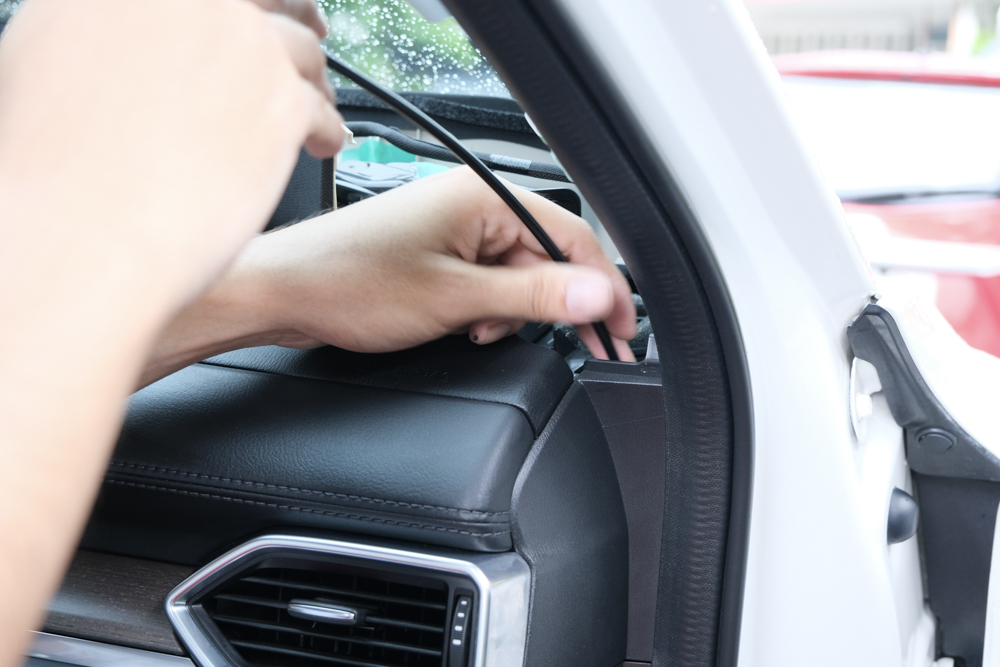
Stow the cables clear of the path of the airbag. Most A-pillars already have wires running through, so just run it alongside and zip-tie it tight against the existing harness. Make sure these are cut flush so they do not puncture the airbag when it deploys, or hurt someone’s skin when they come and work on your vehicle.
In most cars without side-curtain airbags, you can run the cable alongside the edge of the headliner to the rear. But in the CX-8, we really do not want to poke and prod around airbags as this may trigger them or mess with their dynamics, so we opted to route the rear-camera cable along the doorsills.
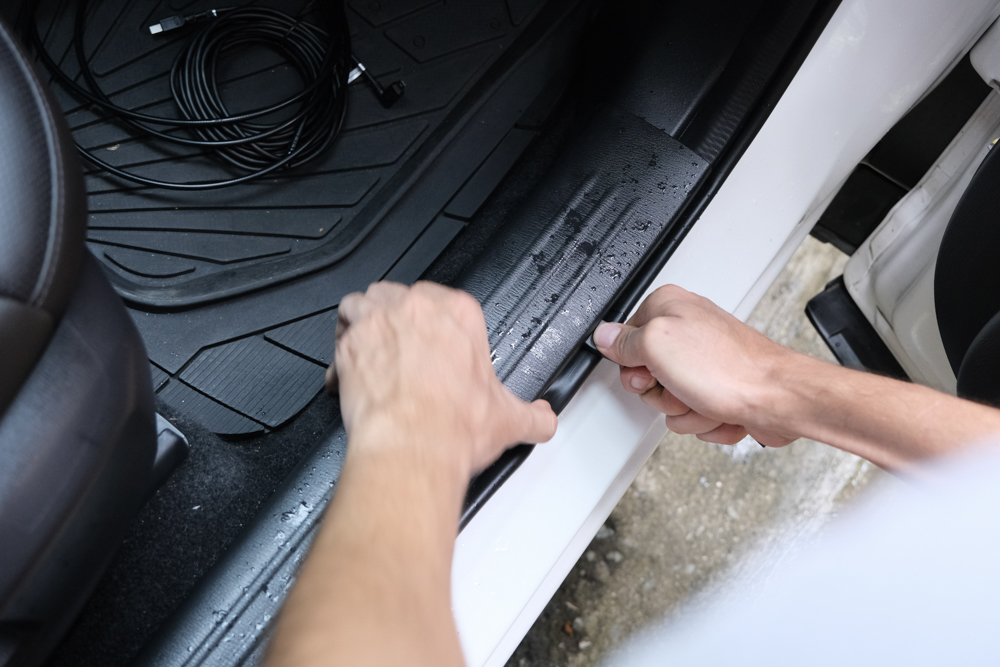
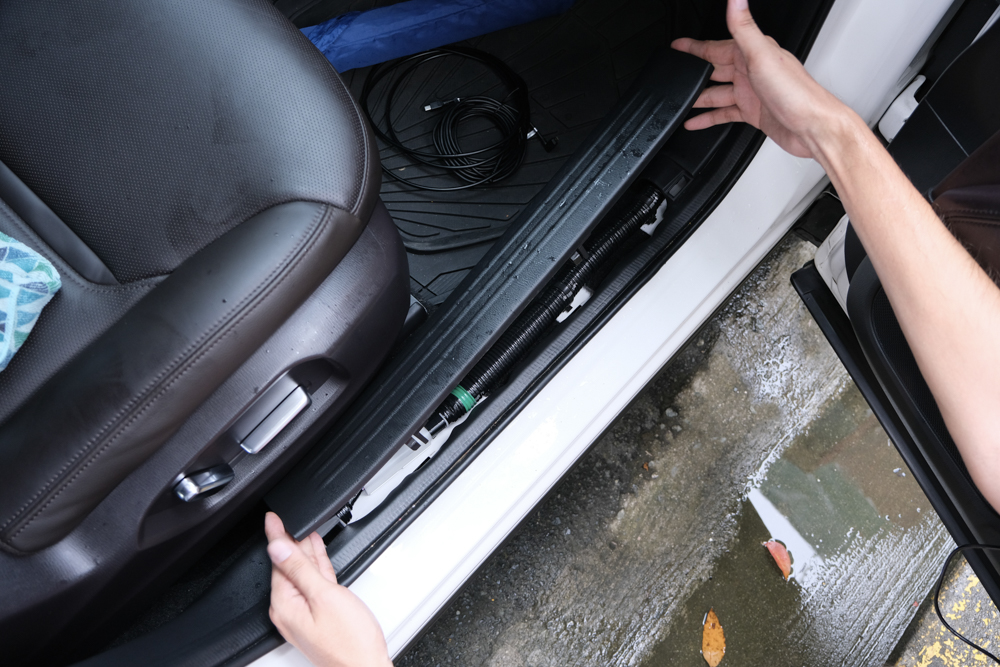
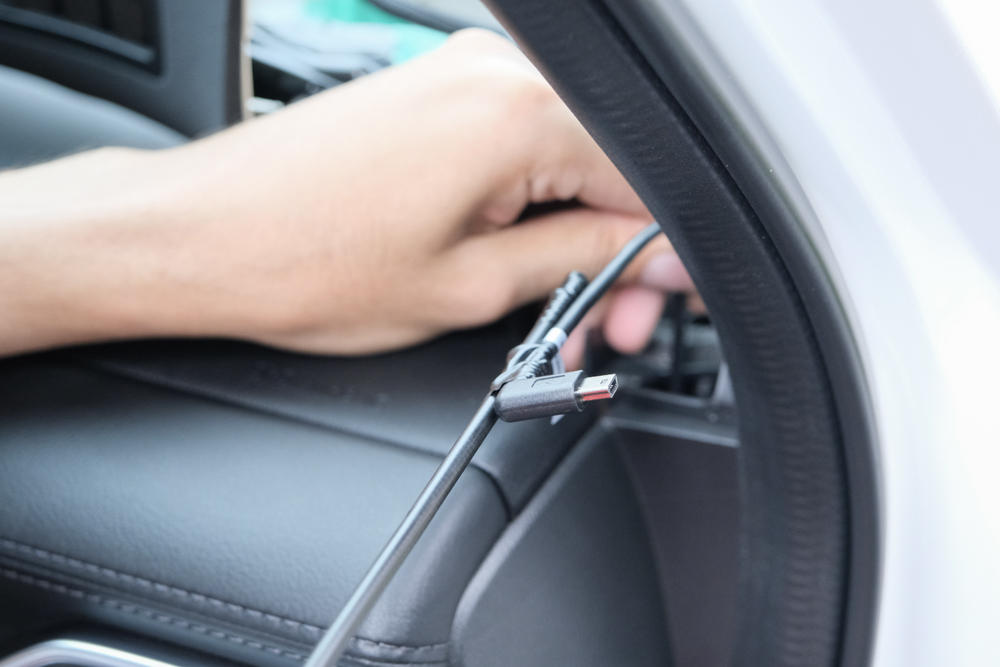
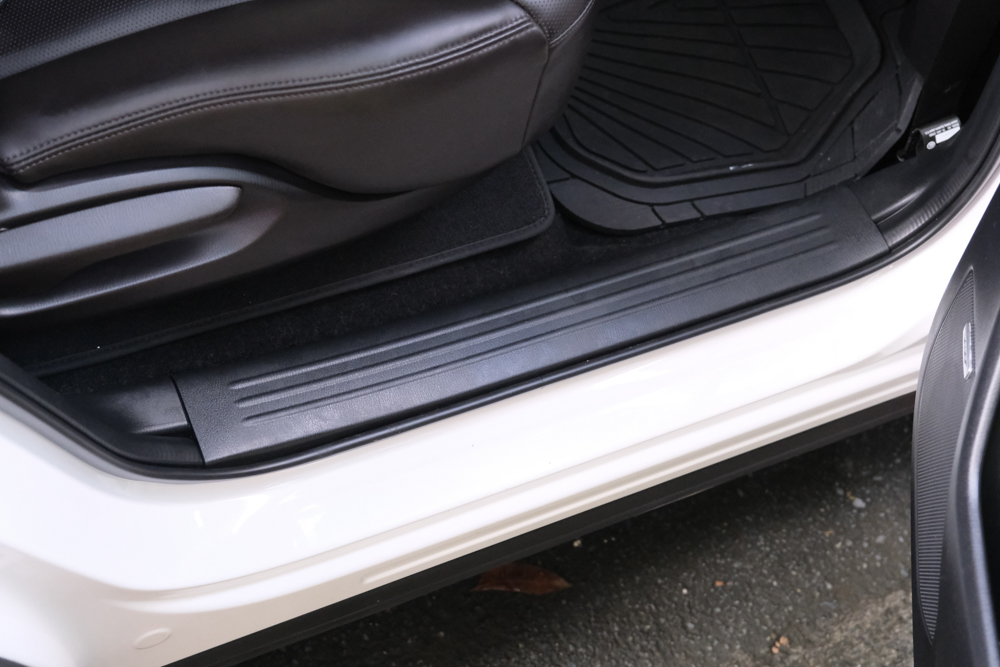
A swift but gentle tug separates the kick plate from the body, allowing us to run the rear-camera cable until the rear passenger door.
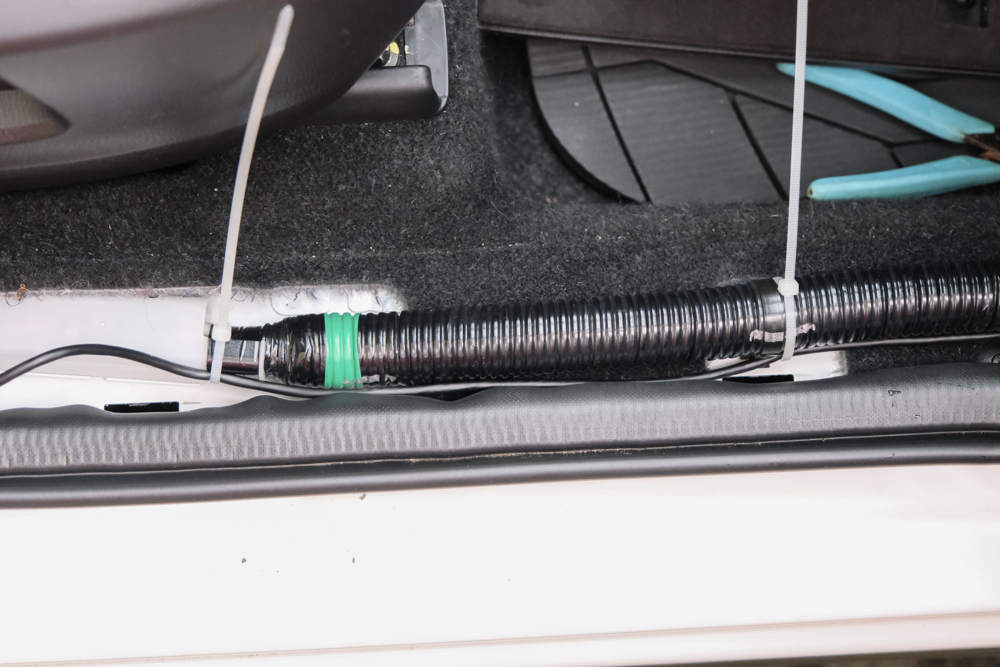
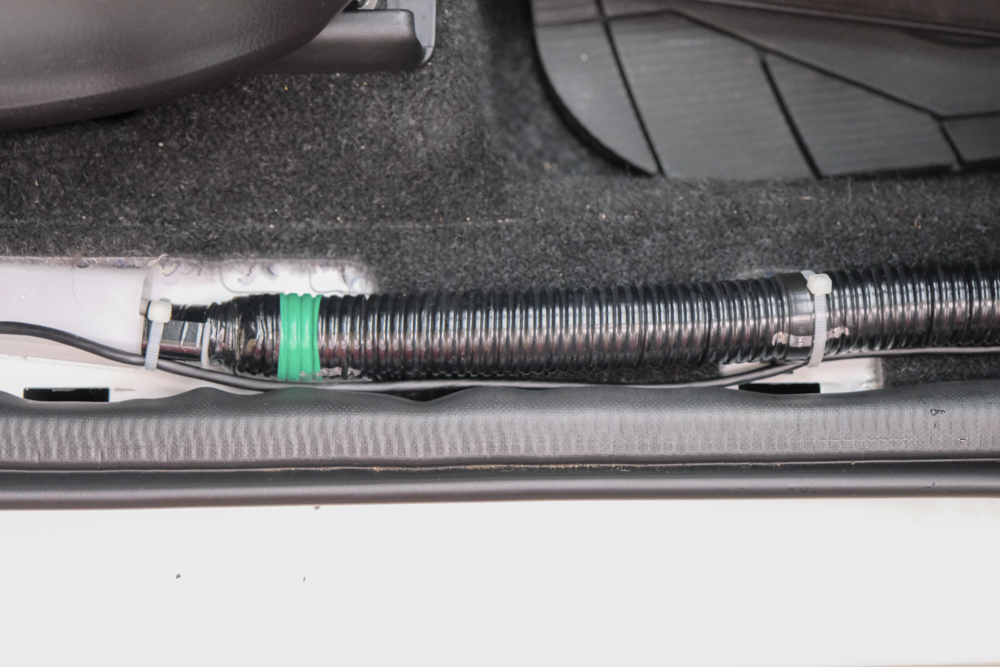
Just like our other installs, make sure you fasten the cable along the way and cut the zip ties flush. This prevents the cable from flapping around which may cause noise and harden the cable’s inner conductors to the point of snapping.
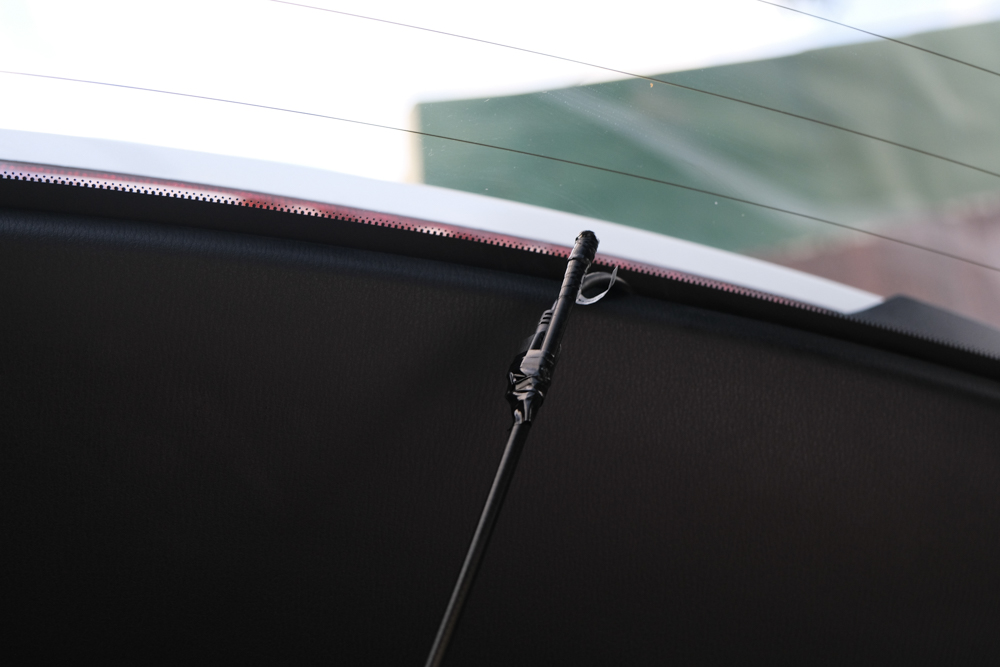
There are no side-curtain airbags past the C-pillar, so we run the cable through, up the D-pillar, eventually exiting at the headliner in the middle of the rear hatch.
Although difficult to do, we decided to run the cable through the rear flex grommet. This makes the install look clean, and elevates the quality of your work.

Disconnect the grommet from the car and check if there’s room inside for the connector to pass through. Once verified, we fish the wire through the hole first.
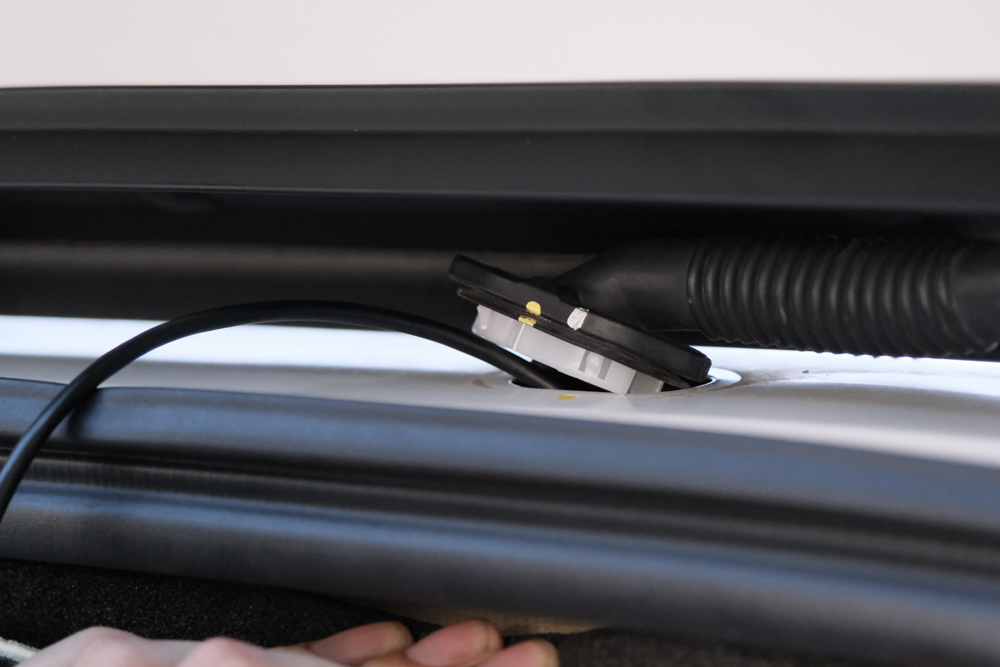
Then fish it through the flex grommet. You may have to massage the cable through like threading a drawstring through clothing.
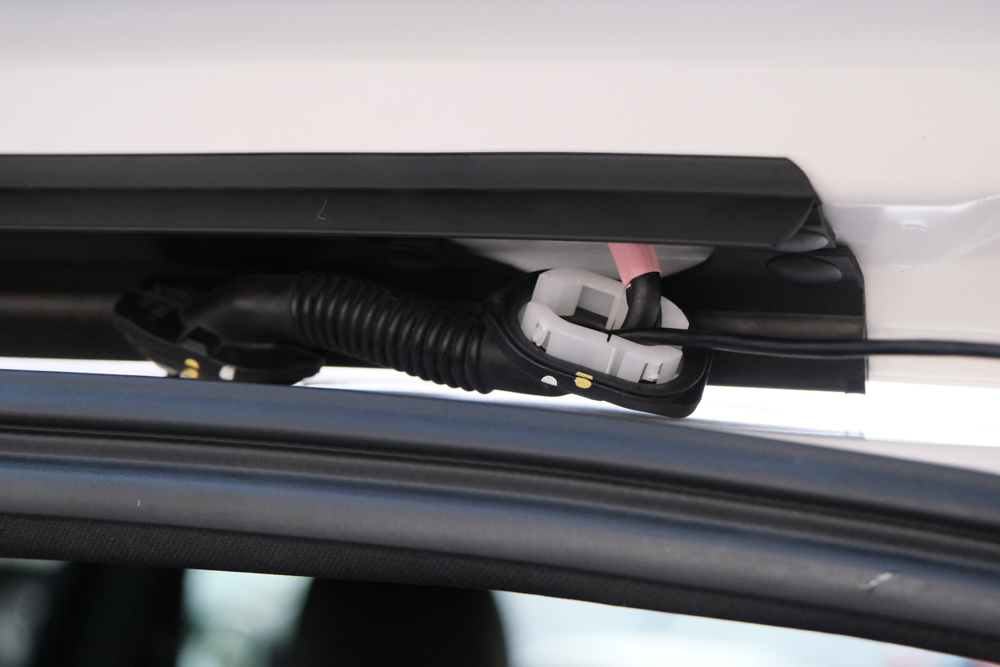
Fish it through the hole in the hatch up to where you need it to go. We got lucky here and did not need to remove a panel, but in most instances, you will have to remove at least one.
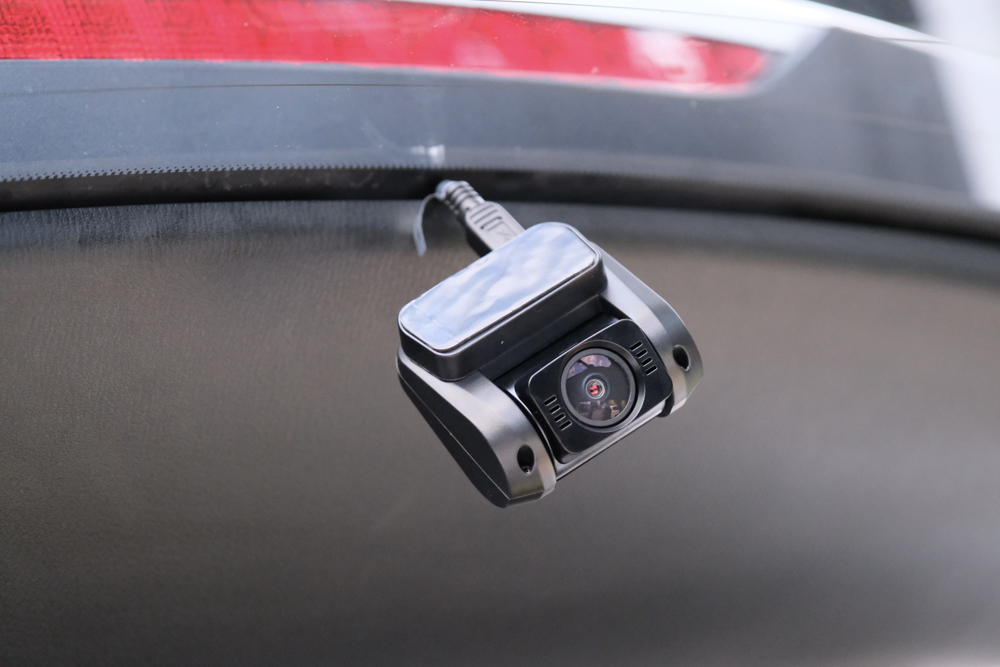
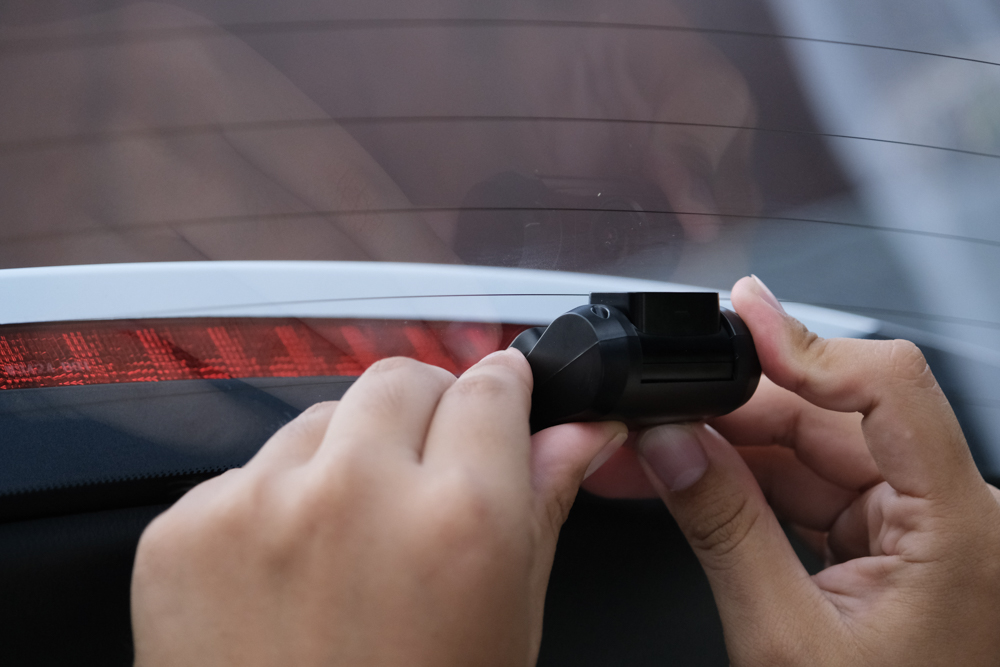
Hook up your rear camera and stick it on the glass.
Once everything is installed, test the new dashcam to make sure it’s working.
Oh, and don’t forget to reinstall the panels that you took out. Sometimes, it may be beneficial to leave them open until the install is verified to be working so you won’t have to disassemble them again for troubleshooting.
Dashcam installations aren’t too difficult for the beginner to try, especially if you’re working with a vehicle that’s relatively easy to take apart. Just go slowly, take the time to plan out your cable routings, and don’t be afraid to ask around what other owners of your vehicle model have done to install theirs.


Comments