Artificial Intelligence continues to change the world at a rapid pace, and the various tools powered by it are getting better every day. Next to generating written content, one of its most popular uses is no doubt image creation.
The ability to magic up virtually any image in any style in mere seconds and just by using simple text prompts has had a massive impact on anything from stock photography to the creative arts. It’s also a lot of fun and simple to do.
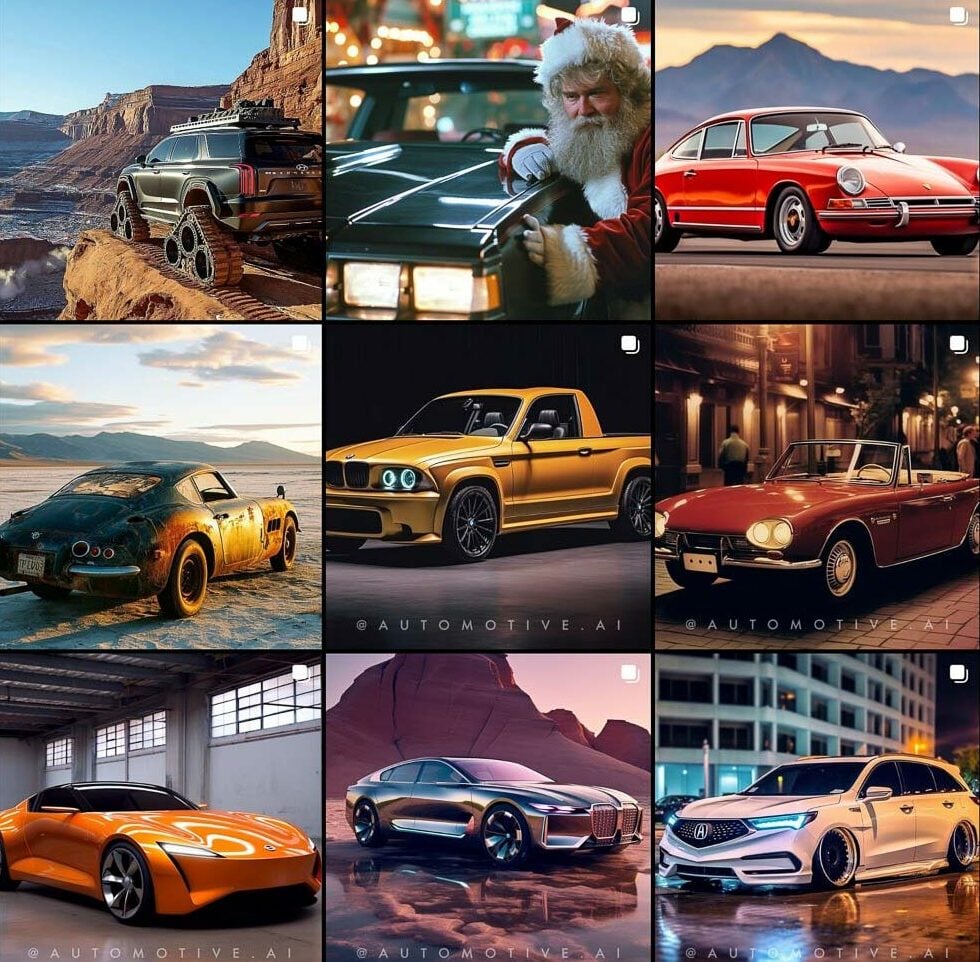
One of my favorite tools for this is Midjourney, and having spent countless hours generating all sorts of (mostly car-centric) images with it over the last few months, I wanted to share some of the tips and the prompts that work well based on my experience. So grab a coffee and follow me down the never-ending rabbit hole of AI-powered car photography.
First, while Midjourney is working on a browser-based version, unless you have already created over 10,000 images, you are still confined to using the Discord-based bot.
You can use the Quick Start Guide to learn how to do that, and you will need a paid subscription to use the tool properly. I’m using the standard subscription for $30 (P1,600) a month.
If you prefer a free tool, then the Microsoft Edge browser now has the DALL-E powered image creator available for free, and it seems to work similarly well.
It’s also a good idea to read through the basics before diving into this, as listing all the instructions in one article here isn’t very practical.
Especially the Command and Parameter lists are worth looking into to better understand how it all works. The two ways to create images that I’ll touch on in this article are creation via text prompt and image prompt.
Text prompts are the easiest way to create images. Just type what you want to see using the /imagine prompt. For example:
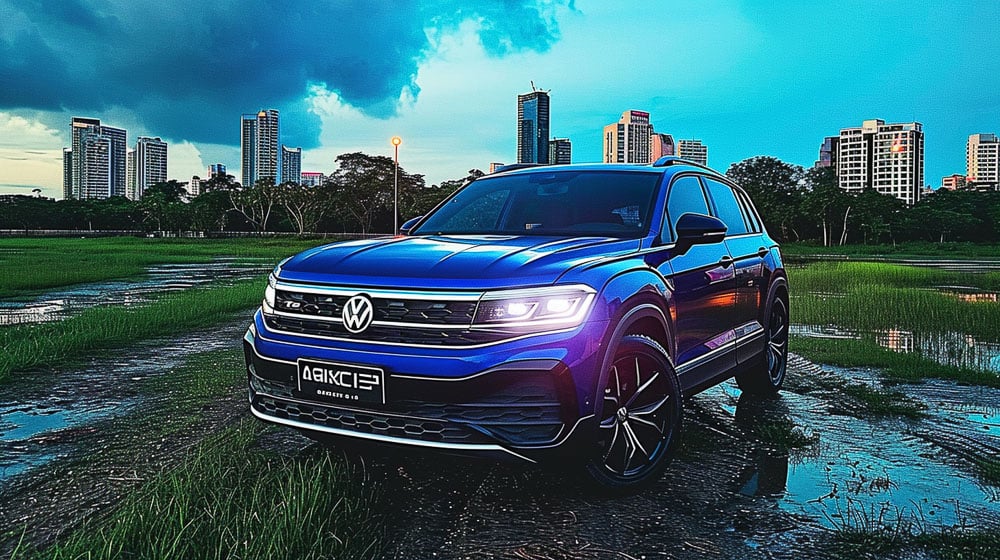
/imagine a hyper-realistic image of a blue VW SUV parked in front of the Metro Manila skyline at night, –ar 16:9
The result looks like this:
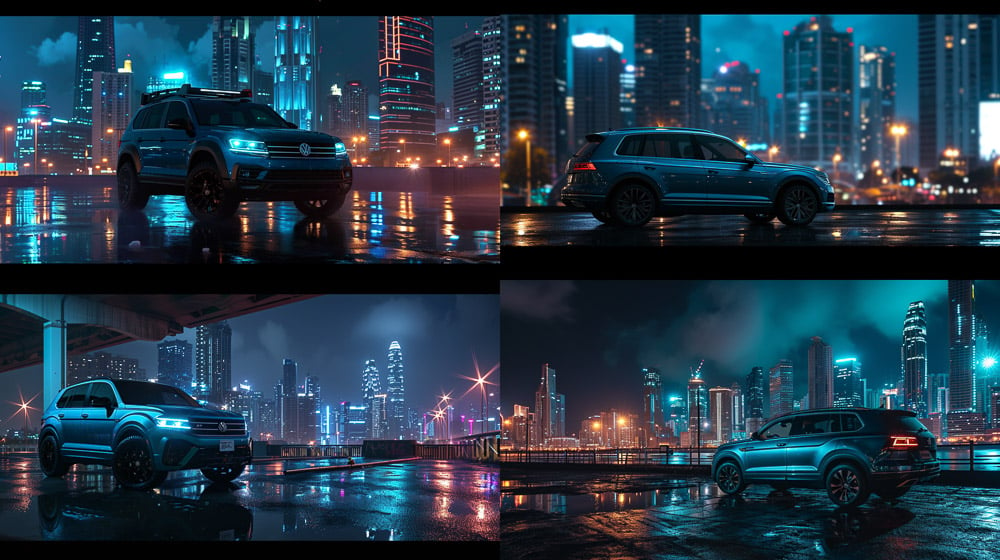
That’s a pretty cool image, but quite generic. Let’s say you want to see a very specific car featured in the resulting photo.
In that case, upload a photo of it onto Discord, and copy the image URL as an image prompt. For the below example, I have used an image from this VISOR article about the Volkswagen Tharu, and combined it with the same text we used before.
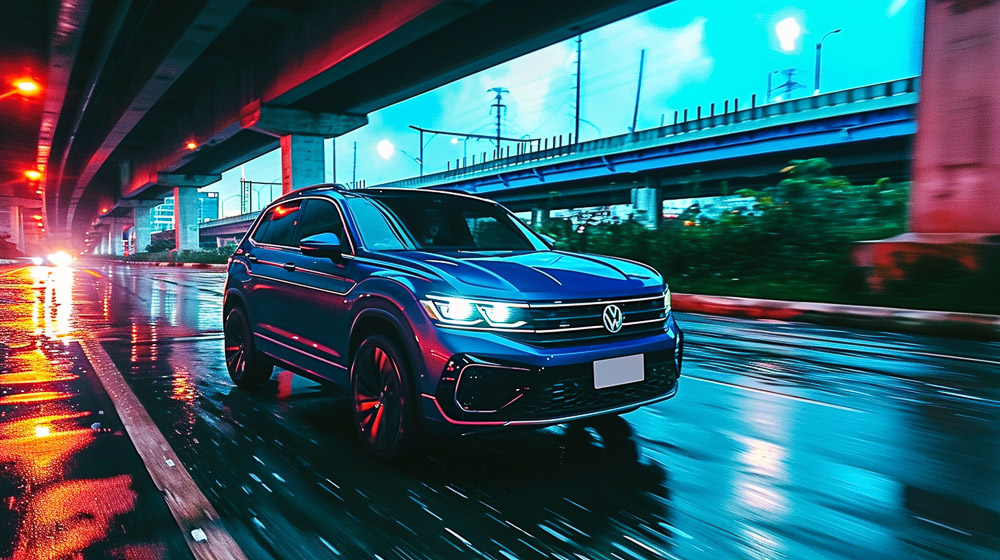
https://s.mj.run/avEFa9-swvk a hyper-realistic image of a blue VW SUV parked in front of the Metro Manila skyline at night, –ar 16:9 –iw 2 –v 6.0
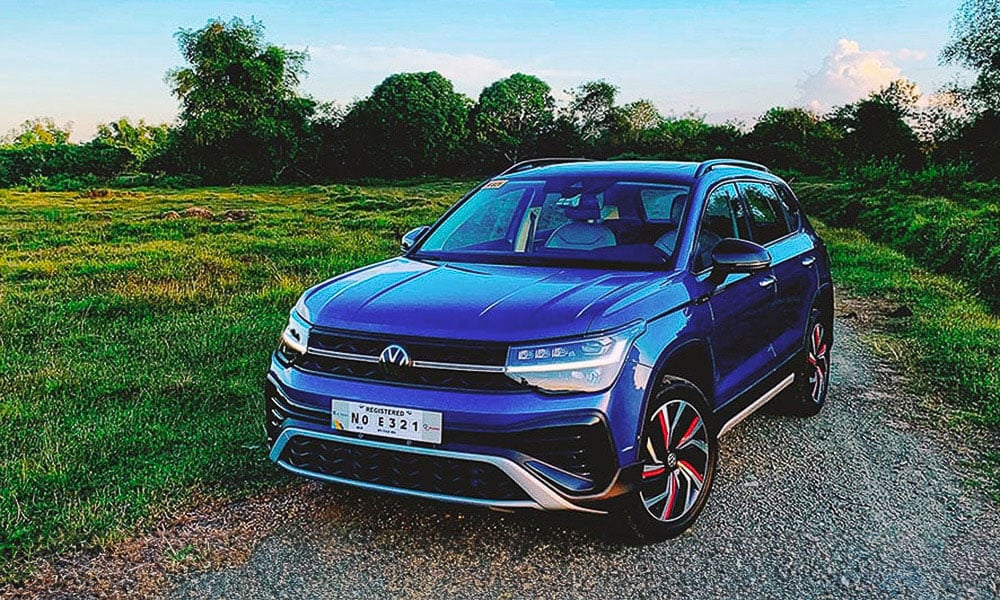
You can adjust how little or how much the reference image is given weight to by using the Image Weight parameter (–iw). Zero is the lowest, and 2 is the highest.
Running the same prompt again but with “–iw 2” gives the following result:
That’s already quite accurate, and you can run the prompts again or use the Vary option to see different versions.
It’s worth noting here that whatever you put first in your text prompt will be emphasized the most by the AI. So, put the most important elements you want to see in the image at the start.
For me, the real fun is in creating elaborate shots that combine a lot of elements, and let your imagination go wild. The more detailed your prompt and what you want to see, the better the results. Let’s use the same base image again and see if we can create an action shot just by telling Midjourney what we want it to look like:
https://s.mj.run/avEFa9-swvk an action shot of a blue VW SUV racing through Metro Manila at night, motion blur, 8k, ultra detailed, cyberpunk style –ar 16:9 –v 6.0
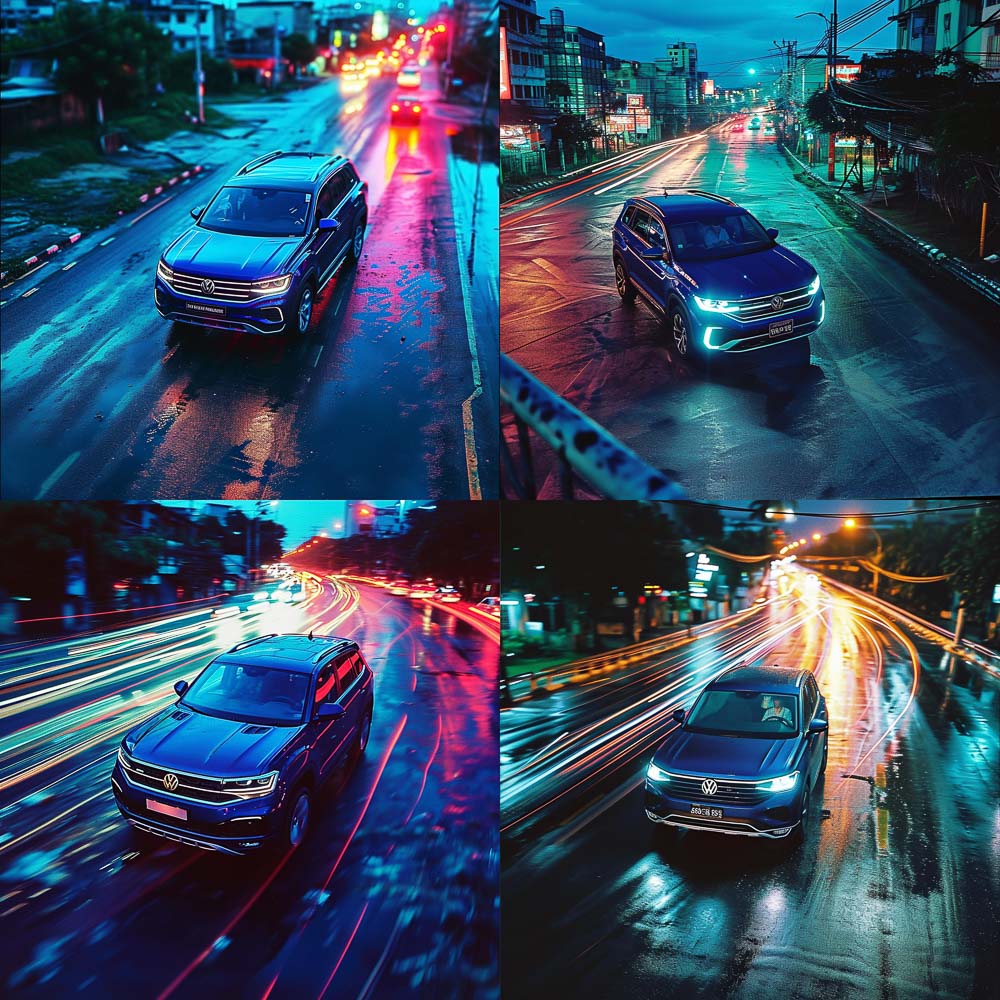
The beauty of this tool is that you can adjust almost everything about the picture. Don’t like the angle? Not a problem, change it:
https://s.mj.run/avEFa9-swvk Aerial view of a blue VW SUV racing through Manila, intentional camera movement, fast shutter, midnight, neon lights, shot on kodak gold 200 –v 6.0
There are various versions of Midjourney, and the one I have been using the most recently—including for this article—is V6. This is technically still in Alpha, but seems to work just fine.
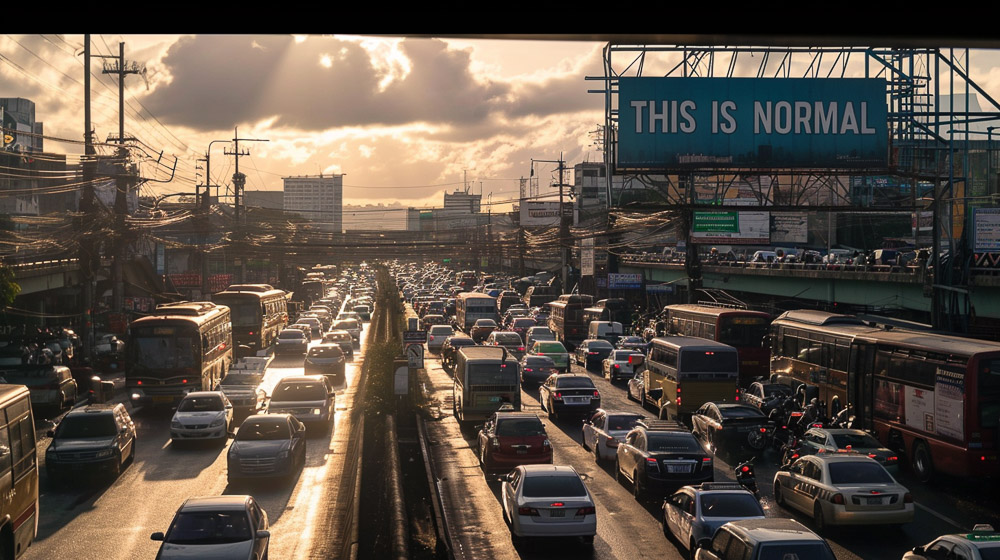
Version 6 can also finally handle text generation, a feature that was missing from previous versions. To have specific text displayed as part of the image, enter it in quotation marks like this (“YOUR TEXT HERE”), and specify the text location as part of your image prompt. For example:
a photo of a massive traffic jam on EDSA in Manila with a huge billboard reading “THIS IS NORMAL”, photorealistic, –ar 16:9 –v 6.0
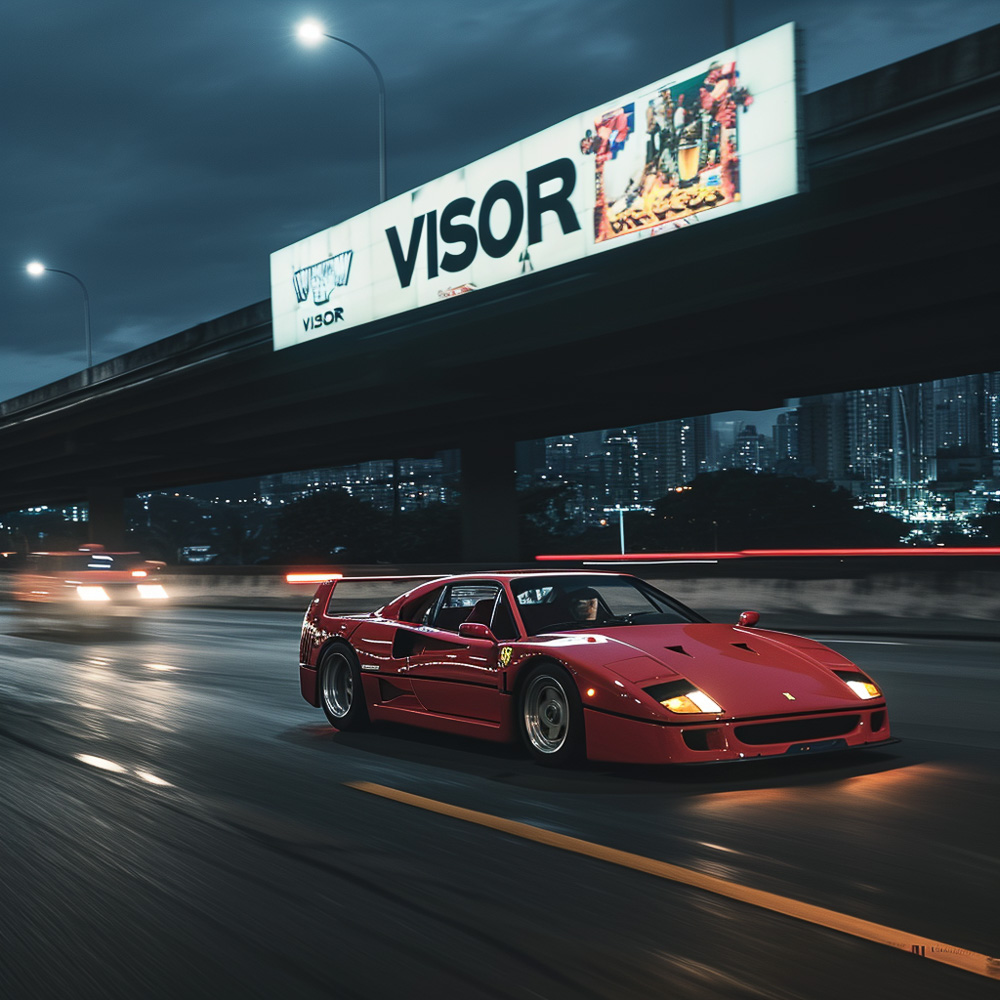
Descriptive prompts work very well, as they understand locations and context. For example, the below image was created with this prompt:
a Ferrari F40 racing through Metro Manila with a large billboard in the back saying “VISOR”
You’ll notice that you can pretty much leave out any parameter tags if you want to. It will then create a square image. To change the aspect ratio, use the –ar parameter.
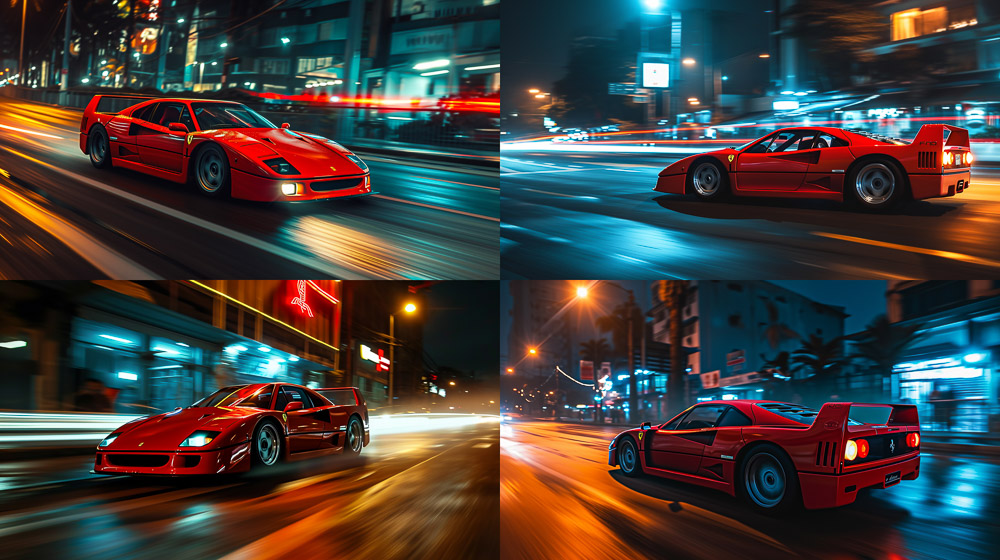
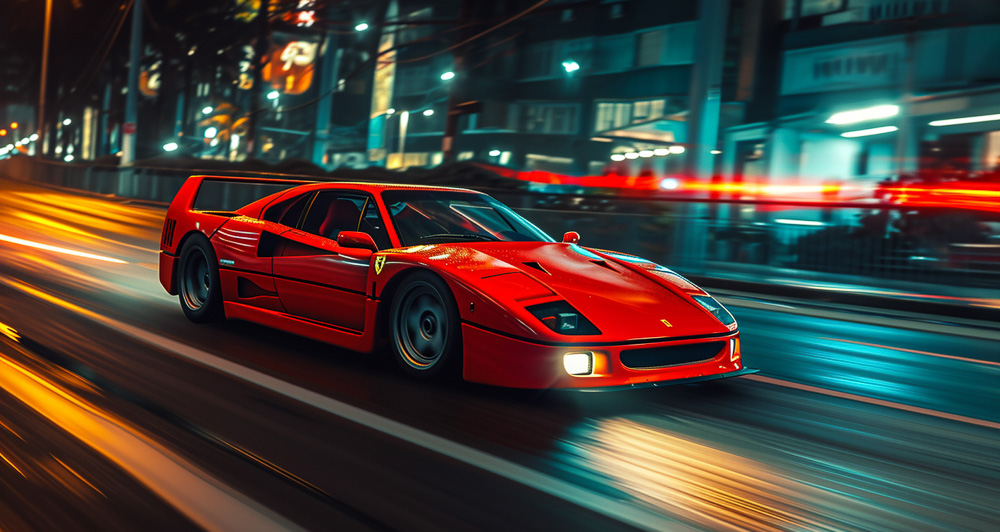
an ultra-realistic photo of a red Ferrari F40 racing through Metro Manila at night, panning shot, fast shutter, midnight, –ar 16:9 –v 6.0
The best thing is to just experiment and try the various parameters and ways to describe what you want to see. The more you try, the more you’ll learn what works and what doesn’t.

Comments